Static websites are known for a minimum to zero functionalities. Initially, one has to write a lot of code to be able to collect data from users through forms. This post will guide you on how to add forms to a static website without creating a server-side application for your website.
You will be using FabForm. FabForm allows you to add form functionalities to a static website with a simple setup procedure.
Prerequisites
- FabForm Account - Create a free account here
- A static Webpage
Demo
You can find the live demo on Codesandbox:
Source code available on GitHub
Creating a Static site
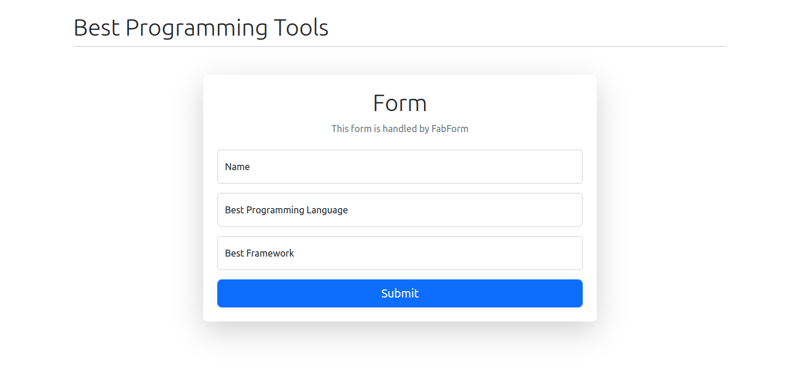
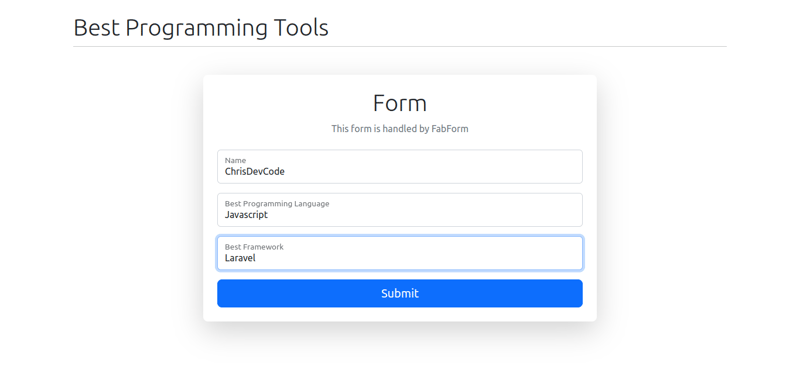
You can skip this step if you already have a static site. You will set up a simple NextJS site that asks for the user's best programming language and JavaScript framework.
To create a NextJS project, run the following command on your terminal:
npm create-next-app best-language
You will style the page using Bootstrap. Install it by running:
npm install bootstrap@5.2.0
Once the installation is complete, open the index.js file and paste the code below:
Run the local server to view the changes made:
npm run dev
Open your browser and go to http://localhost:3000/:
After setting up the dummy form, head over to https://fabform.io/ to create an account and follow the steps below to make the form collect data.
Using FabForm
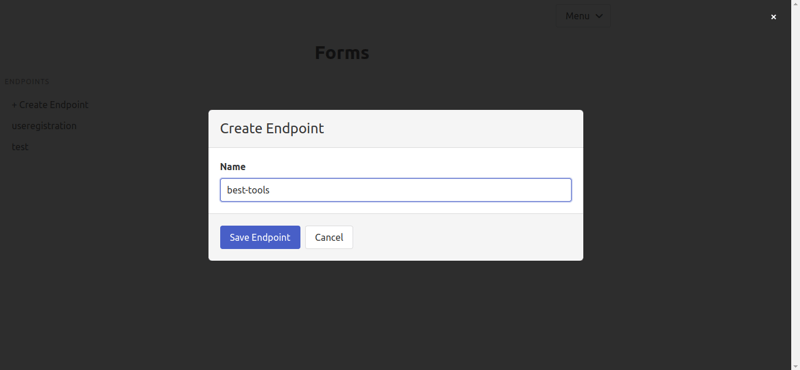
After creating a free account, head to https://app.fabform.io/forms to create an endpoint for your form.
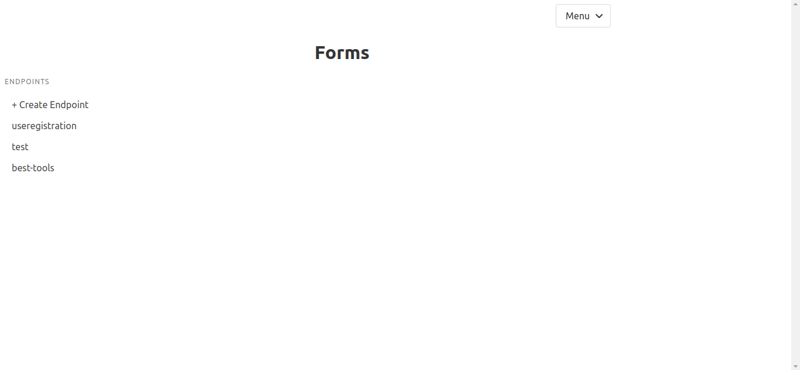
Once the endpoint is created, you will be redirected to https://app.fabform.io/forms, where all your endpoints are listed:
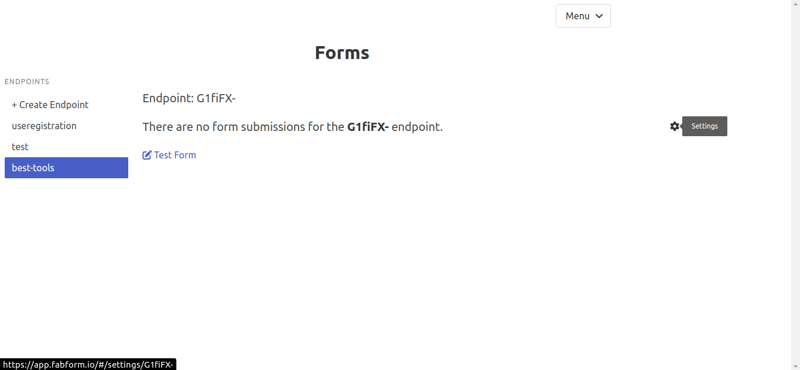
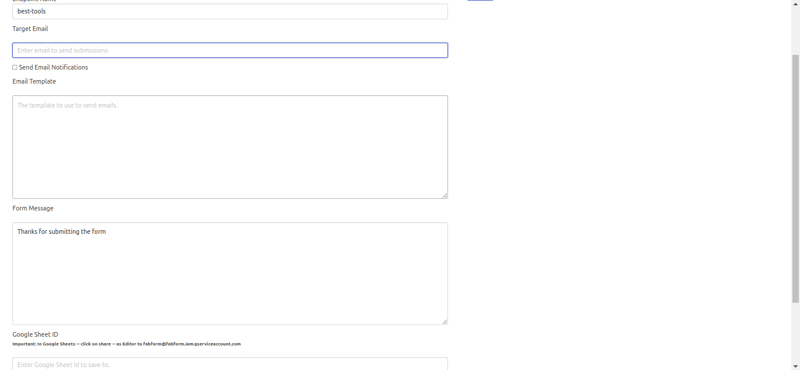
To edit your endpoint, click on it, and click on the settings icon on the right side of the page:
Enter a targeted email where you will be notified for every response. You can add the sheet ID on the endpoint settings if you need to have the responses in a Google Sheet.
Note: Add
fabform@fabform.iam.gserviceaccount.comas an editor to the google sheet document linked.
Click save after adding all the details needed.
The last step is to add an action attribute to your form:
<form
  id='contactForm'
  action='https://fabform.io/f/{form_id}'
  method='post'
>
</form>
Replace the {form_id} with your endpoint ID.
For the demo, I will showcase and use my endpoint id in the form:
Run the development server to test the form now. After submitting, check the Google Sheet document for any changes:
The response updates on your Google Sheet as shown:

Conclusion
The post demonstrates how to add functionality to a form on a static web application with fewer configurations using FabForm.

Top comments (0)