
So I recently had a customer that had several terrabytes of data in SharePoint that wanted to move to Azure Data Lakes Storage in order to start doing transformations for some Machine Learning experiments. Typically when migrating data to ADLS I would use something like Azure Data Factory Copy Activity, however SharePoint is not currently supported. However we can copy over these items easily using the Mover Migration Tool. The Mover Migration tool allows you to migrate docs from users or just SharePoint document libraries to Azure Data Lakes Storage. For the purposes of this, we are going to migrate a SharePoint Document library to ADLS. When copy over the documents, it will maintain the folder structure as well.
Prerequisites
- User must be a SharePoint Admin in your tenant.
- User must have Global Administrator, Application Administrator, or a Cloud Application role on your Azure AD Tenant. This will be needed to Grant consent to the Mover.io enterprise application
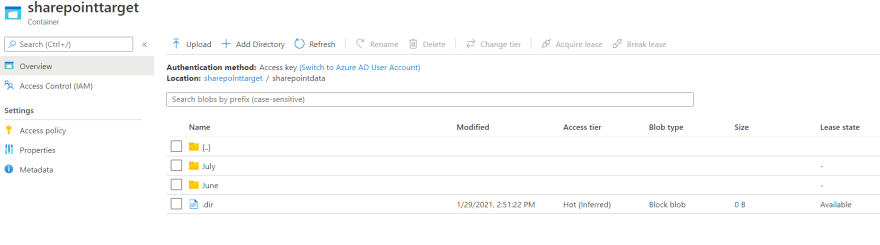
- You have already provisioned your Azure Data Lakes Storage and created a container and folder(or folders) to migrate data from SharePoint.
- The Mover Migration Tool uses a CSV mapping file to map SharePoint Sites to ADLS. Create a CSV file with the headers Source Path and Destination Path. Then add lines for each source SharePoint site and Destination ADLS folder like so: https://labrandoncloud.sharepoint.com/sites/TeamSite/Shared%20Documents, sharepointtarget/sharepointdata. In this example https://labrandoncloud.sharepoint.com/sites/TeamSite/Shared%20Documents is my SharePoint Source document library and sharepointtarget/sharepointdata is my container/folder name in the destination ADLS. For more information on creating CSV files, see here.
Steps
- Go to https://mover.io/ and login with an account that is the SharePoint Admin and also AAD Admin that can create Enterprise Applications.
- Once you login, a new Enterprise Application is created. You can verify by going to your AAD tenant and going to Enterprise Applications. You should see Office 365 Mover listed as an Enterprise Application.
- In Enterprise Applications, click on the Office 365 Mover application, and then select Permissions on the left. Click Grant admin consent for tenant-name.
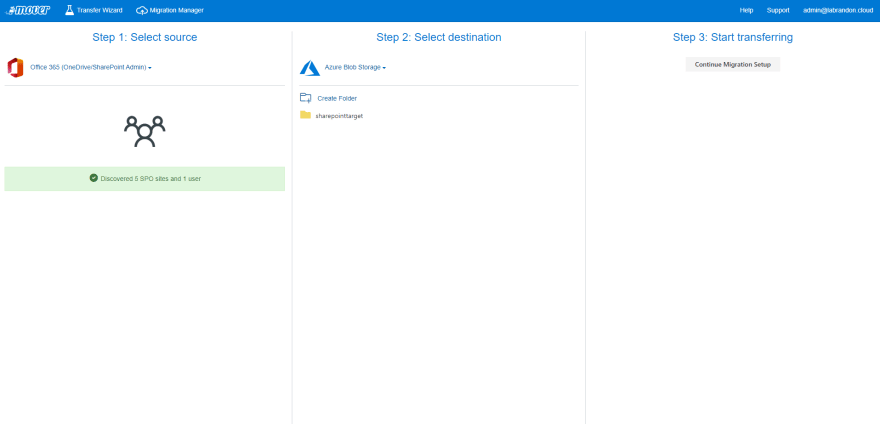
- Go back to Mover, click Authorize New Connector on Source side. Select Office 365(OneDrive/SharePoint Admin) from list and click Authorize button.
- Now on destination side, click Authorize New Connector and select Azure Blob Storage. Enter name of Blob storage and key.
- Once the Source and Destination has been configured, you can move onto Step 3: Start Transferring. Click Continue Migration.
- The Mover Migration tool migrates data using mapping CSV files as discussed in Prerequisite sections. Click on Add Users button and upload CSV file you created. You should now see mapping uploaded.

- If you are migrating a lot of data, I would suggest doing a Scan first. This will allow you to see how many files/folders will be migrated.
- Once you are ready, you can click Start Migrating User to copy data from SharePoint to ADLS. Select Right Now, agree to terms, and click Start Migration. Once complete, it will show a report of files/folders copied.
Et Voilá c'est fini

Top comments (0)