
Want to know How to use Git in your project?
It's really simple.
Let me show you the easiest way to do that. I would suggest you to follow this tutorial on your system and by the end of this tutorial, you would have learned about all the git commands that you will be using in your new project.
If you would like to watch the live examples then you can watch it here:
Let's start with some theory.

Don't worry it won't be long and i'll try to keep it really simple.
So, What is git?
Git is a distributed version-control system for tracking changes in source code during software development.
Here is how it looks like to track changes with and without using git.
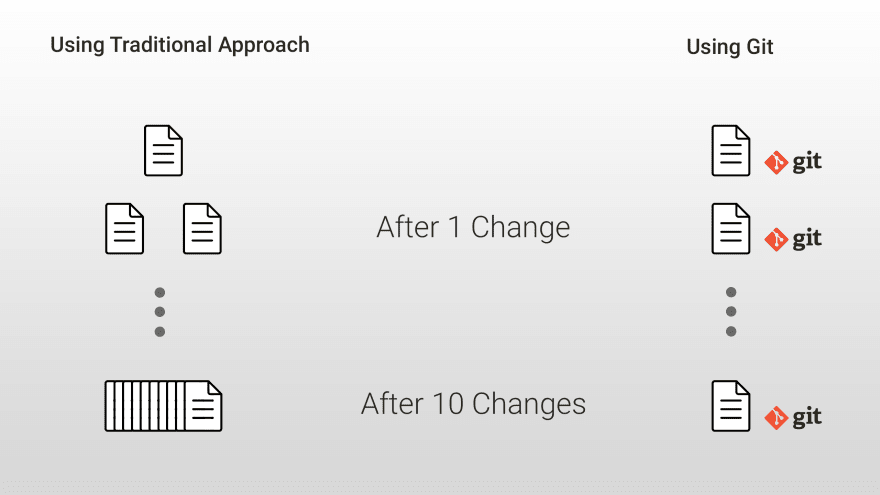
if you try to track changes in 1 file, after 10 changes you are gonna end up with 10 versions of your file using traditional approach.
However if you are using git then you only have worry about a single file and git will track the changes for you.
This is just an example for 1 file but we all know that a real project contains hundreds of such files.
You now know, why we use git? but Why do we say it is a distributed version-control system?
Using git, Each developer has a local copy with full history and changes and a copy of code can be kept on server which is where services like GitHub and bitbucket comes into picture.
So anytime you make a change in your code and want to share with other developer, you just have to push your changes onto these services and the other developer can pull the changes from there.
And... that's all the theory that you need to know.

To install git on your system, Visit https://git-scm.com/downloads and download the software and install it on your system.
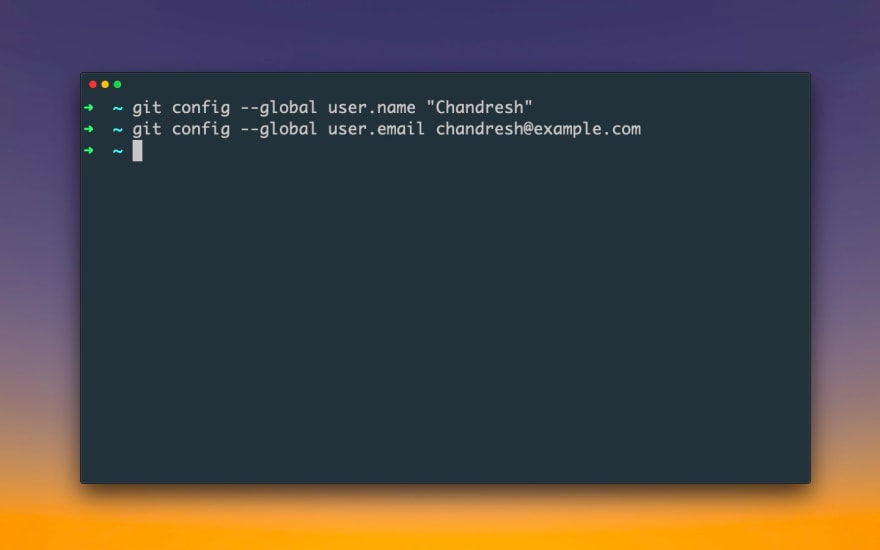
Once installation is done, Open your terminal and type
git config —global user.name “Your name”
git config —global user.email “Your email”
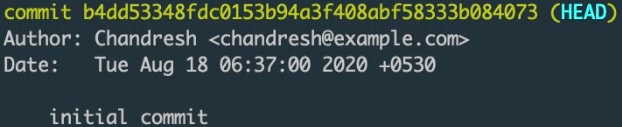
Your name and email are displayed with every commit you make, like this:
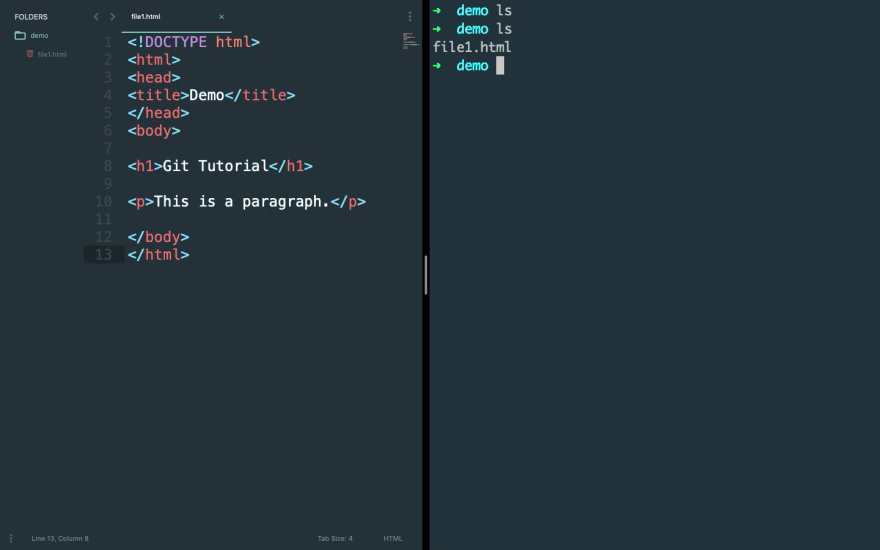
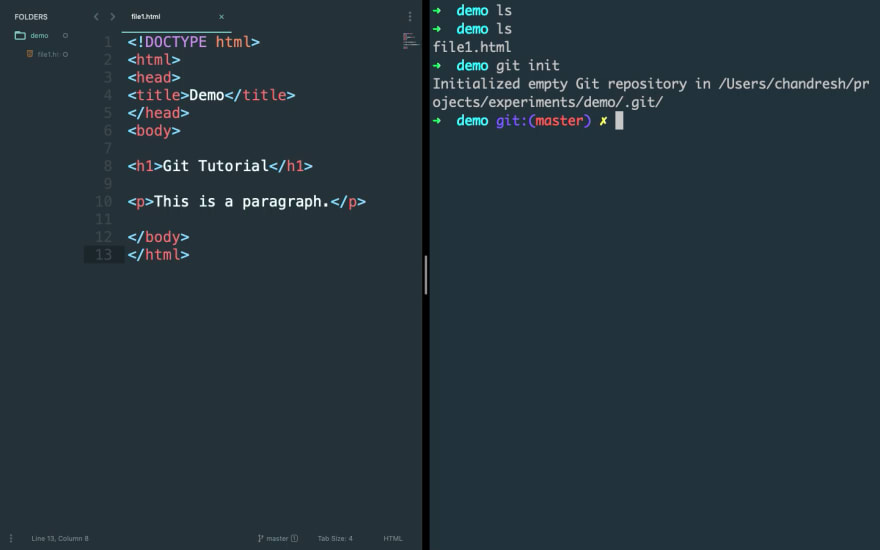
Let's start with an empty folder.

Create a new file and write some code in it and save it as say file1.html.
The first thing you need to do when you want start using git in your project is to initialise git using command:
git init
Note: If you already have a repository online then copy the repository url and then you can clone the repository using this command
git clone your_repository_url
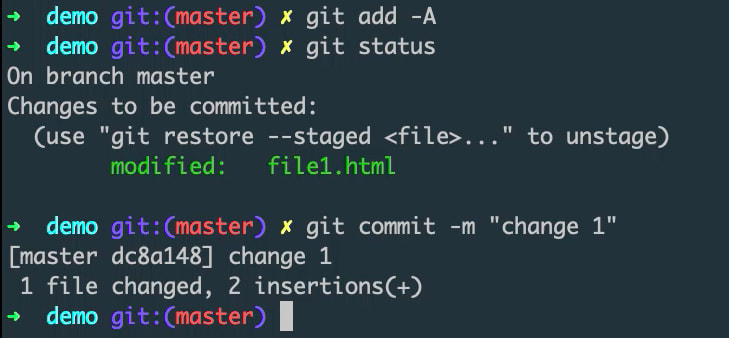
Now add all the files to staging which will be then be added to the commit.
git add -A
You can check the changes which are to be committed using command:
git status
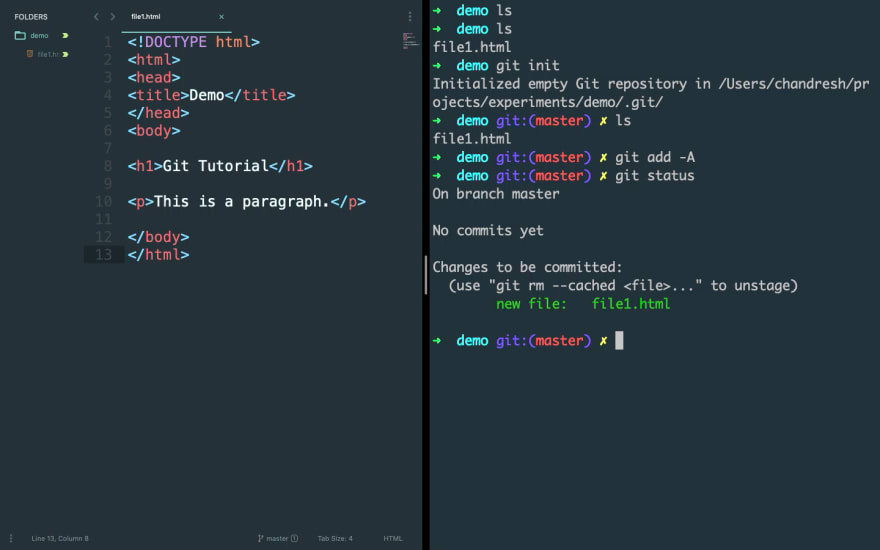
Changes in files which are shown in green will be part of the commit that you will make.
To commit your changes, type
git commit -m “your message”
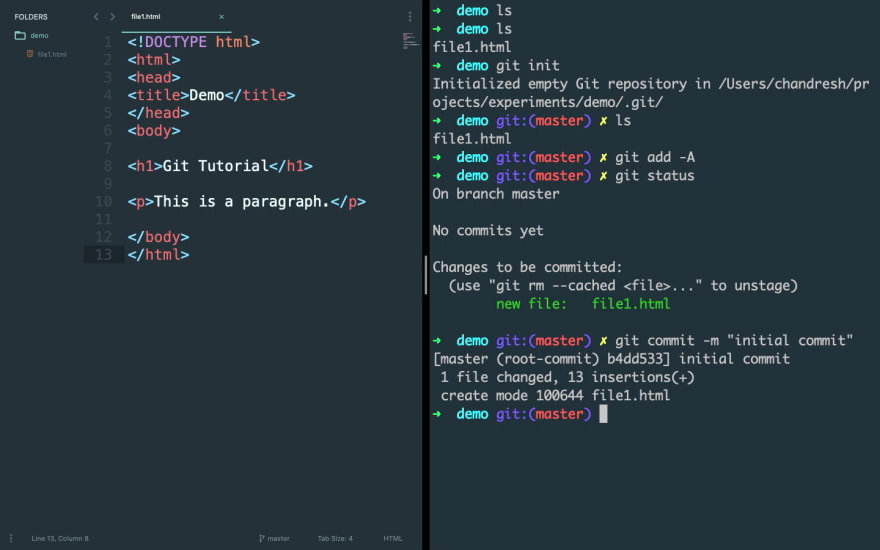
This will create a new commit.
If you check the status now then you will see that there aren’t changes done after your commit.
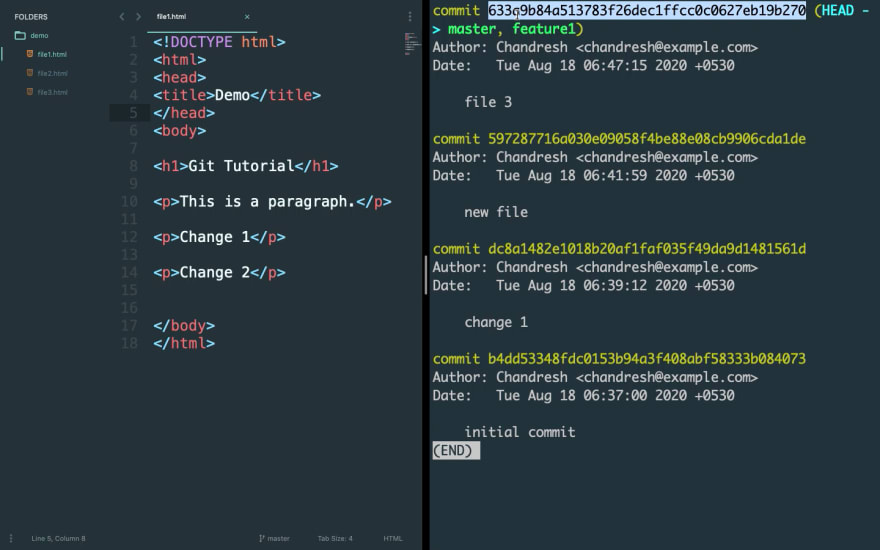
You can check you commits history using command:
git log
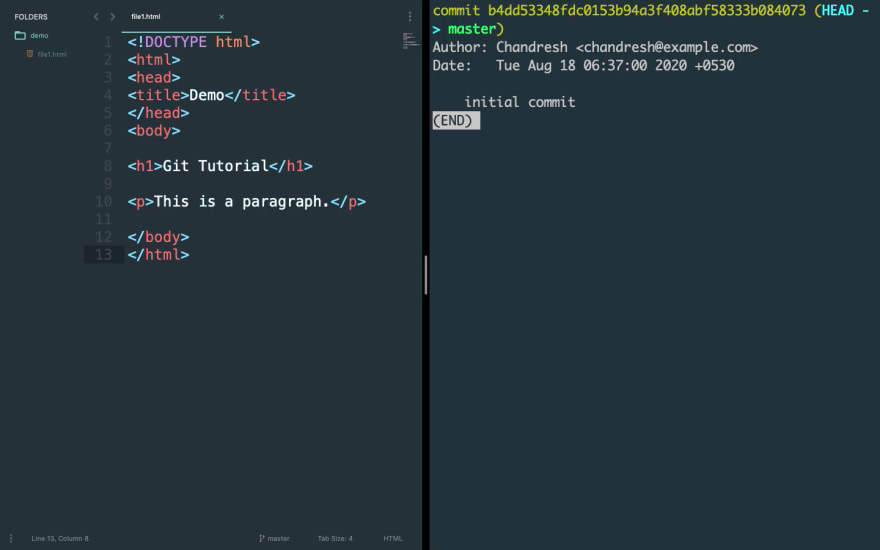
Each commit has a unique hash and you can see the author who made this commit and commit message here.
Make some changes in your file and make another commit as done above.
Make some more changes and create a new file say file2.html and save it.
Type git status and you will see untracked files and un-staged changes in red.
Now if you just want to add file1 changes to your new commit then you can type.
git add file1_path
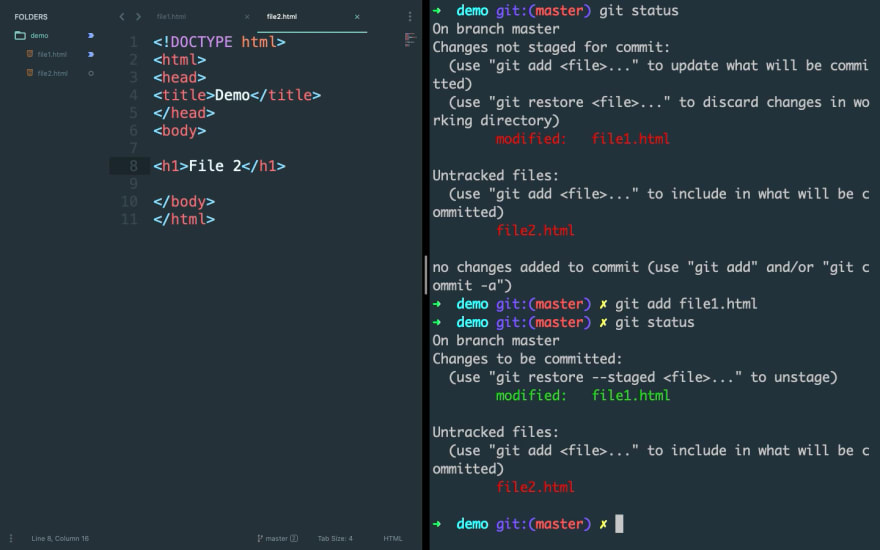
And if you check the status then it will only show you file1 in green.
Now you can make a commit if you want just like we did before but what if you change your mind and want to add file2 as well in new commit. Type "git add -A" and it will add the files.
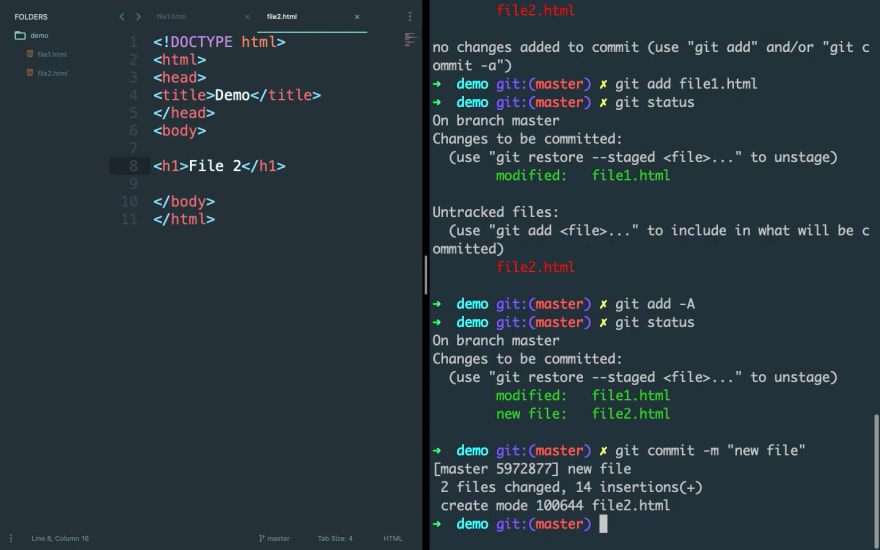
Commit these changes like we did before.
Now Let’s say you want to check the code of your project for a specific commit. How would you do that?
Just copy the hash code of that commit from commits history and then use this command:
git checkout hash
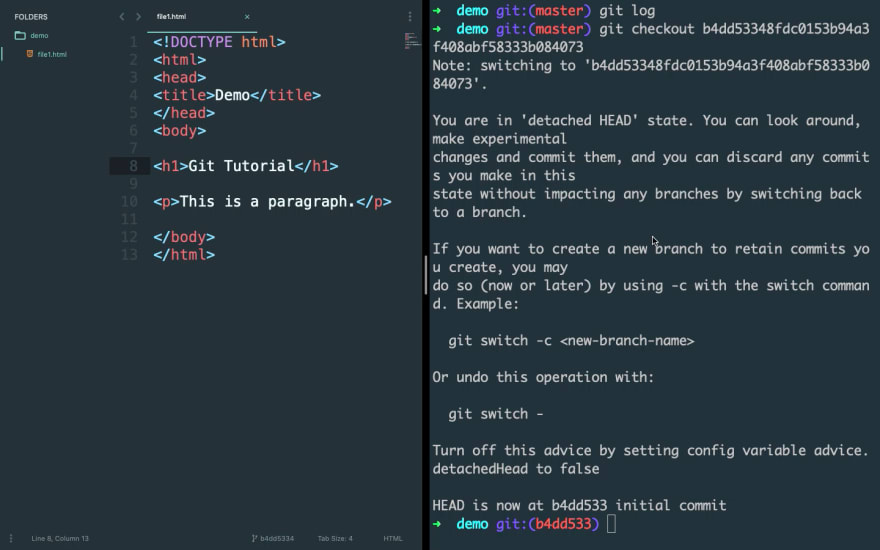
And you can see the code of our project for that particular commit.
Check git log again and it will show you only commits till your checkout commit.
But now let’s say you want to checkout to your latest commit.
Type
git checkout your_branch_name
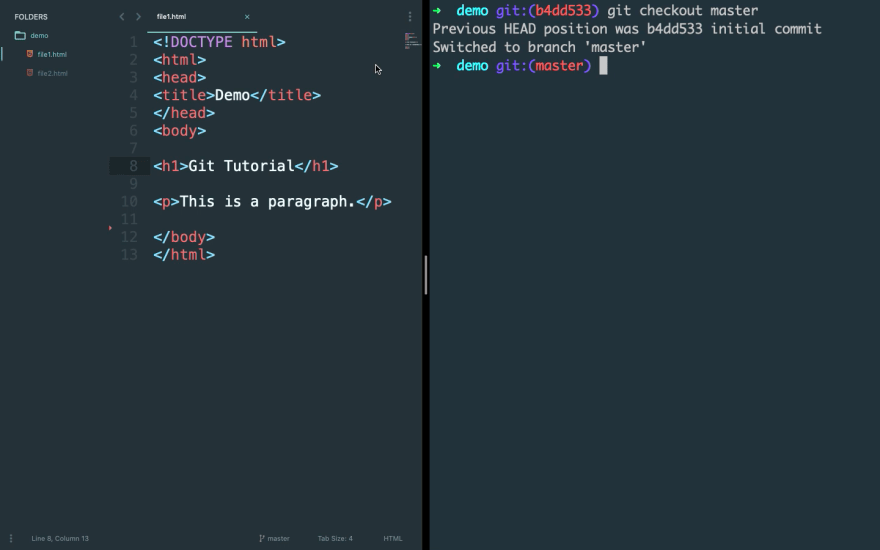
Our branch name is master(It’s created by default for you when your initialise git in a project.) in this case.
Check "git log" and you will see all your commit and you are at your latest commit code in master branch.
Now let’s say you want to work on a feature but don’t want to disturb your current branch. You can create a new branch for that.
Type
git checkout -b new_branch_name
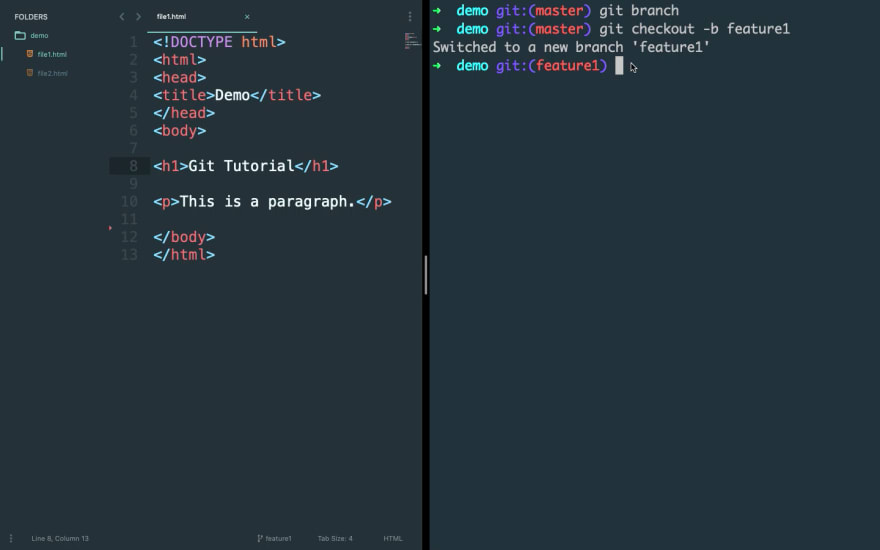
Here we are switching to a new branch with all commit till currently checked out commit in current branch. Here “-b” flag is used to create a new branch and git checkout command to switch to new branch.
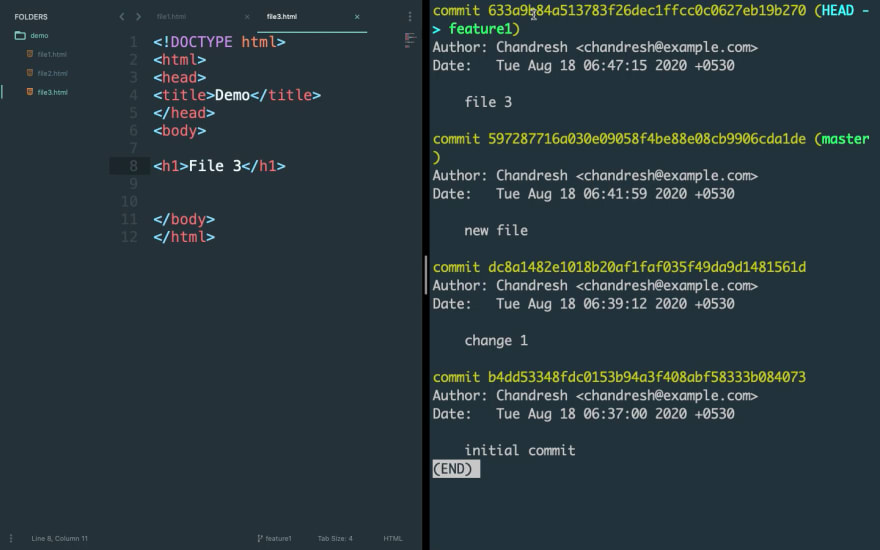
Let’s make some changes again.
Create a new commit and if we check our log then we can see that new commit has been done in our new branch.
Now Let’s say you are done with your feature code and want to switch to master branch.
Type
git checkout branch_name
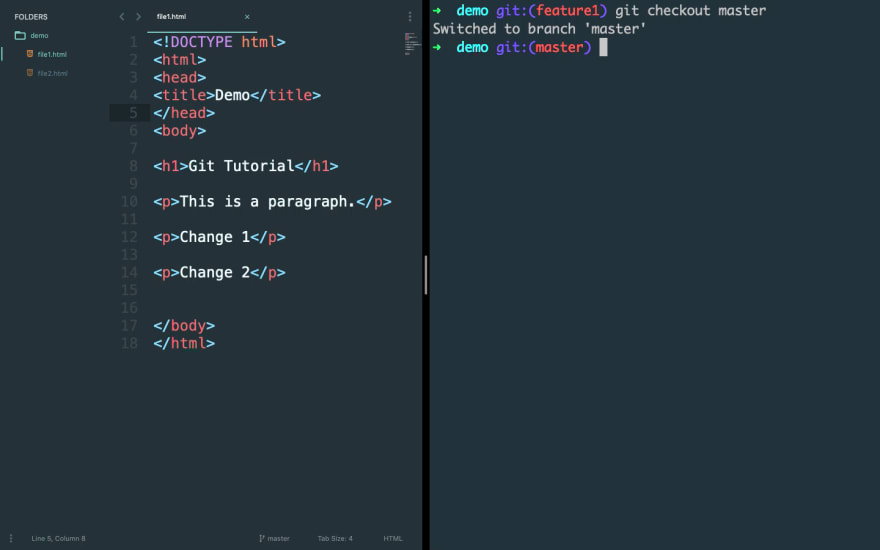
and we are back to our default branch that we were working on.
To merge the changes in made in feature1 branch with your master branch. Type
git merge branch_name_from_which_you_want_to_merge_changes
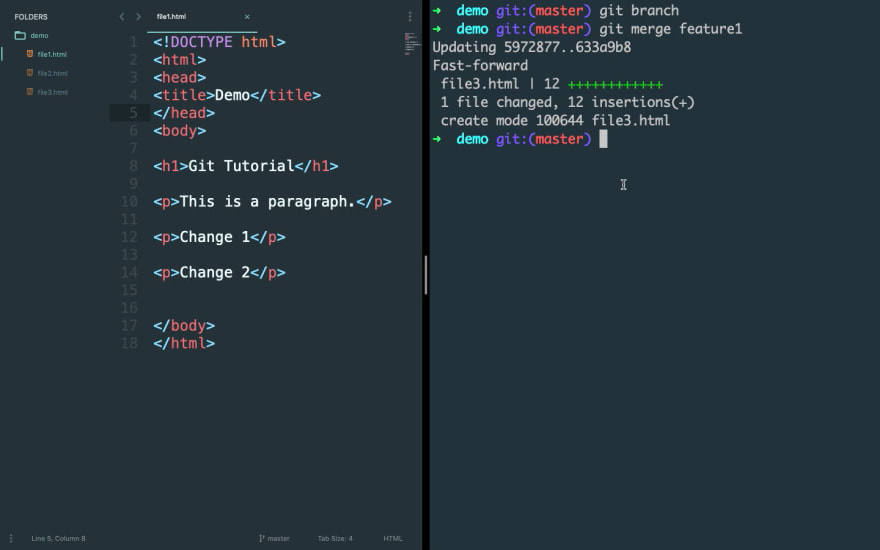
And this will merge all your changes from feature1 branch to your current branch that is master branch in this case.
Check "git log" and we now have the feature1 changes in master branch.
So you are done with all the changes and want to share your code with someone or may be just want to keep your changes on a service say GitHub.
For that go to GitHub.com and create a new account if you don’t already have one.
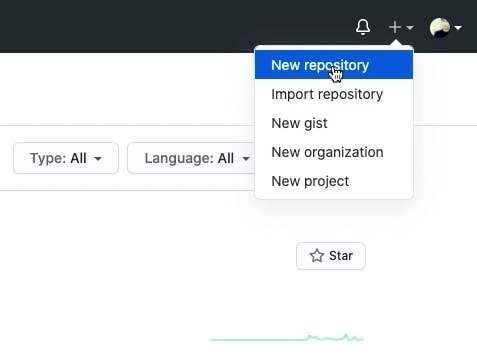
Create a new repository.
Select if you want to make your repository public or private. I’m gonna select private.
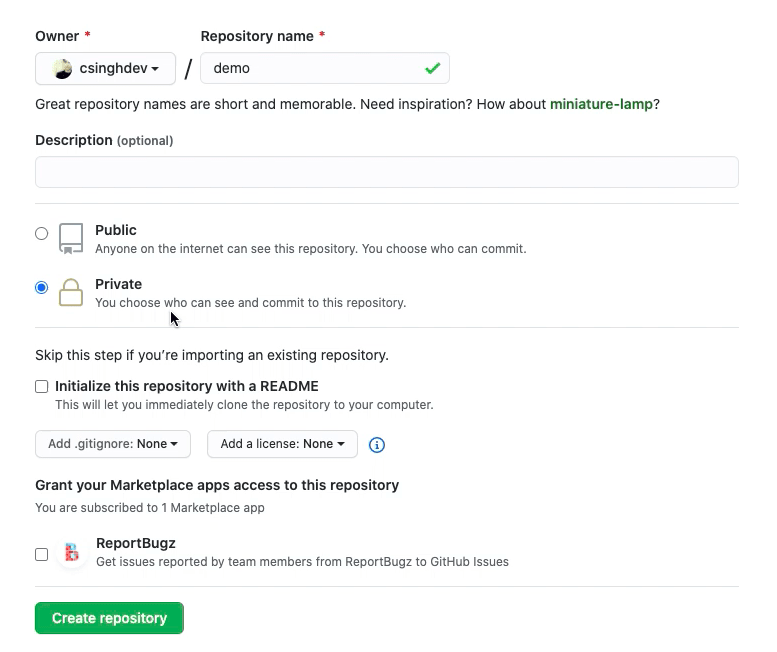
Click on Create repository

Copy the command here to add remote origin in your local repository.

Type
git push origin branch_name
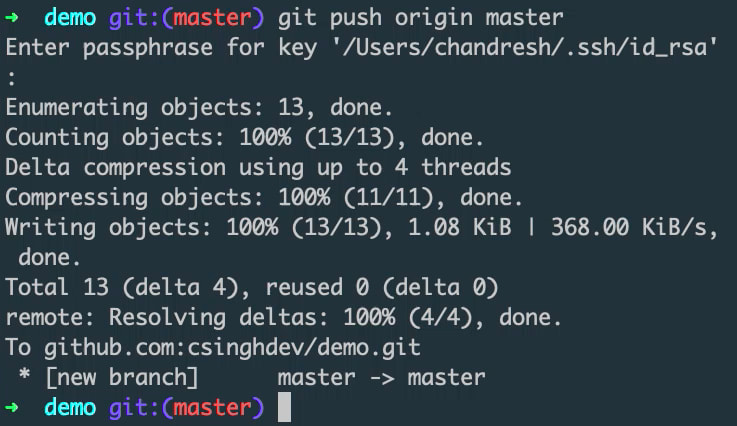
and this will push all your code in master branch to GitHub.
If you want to share the repository with a team member or a collaborator.
Go to settings.
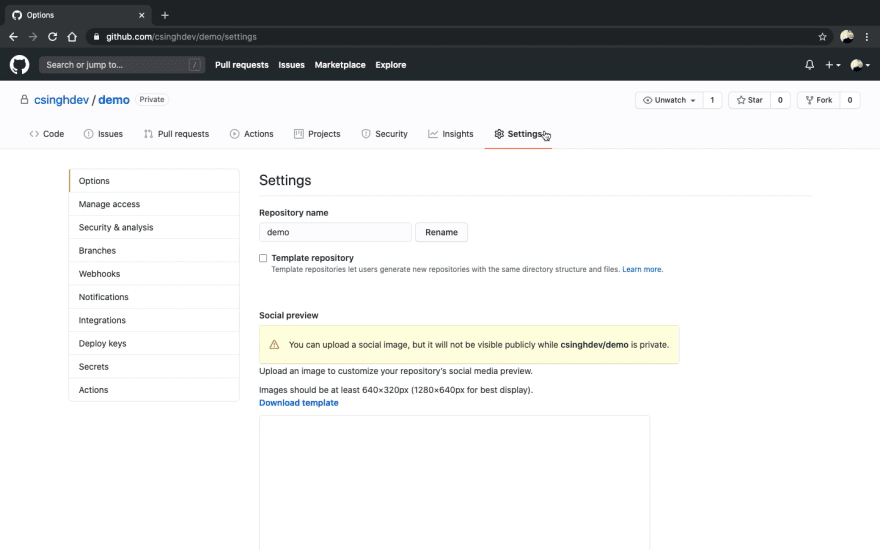
Click on “Manage Access”
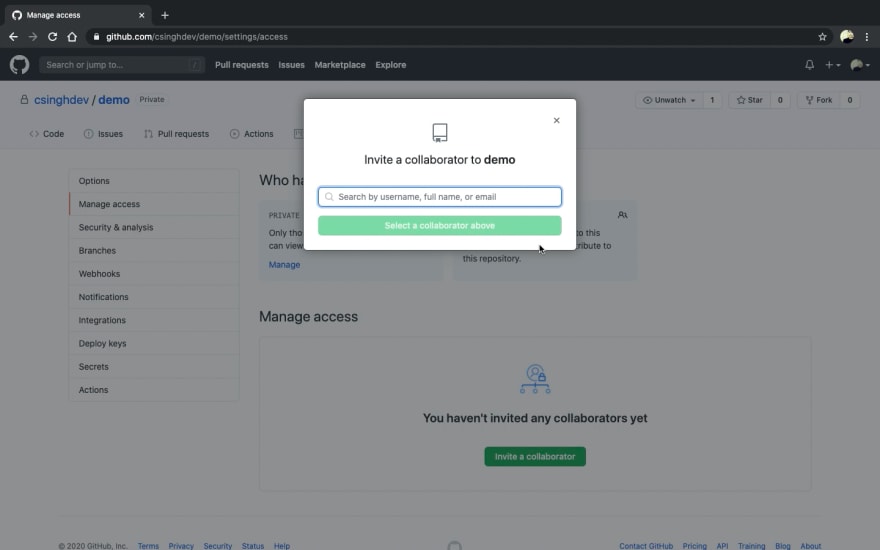
Click on “Invite a collaborator”. Type in their GitHub username or email if and they will receive an invite from you.
Once they accept your invite you can see them in your collaborators list.
Now let’s say your team member accepts your invite, and make a change into it.
Most likely your team member will first clone the repository on his or her local machine and then push the code on GitHub after making a change.
So how will you take the change from GitHub to your local.
Type
git pull origin branch_name

And this will pull in the latest changes from GitHub in master branch to your local.
And that's all you need to know to start using git in any project.
Hope you find this helpful!

Top comments (0)