This article is the first part of a series about building a 2D platformer game with Godot. In this article, we will cover how to install Godot, create a scene, a node, and a player.
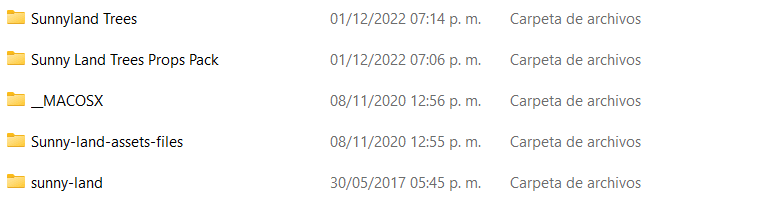
We will use as assets for our game, the Sunny Land pixel game art created by Ansimuz, you can download it from here.

We have to download all these assets.
Requirements
- Basic programming knowledge (variables, functions, loops, IF statement).
Godot
The README page says, Godot Engine is a feature-packed, cross-platform game engine to create 2D and 3D games from a unified interface**.** It provides a comprehensive set of common tools, so that users can focus on making games without having to reinvent the wheel. Games can be exported with one click to a number of platforms, including the major desktop platforms (Linux, macOS, Windows), mobile platforms (Android, iOS), as well as Web-based platforms and consoles.
Godot is completely free and open source under the very permissive MIT license. No strings attached, no royalties, nothing. The users' games are theirs, down to the last line of engine code. Godot's development is fully independent and community-driven, empowering users to help shape their engine to match their expectations. It is supported by the Software Freedom Conservancy not-for-profit.
Installation
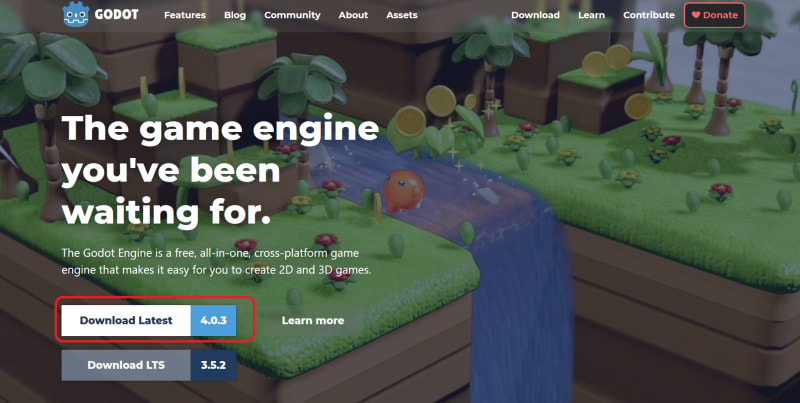
To install Godot, we navigate to this page. Press "Download latest", by the time I'm writing this article, is version 4.0.3.
After we download the Godot folder, we execute the following file:

Creating a New project
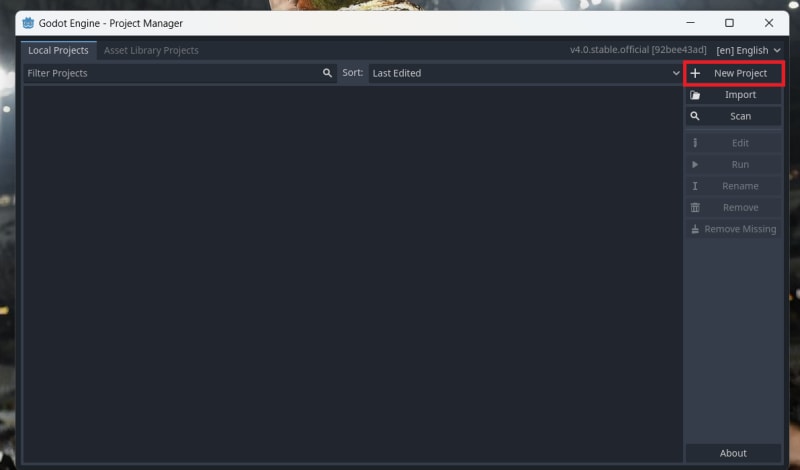
The Godot windows will open and we click on "New project".
That button will open a new window where we will have to give a name to our project and select a renderer.
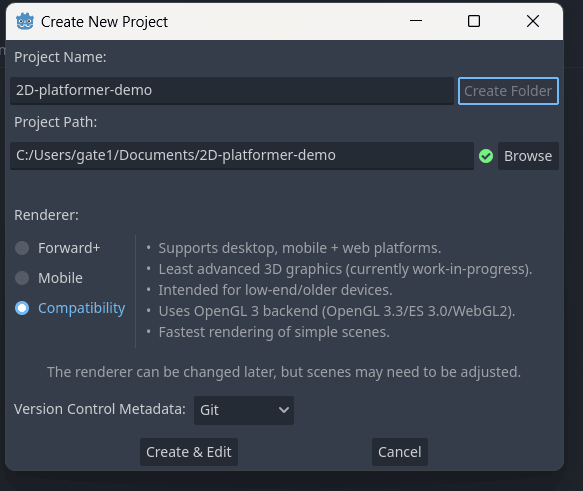
After naming the project, we click on "Create folder", then we choose a renderer, I will choose "Compatibility". Finally, we click on "Create & Edit".
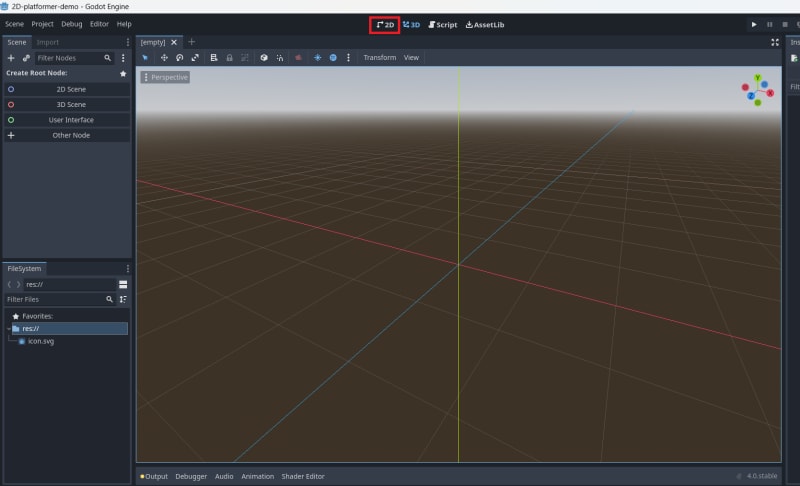
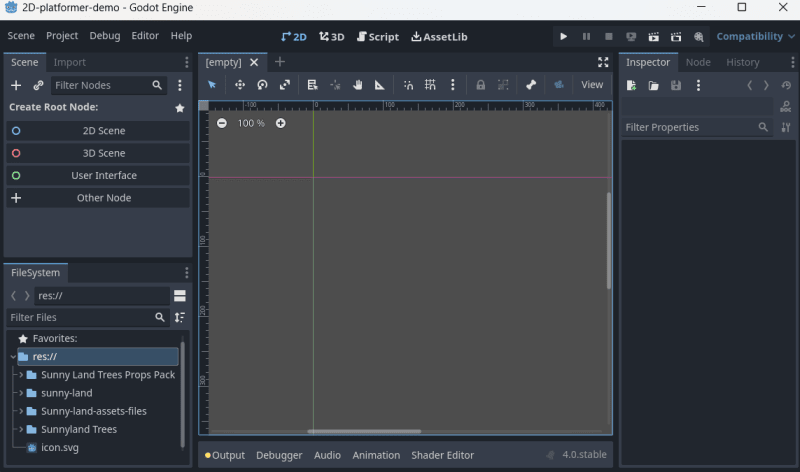
The following windows will open, and it will be set to develop 3D games. We select 2D, to create a 2D scene:
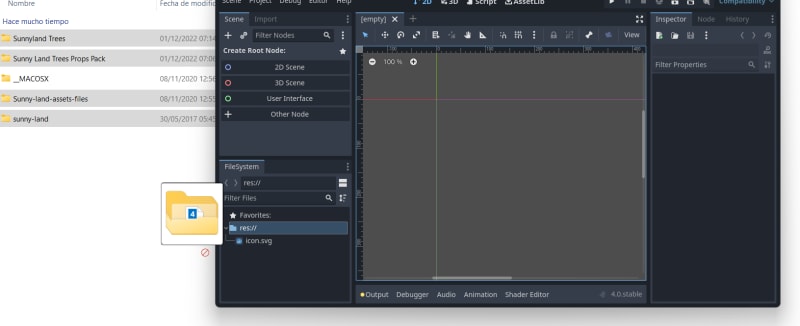
Then, we will take all the assets, we previously downloaded and add them to our project.
Creating a Scene
We need to create a scene first, so we click on "2D scene".
I will stop right here for a moment and explain, what scenes and nodes are.
Nodes
As de documentation says, nodes are fundamental building blocks for creating a game. A node can perform a variety of specialized functions. However, any given node always has the following attributes:
It has a name.
It has editable properties.
It can receive a callback to process every frame.
It can be extended (to have more functions).
It can be added to another node as a child.
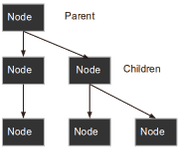
Nodes can have other nodes as children. When arranged in this way, the nodes become a tree.
In Godot, the ability to arrange nodes in this way creates a powerful tool for organizing projects. Since different nodes have different functions, combining them allows for the creation of more complex functions.
Scenes
According to the Godot documentation, a scene is composed of a group of nodes organized hierarchically (in tree fashion). A scene always has one root node, can be saved to disk and loaded back, and can be instanced.
Running a game means running a scene. A project can contain several scenes, but for the game to start, one of them must be selected as the main scene.
The Godot editor is a scene editor. It has plenty of tools for editing 2D and 3D scenes as well as user interfaces, but the editor is based on the concept of editing a scene and the nodes that compose it.

Then, a Node2D will be created, we need to give it a name. This node will be our parent node, so, I will name it "World".
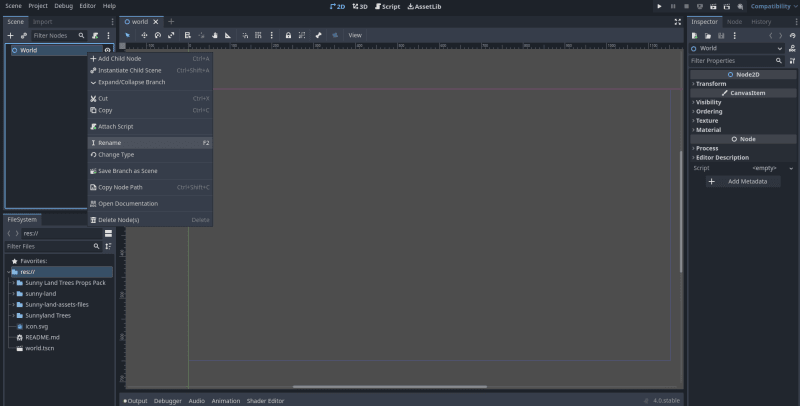
In this node is where we will put our world assets, like the ground and background. It will be the parent node of the player node, enemies nodes, etc.
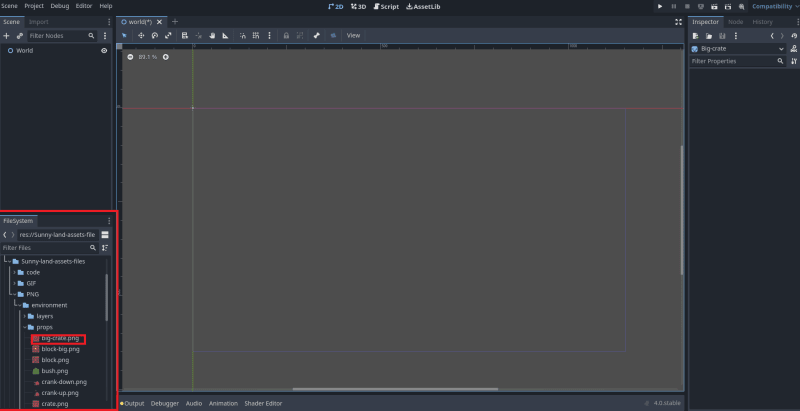
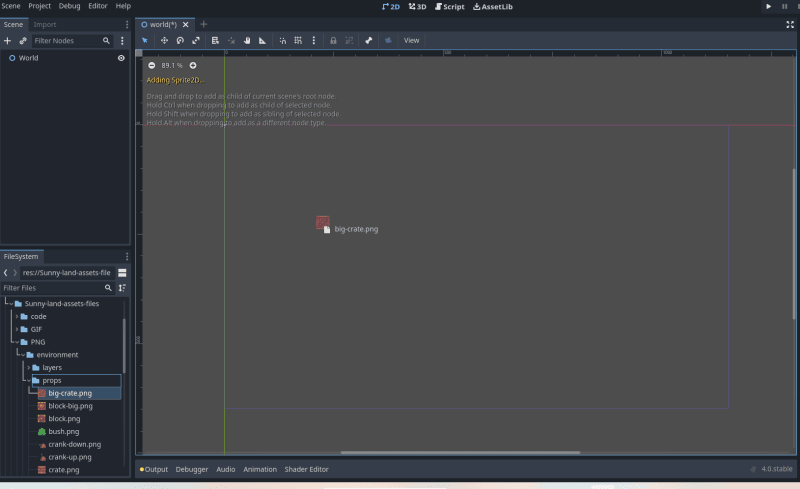
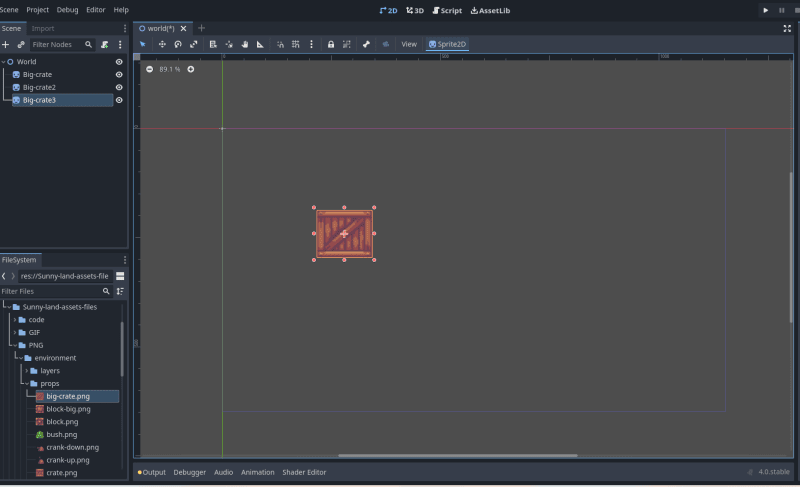
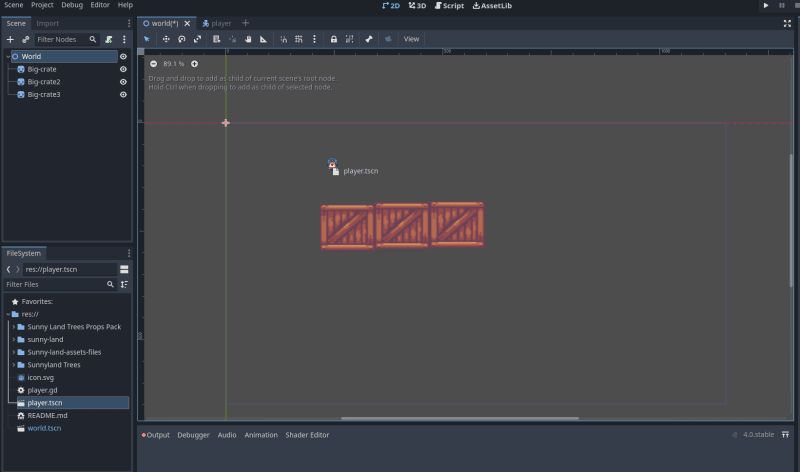
Now, let's add some props to this node. We go to FileSystem and click on Sunny-land-assets-file, then we go to PNG/environment/props, select big-create.png, and drag it into the scene.
If we click on the big create, we can adjust its dimension.
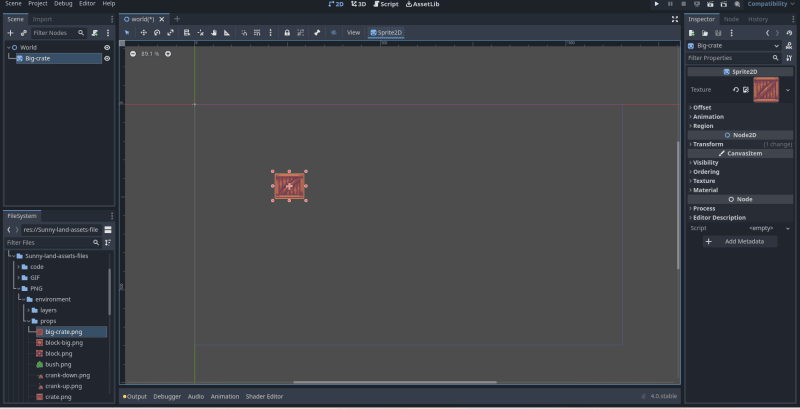
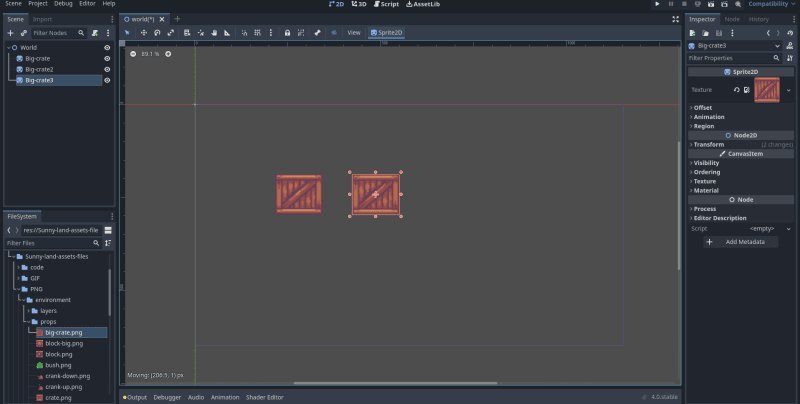
And if we press ctrl + D, we can create duplicates of this node.
We click on the big crate in the scene and drag it to any direction, to see the duplicates.
We press ctrl + S to save this scene. We have to save the scene every time we create one and change one, so we don't lose the changes we make.
Creating a Player
To create a player, we have to create another scene.
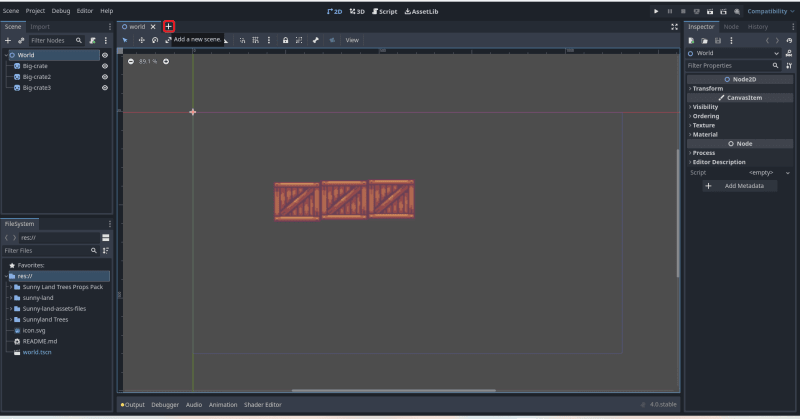
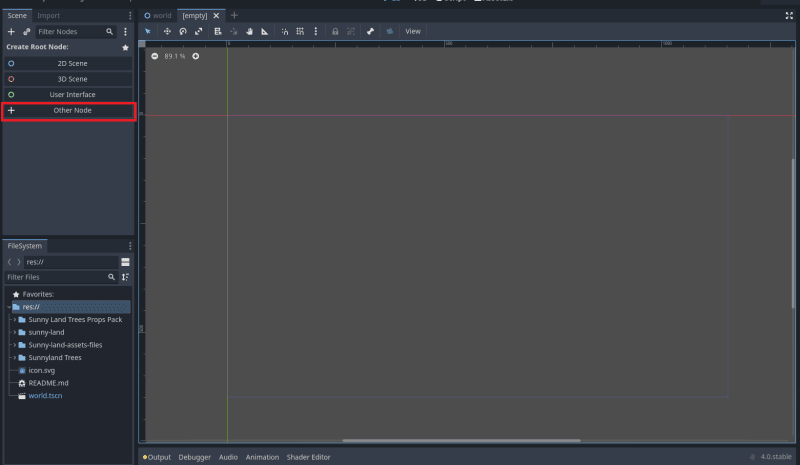
We press on the plus symbol, to add a new scene.
Then, we select "Other Node.
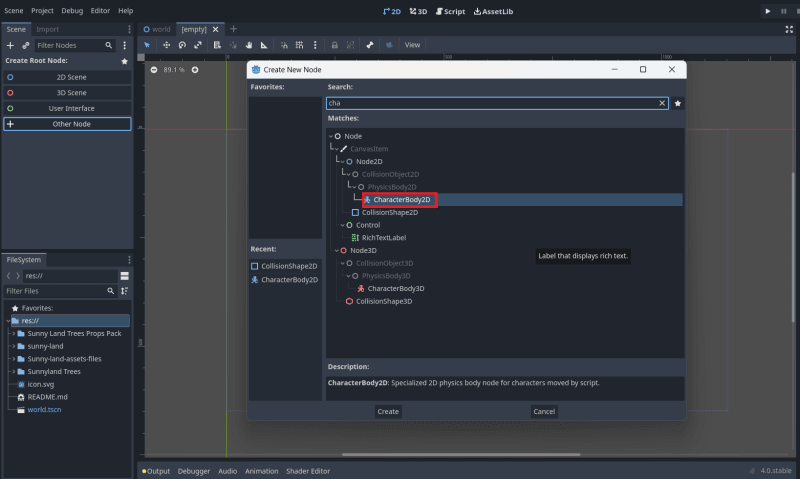
Godot we ask to choose the kind of node we want to create, and we choose "CharacterBody2D" and press the "Create" button.
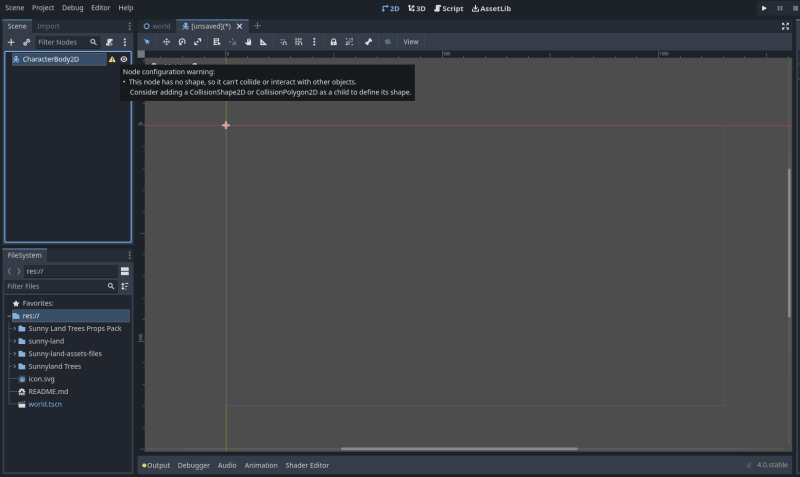
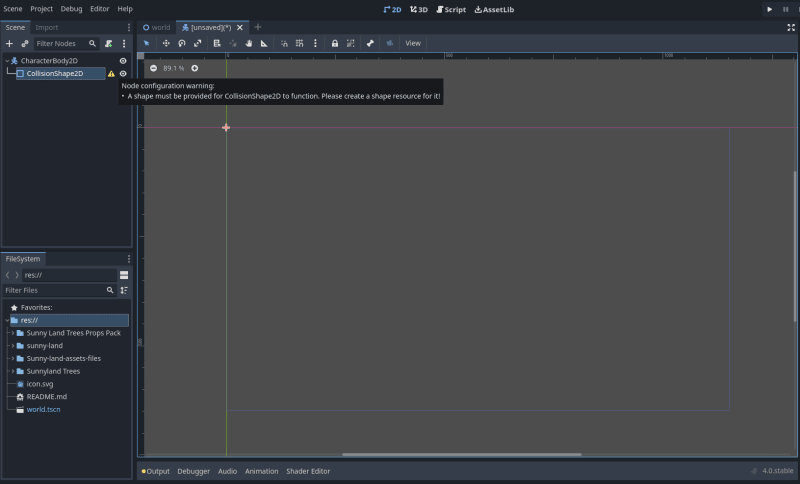
After the CharacterBody2D node is created. Godot will tell us that we have to create a collision shape for the CharacterBody2D node.
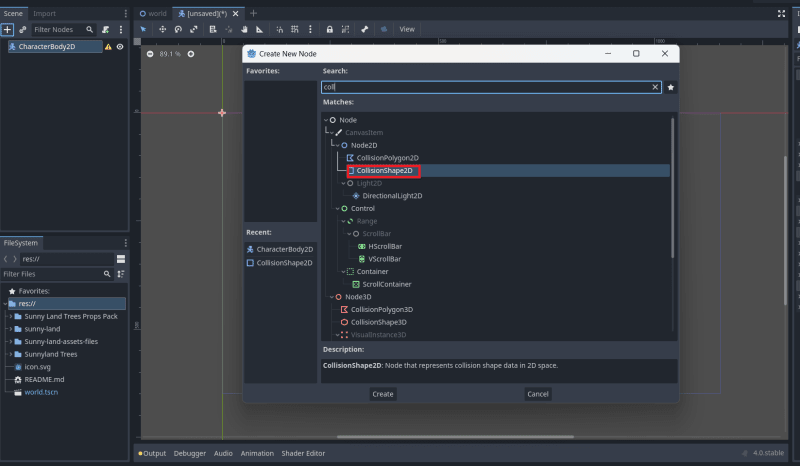
So, again, we create another child node, and select "CollisionShape2D". This node also must be a child node of the Player node.
After the CollisionShape2D is created. Godot will tell us that we have to select a shape.
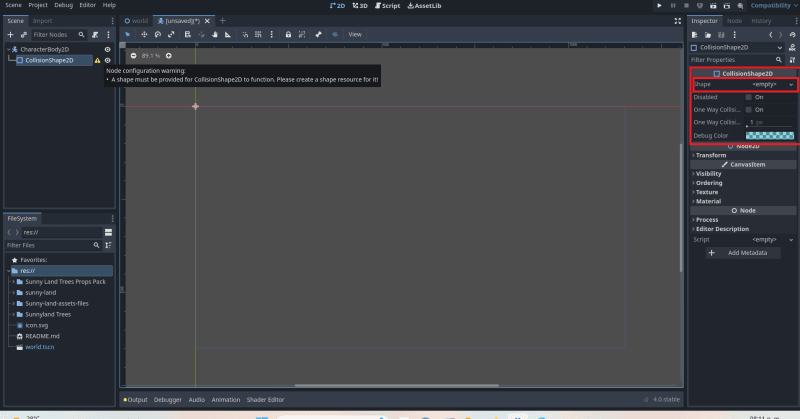
We go to the CollisionShape2D panel, and we select a shape.
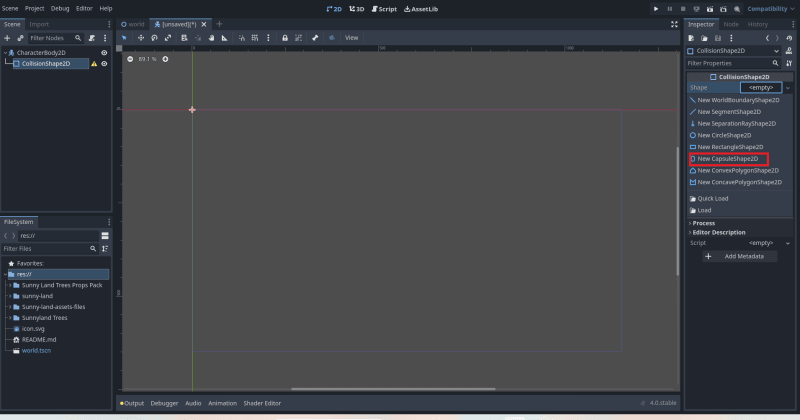
We select "New CapsuleShape2D".
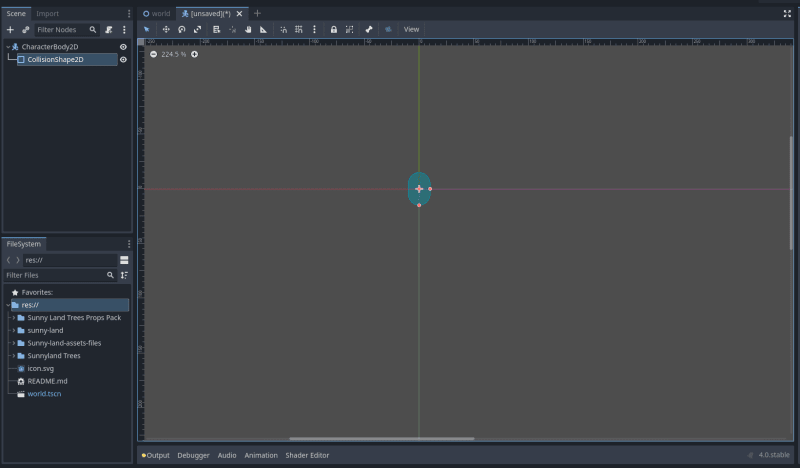
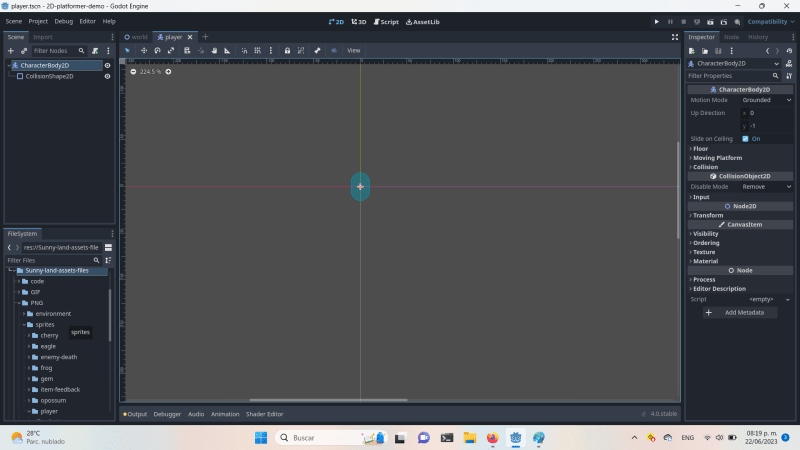
After the collision shape is selected, a capsule form will appear in the scene window.
Now, we press Ctrl + S, to save this scene as player.tscn .
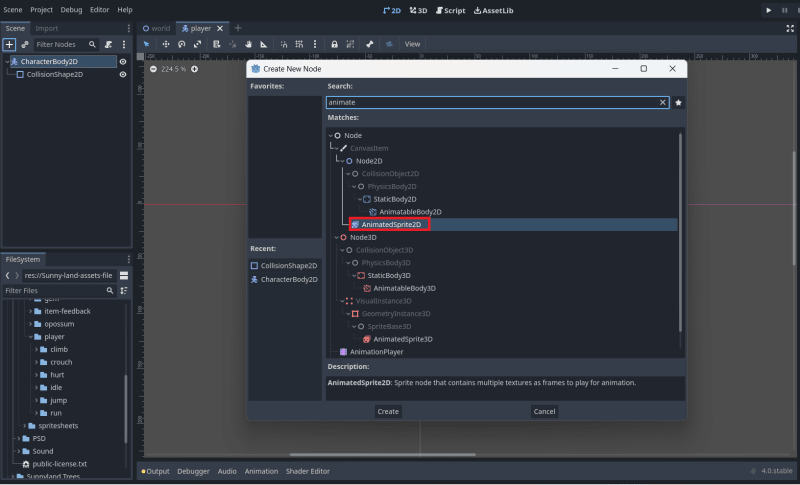
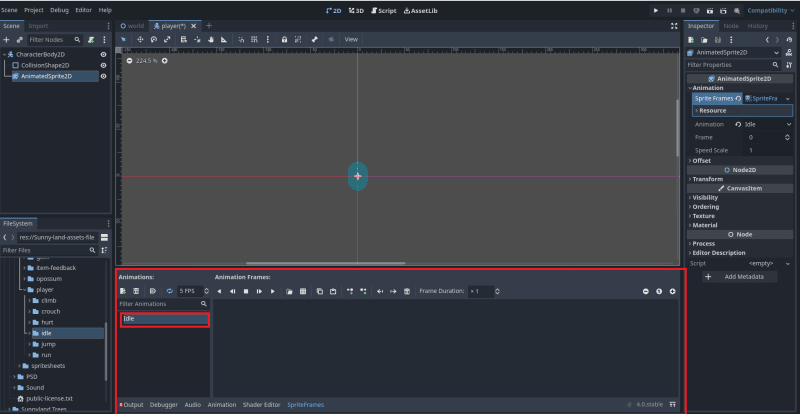
Now, is the moment to select the sprites. We have to create another node and select "AnimatedSprite2D".
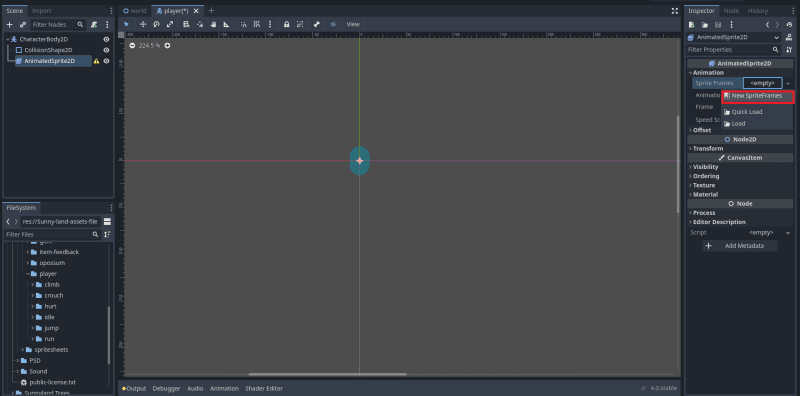
We have to select "Sprite Frames" in the right panel where it says "AnimatedSprite2D".

And we select "New SpriteFrames".
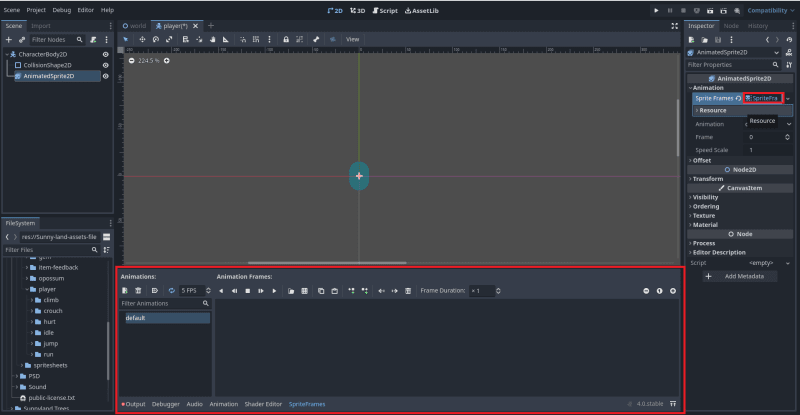
Then, we click on "SpriteFrame", and it will appear the Resource tab. And the Animation section below.
We go to the FileSystem section a look in the "Sunny-land-assets-file" folder for the PNG/sprites/player folder.
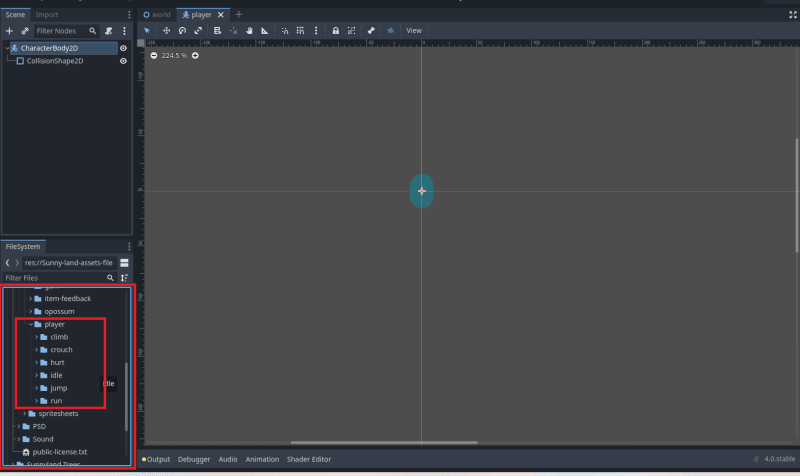
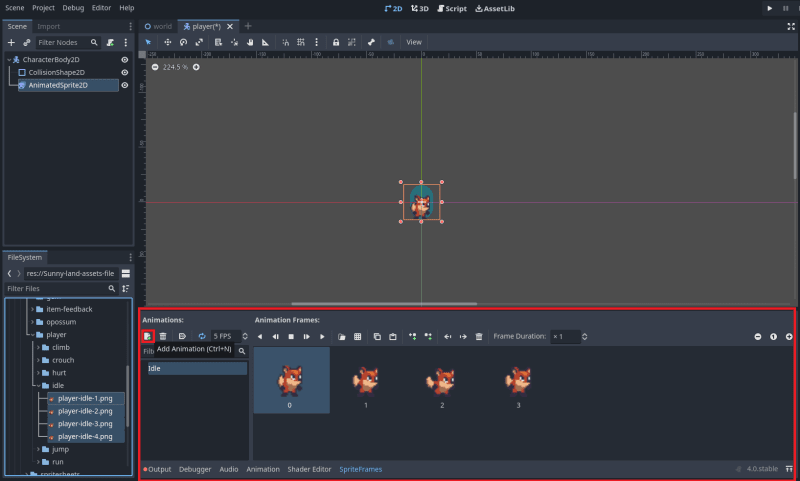
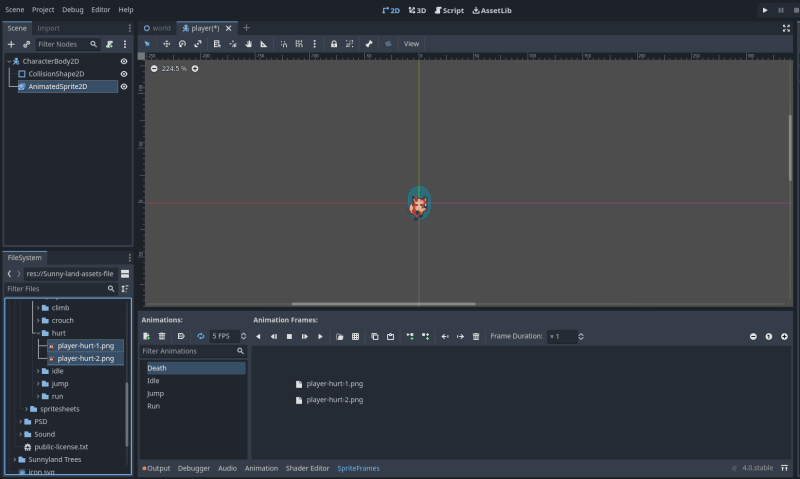
We create a new animation, we rename the "default" animation to "Idle".
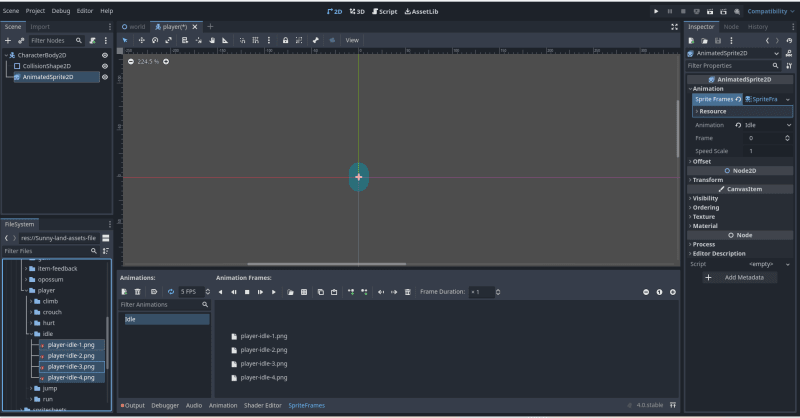
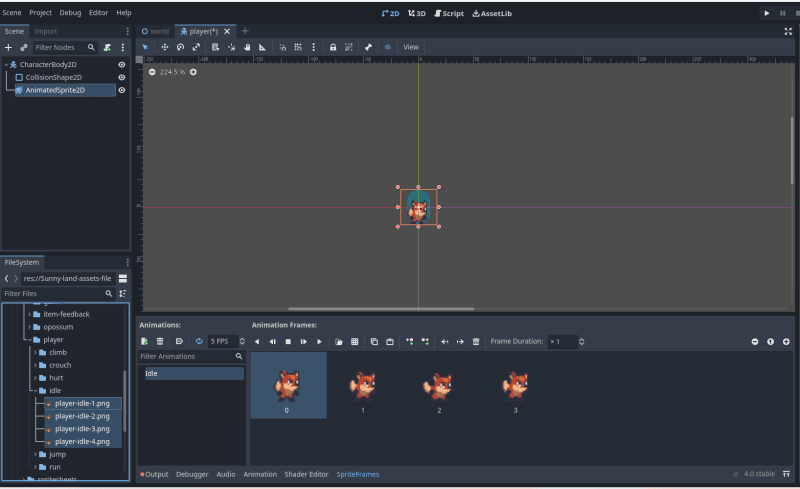
In the Sunny-land-assets-file/PNG/sprites/player/idle folder are 4 images. We drag them and drop them in the Animation Frame section.
For this game, I think is necessary to add 3 animations more, a run animation, a jump and a death animation. In Sunny-land-assets-file/PNG/sprites/player folder, there are folders for the animation we want to create.
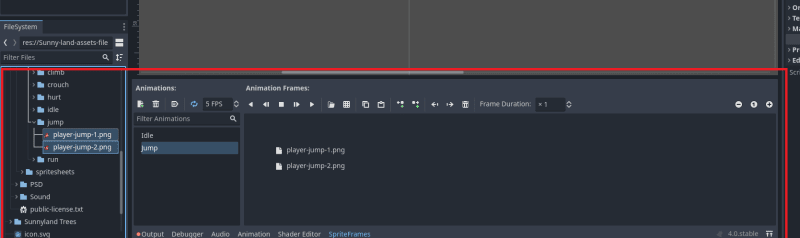
In the Animation Frame section, we click on the Add Animation button.
We rename the "new_animation" to "Jump". And look at the Sunny-land-assets-file/PNG/sprites/player/jump folder for the 2 images in it, and drag and drop them in the "Jump" animation section.

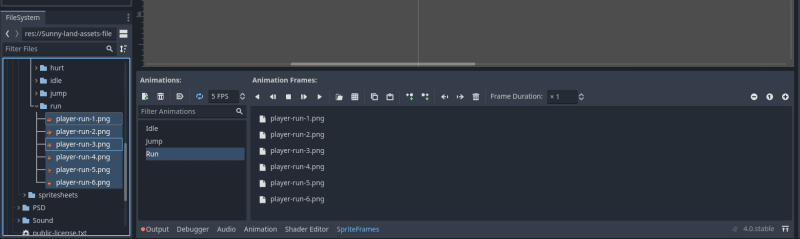
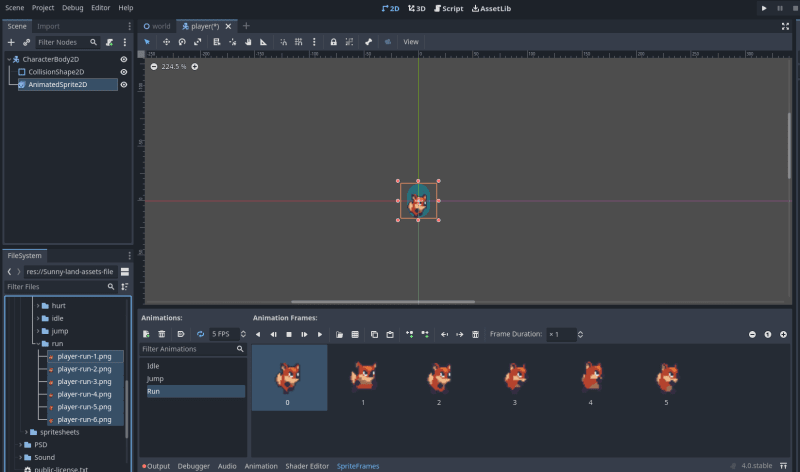
We have to repeat the same steps for the run and death animation. The death sprites are in the Sunny-land-assets-file/PNG/sprites/player/hurt folder.

We will create more CharacterBody2D nodes, so we renamed this one to "Player" to differentiate it from the others.
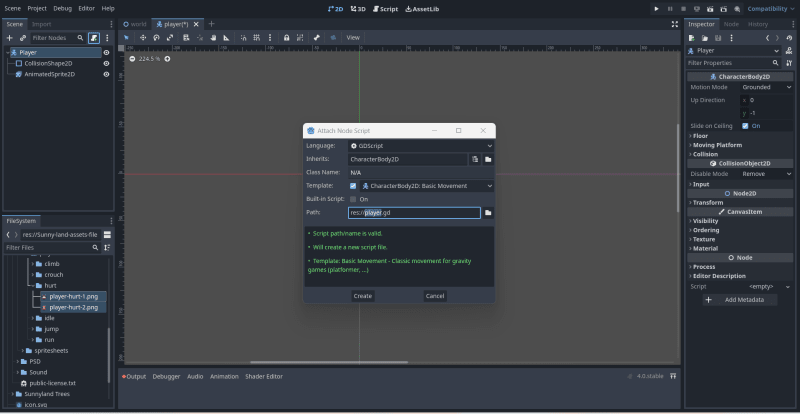
Now, we add a script for this node. A script is where we define the behavior of a node. For instance, the behavior of the Player node is its velocity, how high it can jump, its direction, etc.
We click on the "Add new script" for the Player node.

We keep the Template selected. This is a new feature in Godot 4.0. It generates a script template with the basic movements of a character.
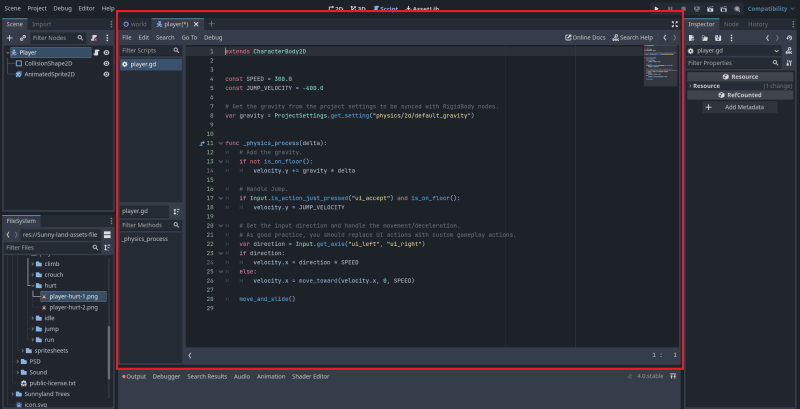
This is the script that allows our character to Jump, move and handle gravity.
extends CharacterBody2D

const SPEED = 300.0
const JUMP_VELOCITY = -400.0

# Get the gravity from the project settings to be synced with RigidBody nodes.
var gravity = ProjectSettings.get_setting("physics/2d/default_gravity")

func _physics_process(delta):
    # Add the gravity.
    if not is_on_floor():
        velocity.y += gravity * delta

    # Handle Jump.
    if Input.is_action_just_pressed("ui_accept") and is_on_floor():
        velocity.y = JUMP_VELOCITY

    # Get the input direction and handle the movement/deceleration.
    # As good practice, you should replace UI actions with custom gameplay actions.
    var direction = Input.get_axis("ui_left", "ui_right")
    if direction:
        velocity.x = direction * SPEED
    else:
        velocity.x = move_toward(velocity.x, 0, SPEED)

    move_and_slide()
Here are some key things it does:
It defines a SPEED and JUMP_VELOCITY constant for the character.
In _physics_process(), it adds the project's gravity to the velocity.y to handle gravity.
It handles jumping when the ui_accept action is pressed and the character is on the floor.
It gets the input direction from ui_left and ui_right actions and applies a velocity.x accordingly.
It uses move_toward() to decelerate the character when no input is given.
Finally, it calls move_and_slide() to move the character.
We click on "2D" to return to edit our World scene.

Now, we drag and drop the player.tscn file in the World scene.
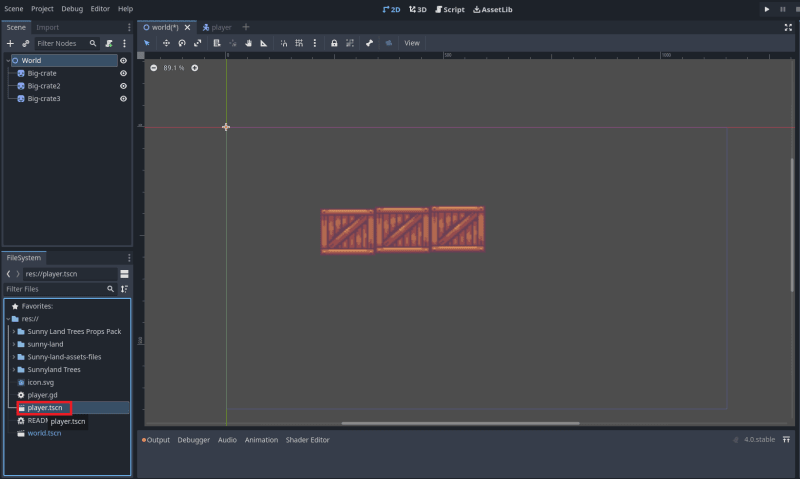

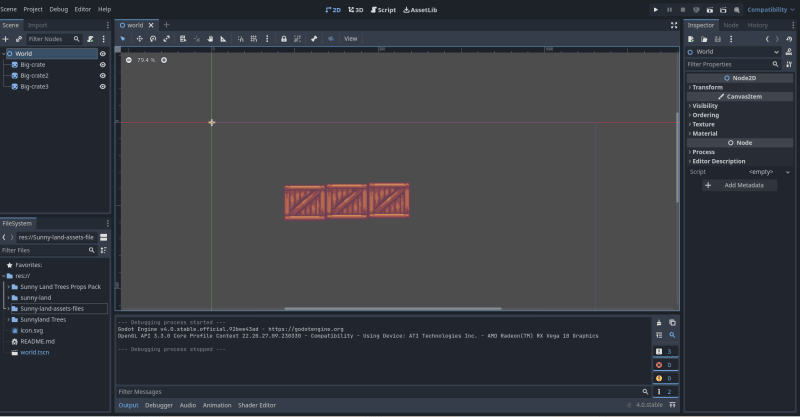
If we click on the "Play" button or press the F5 button, we can play the World scene.
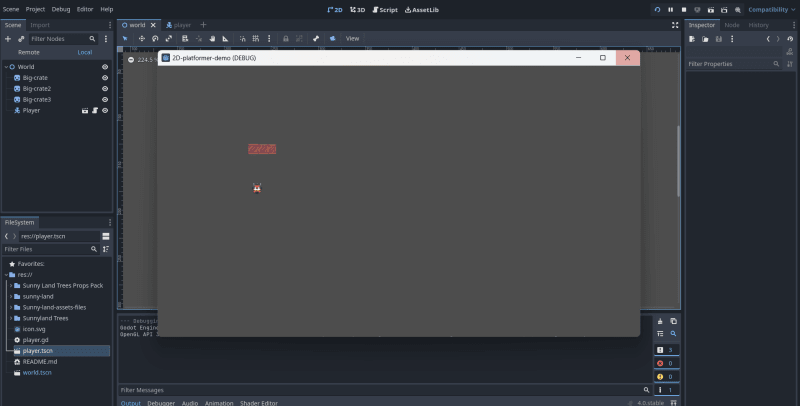
We can see how our player is falling through the screen. Because the Big-crate assets don't have any collision shape, yet.
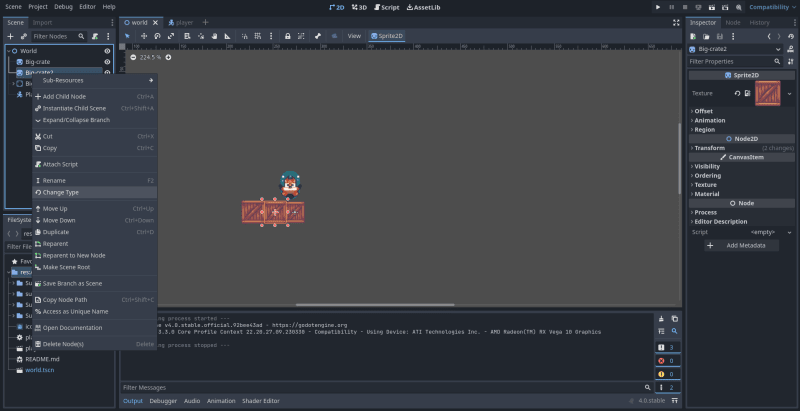
Let's change that by clicking the right button of the mouse on any of the Big-crate assets (I going to select Big-crate2).
Then, we click on Change Type.
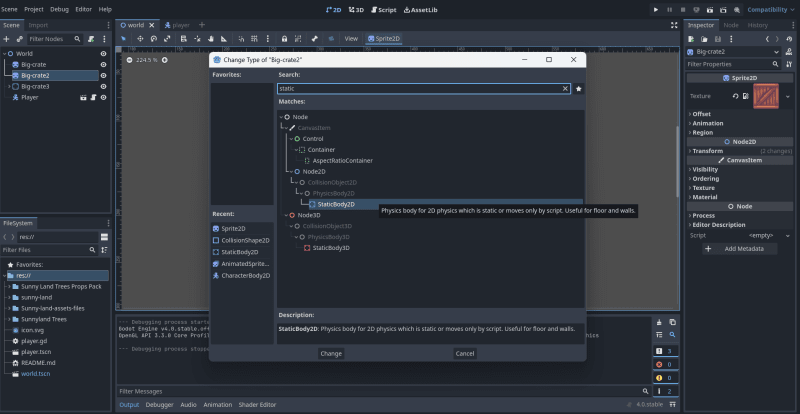
We select StaticBody2D.
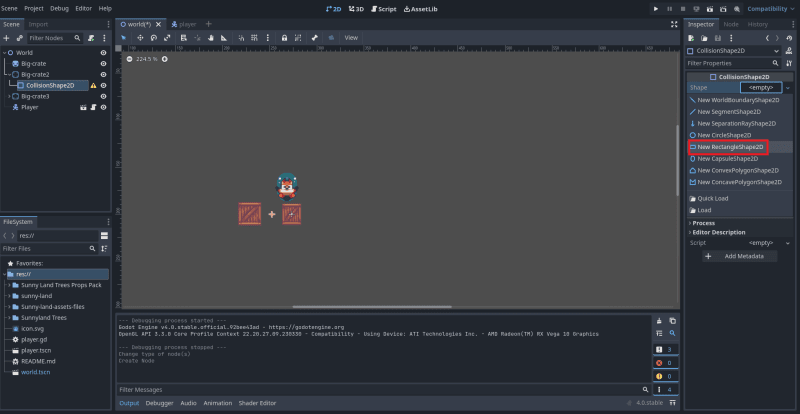
Then, we add a child node to the Big-crate2 and select CollisionShape2D.

In the right panel, where it says "CollisionShape2D", we click on "Shape" and select "New Rectangle shape".
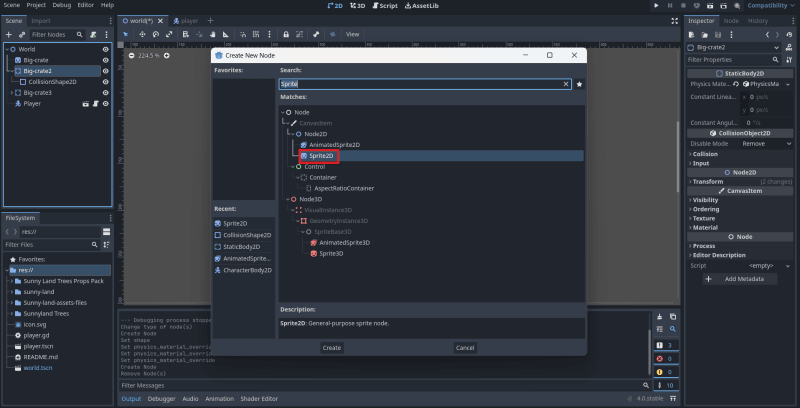
Again, we add another child node to Big-crate2, this time, we select Sprite2D.
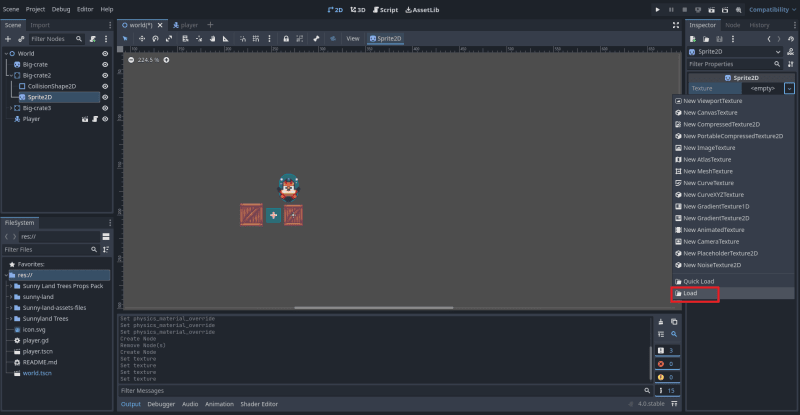
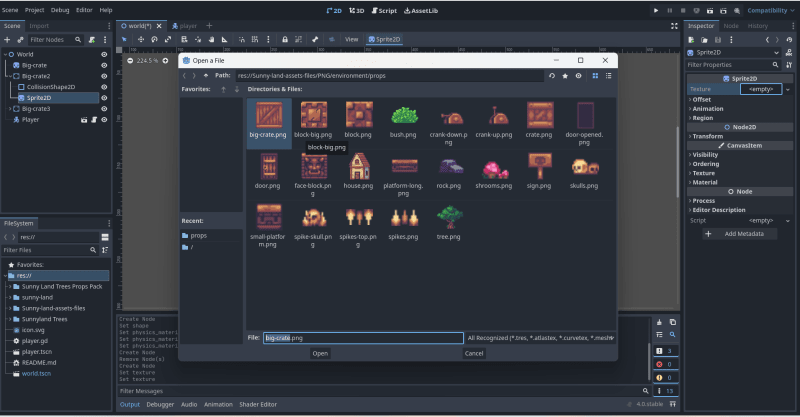
In the right panel, where it says "Sprite2D", we select a texture. We click on "Load" and select a "Big-crate" from the assets folder.
Now, we can repeat the process for the other "Big-crate" assets and we can add different assets. We just need to add a child node to the World node, select StaticBody2D, then add a child node to the StaticBody2D and select CollisionShape2D, after that another child node and select Sprite2D and finally, we select the texture to load a texture.

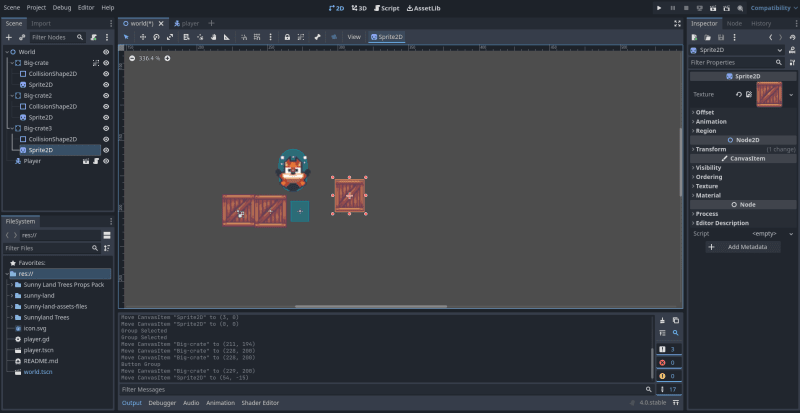
As we can see in the image above, both CollisionShape2D and Sprite2D are child nodes of Big-crate.
If we play the scene again, we will notice that the player is not falling through the crates.
If we try to drag a crate, we will notice that we are dragging the Sprite2D node, and not the CollisionShape2D.
To avoid this, we select the Big-crate and then, click on "Group Selected Node", making sure to realign the Sprite2D with CollisionShape2D before grouping the node.
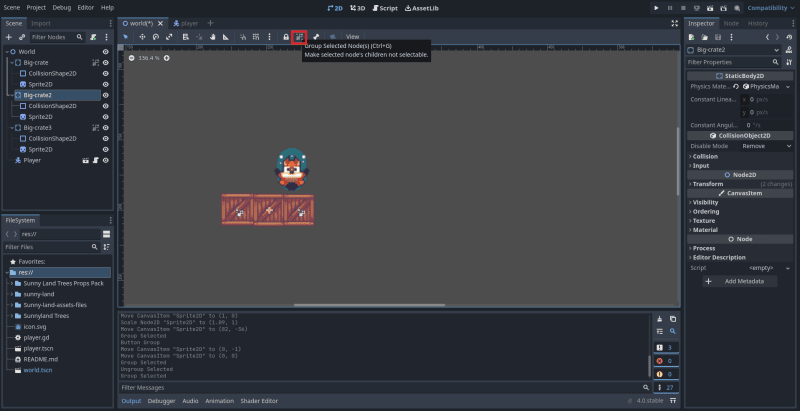
Now, we can move both nodes.
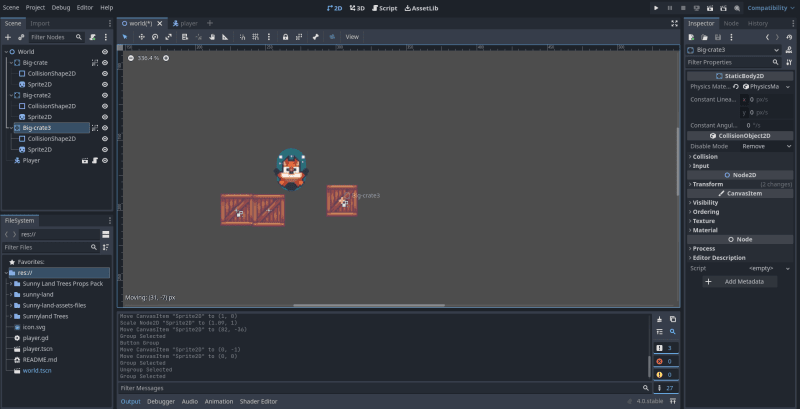
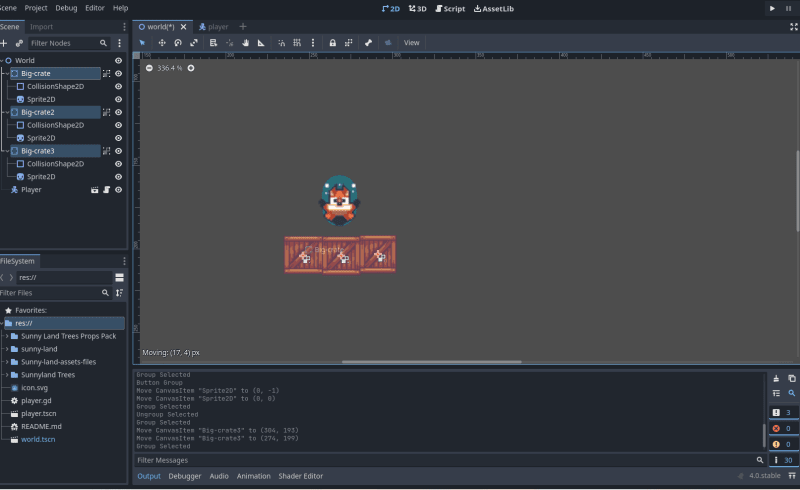
Also, with "Group Selected Nodes" we can group all three "Big-crates" and be able to move them simultaneously.
Conclusion
In this article, we learn how to create a project in Godot, how to add assets and create a player.
I want to shout out to Ansimuz for allowing us to use its assets for free. Coding Quest, HeartBeast and BornCG for creating very good content about Godot, their content motivated me to create this tutorial. Their videos were a great help for me to learn Godot and Game development.
Thank you for taking the time to read this article.
If you have any recommendations about other packages, architectures, how to improve my code, my English, or anything; please leave a comment or contact me through Twitter, or LinkedIn.


Top comments (1)
Starting to look into Godot for when I have time to work on a little project with it - this is a nice write up and I look forward to working through it in the future! 🎉