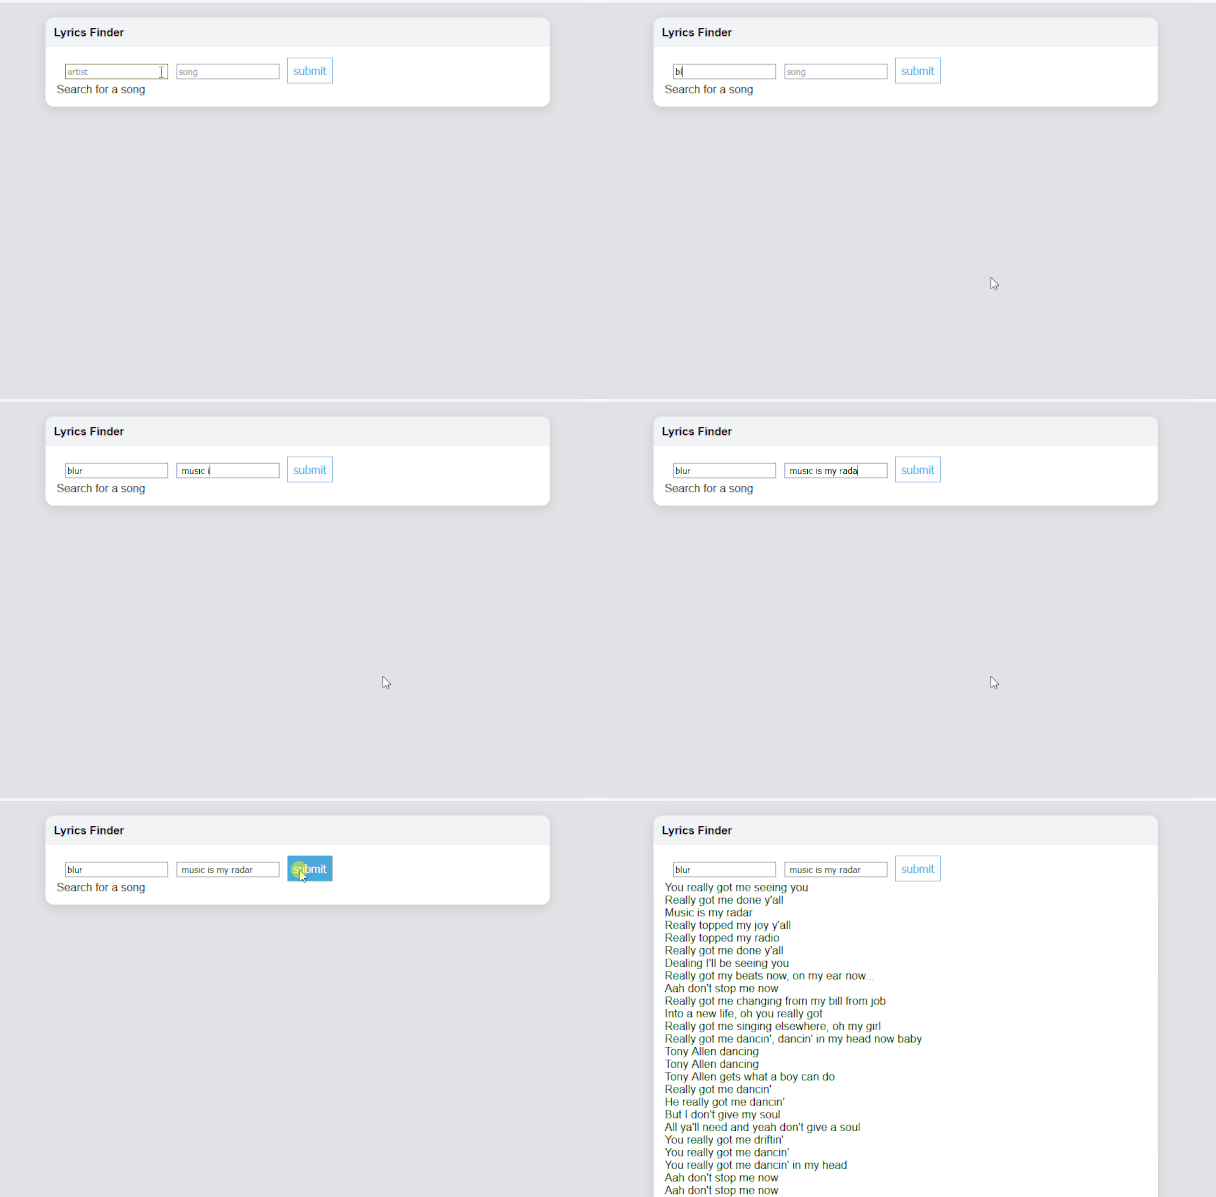
👨💻Source code available on github
Why ReasonReact?
ReasonML is a new syntax and toolchain for Ocaml created by Jordan Walke, a software engineer at Facebook, who also created React.
It give us the OCaml's typesystem with a similar javascript syntax.
With ReasonReact, we can actually write Reason code that compiles to idiomatic ReactJS.
Creating a new project
We're going to build a lyrics search web app using the lyrics.ovh API

First, with the npm installed in your machine, execute:
npm install --global bs-platform
bsb -init lyrics-finder -theme react-hooks
npm start
# in a new tab
npm run server
It will generate a template example code, let's delete all the components that are rendered on the index.re. Inside src create the folder LyricsFinder with the file LyricsFinder.re,
On index.re let's render only this new component :
ReactDOMRe.render(
  <LyricsFinder />,
  makeContainer("Lyrics Finder"),
);
Working on a ReasonReact component
We will start working on the LyricsFinder.re file
So, let's declare the type lyrics in the best oCaml-like way:
type lyrics =
  | NotLoadedLyrics
  | ErrorFetchingLyrics
  | LoadedLyrics(string);
Now it's time to make the react component, all you need is use the @react.component decorator and create the
make function.
Inside our component, let's use React Hooks to set the state of our application. We will define the lyrics, artistName and songName:
[@react.component]
let make = () => {
  let (lyrics, setLyrics) = React.useState(() => NotLoadedLyrics);
  let(artistName, setArtistName) = React.useState(() => "");
  let(songName, setSongName) = React.useState(() => "");
}
We must write our Reason JSX (it's a little bit different from the regular JSX) inside the make function, so we create a form with field for the artistName and the songName and a submit button:
  <div>
  <form onSubmit>
  <input type_="text" id="artist" placeholder   ="artist" name="artist"value=artistName onChange={
    e => {
      setArtistName(ReactEvent.Form.target(e)##value);
    }
  } />
  <input type_="text" id="song" placeholder ="song" name="song"value=songName onChange={
    e => {
      setSongName(ReactEvent.Form.target(e)##value);
    }
  } />
  <button type_="submit"> {React.string("submit")} </button>
  </form>
  </div>
As we can see above the onChange function for the inputs change the state of the artistName and songName. What we have to do now is create a function for the submit button, we will need the fetch function, Bucklescript, wich transpile code from Ocaml to Javascript, can help us giving the external fetch function from javascript:
[@bs.val] external fetch: string => Js.Promise.t('a) = "fetch";
So let's create the onSubmit function. This function returns the unit type, in Ocaml it's used to represent the type of expressions that are evaluated for a side-effect only.
  let onSubmit = (e: ReactEvent.Form.t): unit => {
    ReactEvent.Form.preventDefault(e);
    Js.Promise.(
      fetch("https://api.lyrics.ovh/v1/" ++ artistName ++ "/" ++ songName)
      |> then_(response => response##json())
      |> then_(jsonResponse => {
          if(jsonResponse##hasOwnProperty("lyrics")){
          setLyrics(_previousState => LoadedLyrics(jsonResponse##lyrics));
          }else{
            setLyrics(_previousState => ErrorFetchingLyrics);
          }
          Js.Promise.resolve();

      })
      |> catch(_err => {
          setLyrics(_previousState => ErrorFetchingLyrics);
           Js.Promise.resolve();
      })
      |> ignore
    );
  };
As we can see, with the onSubmit function the lyrics will receive the value according to the fetch response.
We will use the pattern matching on lyrics to give the result, on the reason JSX part:
  {switch (lyrics) {
    | NotLoadedLyrics => React.string("Search for a song")
    | ErrorFetchingLyrics => React.string("Error Loading Lyrics!")
    | LoadedLyrics(lyricsText) =>
    Js.String.split("\n", lyricsText)
    ->Belt.Array.map((lyricLine) => {
      <div><label>{React.string(lyricLine)}</label></div>;

    })
    ->React.array
  }}
So we finished creating the app! Hope you enjoyed this tutorial, feel free to download the code on github:


Top comments (0)