
In this tutorial, I will walk you through how to setup NGINX in AWS EC2 instance.
The tutorial only focuses on the manual operations of creating EC2 from AWS console, and commands to setup NGINX in the instance. We won't dive into the NGINX concepts and advanced features.
Preprequisties
- An AWS account with proper permissions.
- Your local PC has terminal to SSH into instances.
Step 1. Launch an EC2 Instance
Firstly, let's create an EC2 instance from AWS console by clicking on the button Launch Instances on the right top corner of the EC2 page.

A form shows up to let you fill in some properties before the instance get launched.
- Name and tags: give the instance a friendly name. For example my-workpc-demo.
- Application and OS Images (AMI): select Amazon Linux(free tier eligible) with architecture 64-bit(x86) in Quick Start for demo purposes.
- Instance type: select t3.micro(free tier eligible).
- Key pair: you can select an existing key pair from the dropdown list or create a new key pair. For demo purposes, I created a new key pair named my-workpc-demo.pem as below shows. Click the button and a my-workpc-demo.pem file is downloaded to your PC.
The pem key is used to SSH into the instance. This is the only opportunity to download it from AWS console, and there is no chance to replace key pair for instance. You should never share the key or delete the key unless you are sure about the effect.

- Network settings: the new EC2 instance is created in default VPC and default subnet as default. You can choose another VPC and subnet, but for demonstration and simplification, I will keep everything as default.
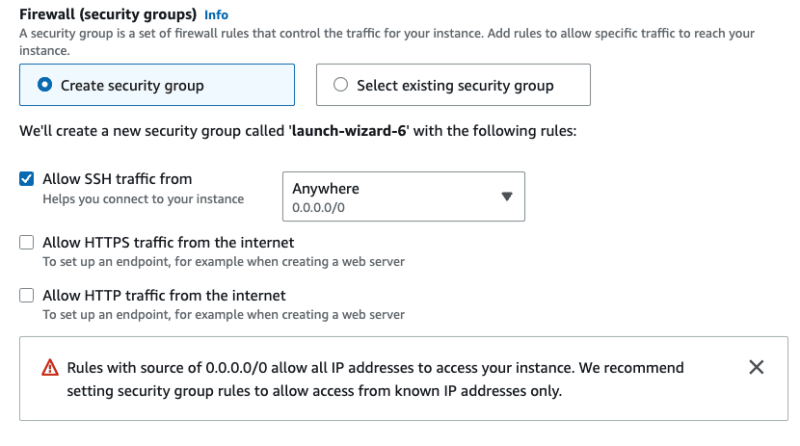
If you choose to create a new security group, make sure to enable all SSH traffic from Anywhere, or specified IP address range. It will add an inbound rule to your security group to allow traffic from the selected IP address range through port 22. For best practice, you should always avoid exposing instances to the Internet for security.
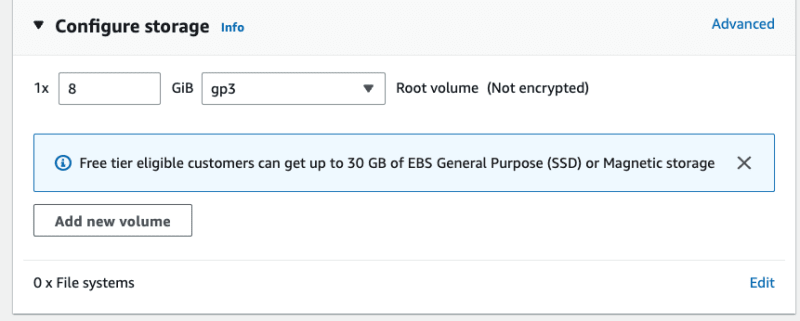
- Configure storage: create and attach an 8 GiB gp3 root volume on EC2 instance as default.
- Skip Advanced details, and click Launch instance. Wait a few seconds, until the instance status changes to running, you can connect to the instance from terminal via SSH.

Step 2. Connect to EC2 Instance
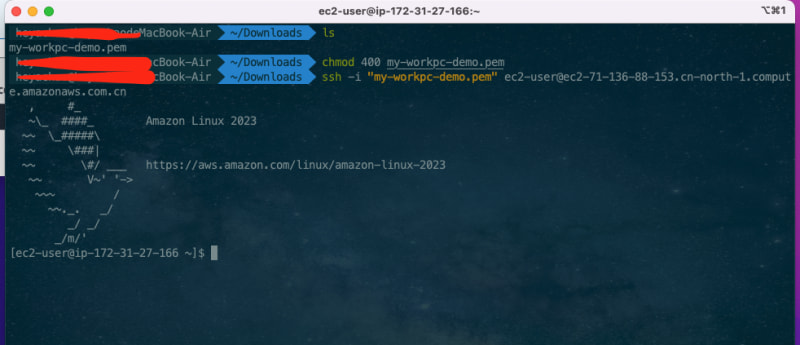
Click on Connect, connect to your EC2 instance following the guide for SSH client option.


Follow the above guide and run commands in the terminal. A welcome tip shows up when you enter the instance successfully.
As mentioned early. the security group we created when launching an EC2 has an inbound rule to allow SSH via port 22 from the internet (0.0.0.0/0). You may encounter a timeout issue if your security group doesn't open the rule. Add an inbound rule for SSH from 0.0.0.0/0 to the security group via port 22 as needed.

Step 3. Install NGINX
Now, we are ready to install NGINX in the instance. Execute the command below. Just follow up by pressing "y" when the installation interacts with you.
sudo yum install nginx
It probably returns an error "yum: command not found" if the instance AMI is not Amazon Linux. For Ubuntu based AMI, use "apt" instead of "yum".
After installing NGINX, execute the command below to start and validate NGINX.
# Start Nginx
sudo systemctl start nginx
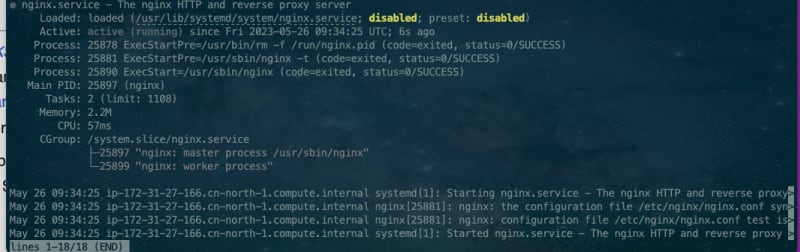
# Validate Nginx
sudo systemctl status nginx
Add security group inbound rules to open HTTP and HTTPS to allow inbound traffic from the internet to instance via port 80 and 443. Again, you should never expose your instance to the Internet.

Find the public IP assigned to your instance automatically from AWS console, visit the index.html page of NGINX via http://ip-address. The NGINX default welcome page is returned as below.
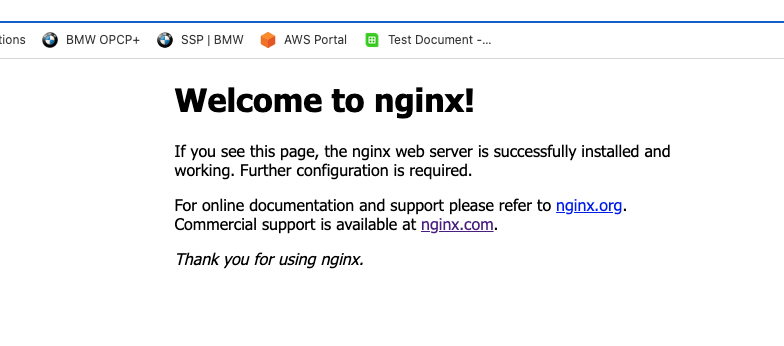
Now, we install NGINX in EC2 instance successfully.
Summary
- When you create an EC2 instance on AWS console, you are allowed to create a new security group or use an existing one. Port 22 is open for SSH access when you create a new security group. However, remember to open port 22 for SSH if your existing security group doesn't open it.
- The key pair you created is used to access your EC2 instance remotely. The key file is downloaded when you create it. You CANNOT download it again on AWS console. Never ever delete it if it is still in use.
- You CANNOT update EC2 instance key pair after launch.
- If you want to check if NGINX is setup successfully through visiting index.html, don't forget to open port 80 for HTTP.
Thanks for reading and appreciate your comments on content and grammar!


Top comments (0)