With File Server, you can manage your files by opening their path in your local environment. You can perform all read-write operations on the files or customize these features using the authorization option.
Follow the installation steps of the Localtonet application to complete the setup. You can refer to this Blog for assistance.
To create and start a tunnel, go to the File Server page and enter your local file path. For example, in Windows, the path can be C:\Users\Public\ExampleFolder, while in Linux, it can be /root or /usr/share.


By default, all features will be publicly launched once you create the tunnel. To restrict features or create rules for specific users, click on the "Manage" button under "Permissions," make the desired settings on the screen that appears, and then save them with the "Save" button.
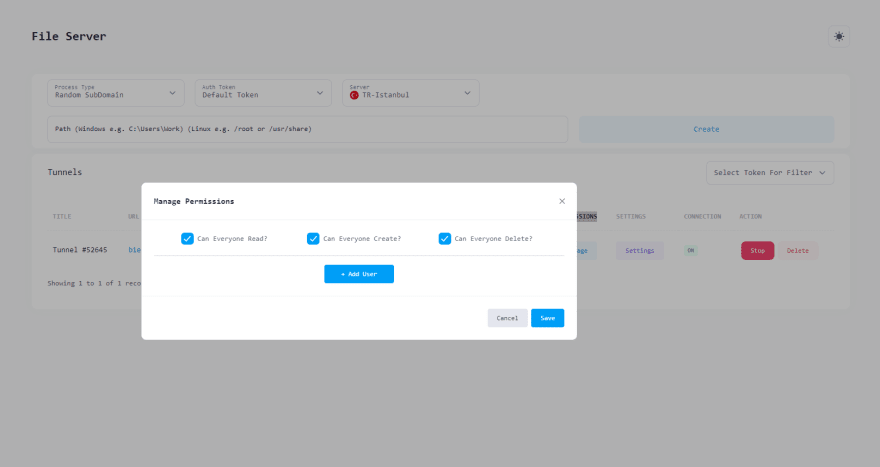

Although everyone can view your files, only the users you define can perform their transactions within the authorized limits that you have set. If you turn off the "Can Everyone Read?" option, only the specified users can access the files.
You can also customize the Title, Favicon, and Logo of your File Server.
To update your Title value, open the Modal by clicking the "Settings" button, enter the new title and then stop and restart your tunnel.

To customize the favicon, simply add your own favicon image with the name "favicon.ico" in the file you share.
To customize the logo, simply add your own logo image with the name "logo.png" in the file you share.


Latest comments (0)