To create a simple ERC-20 token, you’ll need some basic coding skills to deploy a smart contract to the Ethereum chain.
You’ll also need to have MetaMask installed and some FUNDS in your wallet to pay gas fees (you can get them from testnet faucets). We’d use the Goerli test network and Bunzz in this tutorial.
Not every step in the tutorial below will apply if you're only creating a token. We will cover the basics of creating a token in a blockchain and how to mint its supply before finally minting your coin.
Create your own cryptocurrency
We will will cover the basics of creating a token on the Ethereum blockchain first before finally minting your token.
How to create an ERC-20 token
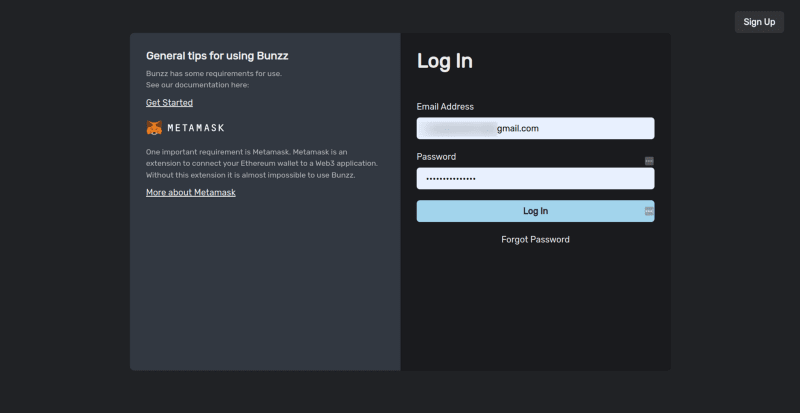
First, visit Bunzz and log in or sign up if you're new to the platform.
Once you are logged in, you will have access to the Bunzz dashboard where all the magic happens. The next step is to connect your Metamask wallet and then create a DApp as seen in the image below.
Give your DApp a name, you can use any name that comes to mind, I have used "Crypto Token" as mine.
Next, you will be asked to select a network for the DApp, you can select Testnet or Mainnet depending on what you wish to do. I have chosen Goerli Testnet as seen in the image below.
Up next is to select a template from the many available already made smart contract templates. Since we are launching a cryptocurrency, we'd select the simple ERC20 token.
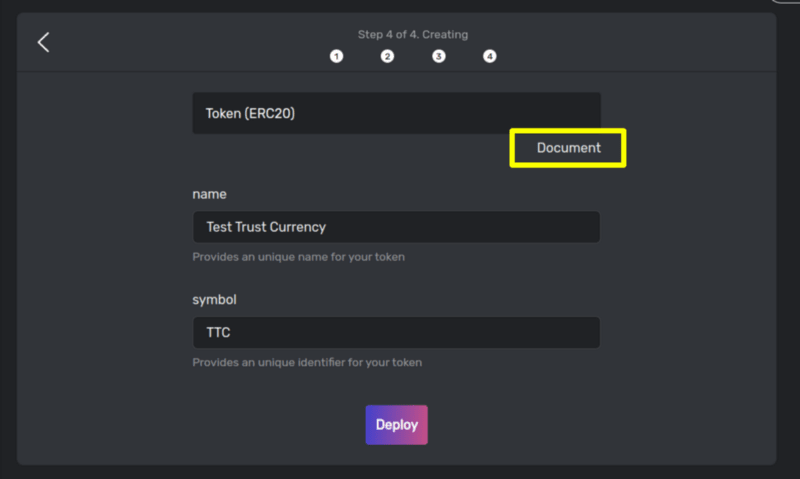
As seen in the image below, the next step is to customize your token by adding a name and a symbol. I have named by token Test Trust Currency and TTC as the symbol.
If you wish to see the code behind the ERC-20 smart contract, click on the document button. In the future, Bunzz will add an edit code feature for developers to add extra functions to the Solidity code.
Once you are done customizing, click on deploy and wait for it to sync by approving 3 transactions that would pop up via Metamask as seen in the image below.
Hurray! you've done it, we have successfully deployed an ERC-20 smart contract for our new token named TTC.
As you can see in the image below, the dashboard now has other features that will allow us to interact with and use our newly launched token as we please.
Now, let's proceed to check Etherscan Token Tracker and confirm if our new token is really on the blockchain. First, copy the token address as highlighted in the image below.
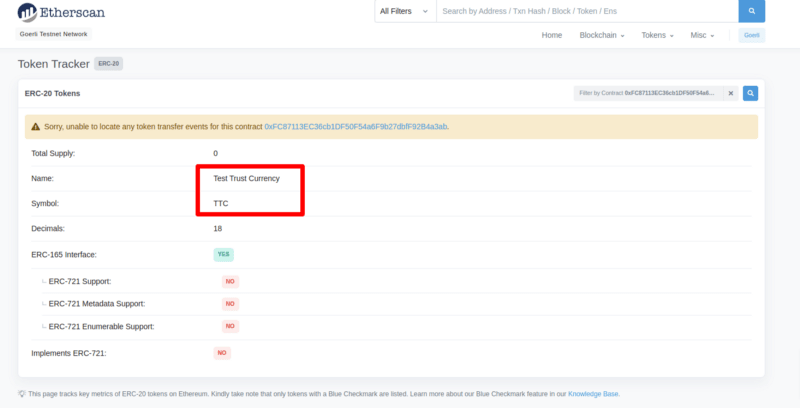
Once you have copied the address, head over to Etherscan Token Tracker, paste the address, and search.
Great! We can see our token name and symbol. Congrats once again!
If you observe in the image below, the total supply of TTC is zero. We’d fix that in the next article as we learn how to mint tokens.
Closing thoughts
If you decide to make your own cryptocurrency, make sure to use this tutorial only as a starting point. It's a deep topic that takes a long time to understand fully.
Beyond creating the token or coin, you also need to think about making it a success post-launch and studying other projects and their launches to see what worked well and what didn't can help with creating your own cryptocurrency.


Top comments (0)