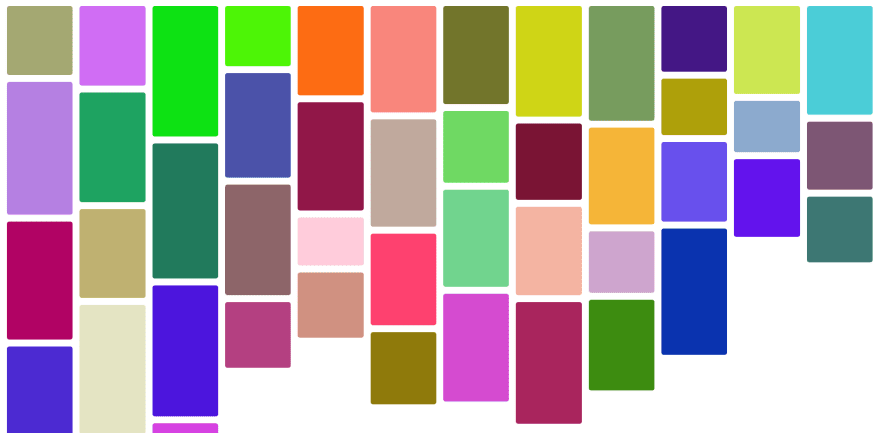
Following my latest post (this one).
Im going to show some examples of what you can do with EasyGrid, specially for less experienced developers/designers.
What is EasyGrid?
EasyGrid is a dependency-free Javascript Library.
It creates, organize and distribute items dynamically by columns automatically generated according the width of the monitor (or container).
It is not meant to replace any CSS Framework, in fact, works even better when both are combined.
Let's get started!
After you setup all Styles and JS sources, you need to create the HTML element where will be intialized.
<div id="grid" class="easygrid_bvgrid" style="width:100%;"> </div>
...then its ready to be initialized:
var demo1 = new EasyGrid({
  selector: "#grid",
  width: "150",
  height: "random",
  margin: "5",
  config: {
    fetchFromHTML: true
  },
  animations: {
    fadeInSpeed: "1000" // Ms
  },
  colors: {
    background: "random"
  }
});
Now comes the part that is the reason of this post.
It has a lot of possibilities, whether you want to add an item, several items at once or maybe bring information from a JSON file too.
What you can do with it?
To add a new item to EasyGrid:
// Single
var Element = "HTML Element";

demo1.AddItem({
   items: Element
});
The example above, will add an Individual Item to your grid.
Next example will show you how to Add Multiple Items at once.
// Array
var Elements = ["HTML Element 1", "HTML  Element 2", "HTML  Element 3", "HTML  Element 4"];

demo1.AddItem({
   items: Elements
});
Callback functions
You can have a "onComplete" callback function that allow you to take some action after a new item is successfully added.
// Append Items
demo1.AddItem({
  items: "HTML Elements",
  onComplete: function(){

    // Your Code Here will be executed when completed

  }
});
Fetch from HTML
Im some cases when you are dealing with a Server-Side Language like PHP for example, you first fetch all items from DataBase and the JS is usually executed at the bottom of the page, how can you add those items to EasyGrid? It's pretty easy actually.
You must have fetchFromHTML set "true" when you initialize EasyGrid.
All elements must be placed inside main div with a specific class called: easygrid_fetch, they will be moved to EasyGrid.
  <!--  Main Div -->
  <div id="grid" class="easygrid_bvgrid">

        <!-- This item will be fetched to EasyGrid and then removed -->
        <div class="easygrid_fetch" style="display:none;">
            <!-- HTML Elements -->
        </div>

  </div>
Grid Wall for Background and Design
In this case, is more for Design/Style purposes, you can easily use EG to generate a grid wall with random width and height.
// Append Items
interval = setInterval(function(){

     demo1.AddItem({
        items: "" // Nothing to show
      });

 }, 100);

// Clear Timeout
settimeout = setTimeout(function(){ clearInterval(interval); }, 3000);
The example above, will generate items each 100ms for a total of 3s, of course this can be changed to fit your needs.
There are a lot more things to do with EasyGrid and many more will be implemented.
Thank you for reading this.
Have a nice day.


Top comments (0)