

Explore the essentials of integrating with 3rd party services, and take your web apps to the next level by getting familiar with the infrastructure necessary to call a REST API from a simple backend, using NodeJS + Express.

REST APIs aren’t just for backend developers or full stack gurus. In fact, incorporating 3rd party APIs into your frontend applications is a great way to expand the capabilities of your app and bring the power of an almost exponential number of external services to your offering.
But in order to get the most out of REST APIs, you’ll need to understand the basics about how to efficiently call them, and what kind of infrastructure you’ll need to make requests from an app of your own. Luckily, it’s not too complicated and we’ve boiled it down to the essentials for you!
Let’s get started!
- Understand REST APIs’ role in frontend development
- Set up a backend / server
- Master an end to end example in NodeJS
Even frontenders could benefit from a backend sometimes!
So, what exactly is the value in leveraging REST APIs in frontend development, and why should we bother with a backend? Well, REST APIs are extremely versatile and open up tons of use cases.
REST APIs can serve as a connection within complex software, or they can stand alone as their own product even. There are many successful companies who have taken an API-first approach, where their open APIs are the primary value driver behind their business model. Some successful examples of this can be seen in companies we've all likely heard of, such as eBay, Twilio, Stripe, and more.

Ebay’s former head of developer ecosystem, Tanya Vlahovic, put it really well:
"...we allow...developer[s] to take all of these building blocks and uniquely combine them [to form]...great quality experiences."
It’s just another reminder that being an Engineer with the ability to confidently leverage REST APIs can open many doors for you.
Alright, but how do we get started? Well, first we’ll need to set up a simple backend and server.
Create a NodeJS project with an Express server
Especially in frontend development, setting up the infrastructure necessary to make API requests (and set up a server) can be a bit intimidating. Maybe it has even prevented you from taking advantage of these capabilities—until now. 😉
While of course there are exceptions to needing a backend and server, such as serverless functions in frameworks like NextJS, we will stick to the basics for now. We’ve boiled down the essentials for getting a NodeJS script up and running, in order to call a REST API in four easy steps in NodeJS:
- Set up a NodeJS project
- Install Express
- Create an
index.jsfile and import Express - Instantiate Express and send a test request
Let’s start from step 1.
1. Set up a NodeJS project
We’ll run through an example in NodeJS. If you aren’t familiar with Node and npm, you can find more details on this here.
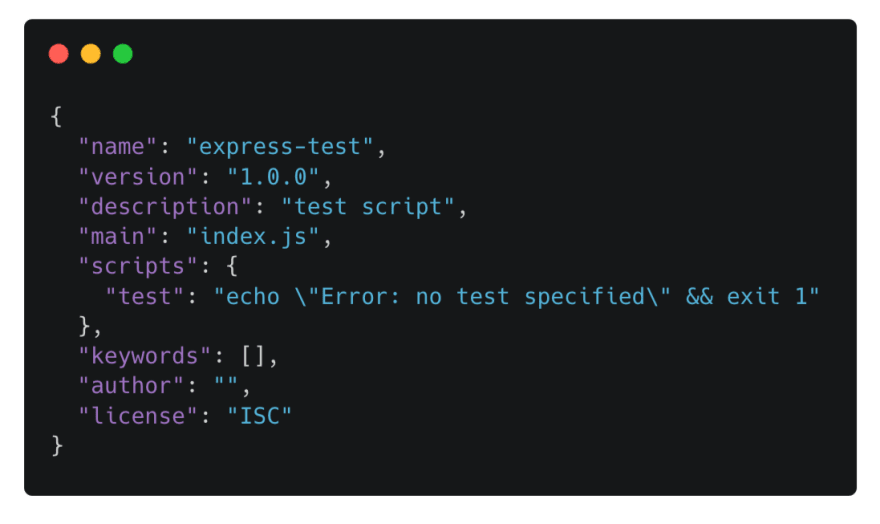
To set up a new NodeJS project, we’ll need to first create a new directory to house a package.json file. Within this new directory, we can then run the following command in our terminal:
npm init -y
This will generate a package.json file for us, which is essentially a simple manifest of sorts for our NodeJS script, which by default will take place in index.js. (You can use another filename if you like, just be sure to update your package.json!)
2. Install Express
Now that we have our Node project created, we will run the following command within our project directory, which will generate a node_modules folder and a package-lock.json file — two essential components for housing resources and versioning our Node app:
npm install --save express
3. Create an index.js file and import Express
Next, we can create our main script, index.js, and import our Express server instance.
First, create an index.js file within the same main directory. At the top of this file, we can import Express using the following statement:
const express = require(“express”);
4. Instantiate Express server and send request
And lastly, we can now instantiate our Express server and send a test request to a simple GET endpoint in our app.
First, we instantiate Express using this command:
const app = express();
Next, we create a GET endpoint, from which we’ll send a simple response to the browser:
app.get(‘/’, (req, res) => {
    res.send(‘hello world’);
});
And lastly, we need to specify a port for our server to listen on—let’s use 3000:
app.listen(3000, () => console.log(`Listening on port ${port}!`))
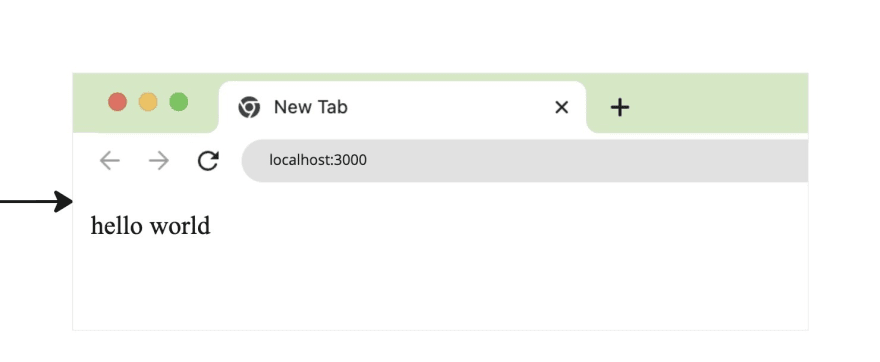
And now we can run our script…
node index.js
…and navigate to localhost:3000 in our browser. On success, our terminal should show the console log that our app is listening. And if we go to our browser at localhost:3000, we should see the "hello world" text that we included in our endpoint.
Of course, this is a simplified walkthrough of how to set up a server in NodeJS, using express, so you may need to add or tweak a few lines of your own — but these are the main steps necessary.
But just setting up a server by itself isn't super useful, right?
So, instead of simply sending some "hello world" text to the browser within our app.get() function, we could instead make a request to a REST API within this function, and utilize the response in another part of our app. Or, we could send the response from such a request to our browser, similar to our hello world text in the above example.
Let’s move on to an example script.
Making an API request from a NodeJS script
At Miro, we have several sample scripts that demo this flow. Let’s take a closer look at an end to end example of calling a REST API from NodeJS with our node-oauth repo, which you can clone here:
Miro node-oauth repository
First, we’ll follow similar steps as before in setting up our index.js file, and we will additionally use two other packages—dotenv for working with sensitive variables, and axios for making http requests:
// Require sensitive environment variables (Client ID, Client Secret, Miro Board ID)
require("dotenv/config");

// Require Axios for handling HTTP requests to Miro /oauth and Miro API endpoints
const axios = require("axios");

// Require ExpressJS for local server
const express = require("express");
const app = express();

// Call Express server
app.get("/", (req, res) => {...]
Within our app.get() endpoint, we will call the Miro REST API, but first let’s continue setting up the rest of our script by making sure our server is listening at a specified port. We’ll put this at the end of our script:
app.listen(3000, () => console.log(`Listening on localhost, port 3000`));
Now, back to the app.get() function. Within here, we’ll do two things:
- Retrieve an
access_tokenfor the Miro REST API, by calling Miro’s OAuth2.0 endpoint - Call a Miro REST API endpoint to retrieve a Miro Board using our
access_token, and send the response to the browser
In line 36 of index.js, we’re calling the OAuth endpoint.
And in line 63 of index.js, we’re calling Miro’s GET Board endpoint, using the access_token we retrieved in line 36.
And finally, we’re sending the response to our browser, in line 68 of index.js.
Master REST APIs with Miro
Want to walk through this script in a bit more detail and see the output in the browser? Check out our on-demand educational training series, REST API Essentials for Frontenders, linked above!
And keep going with REST APIs, leveraging the Miro Developer Platform’s assortment of sample apps!
You can even create a developer team and start quickly calling Miro’s REST APIs directly from our documentation. You can find the full Getting Started flow here.
Let us know what you build! We’re always happy to talk shop with fellow developers. 🙂
Did you like learning more about REST APIs and how to leverage the Miro Developer Platform? For more inspiration or questions, follow along with our Developer Community on YouTube, GitHub, and Discord.

Top comments (0)