We’ve got a pretty good start on our web application so let’s take a look at what it is like to deploy to a stating and production environment.
Log in to Begin
Before you deploy your application, you’ll need to login to Begin via the CLI. In order to login to Begin you will need a GitHub account. From the terminal execute begin login. If you are already logged in no further action will be needed but if you are not logged in you will need to visit the URL it prints out. For example:
begin login
Please authenticate by visiting: https://api.begin.com/auth?user_code=NOT_A_REAL_CODE
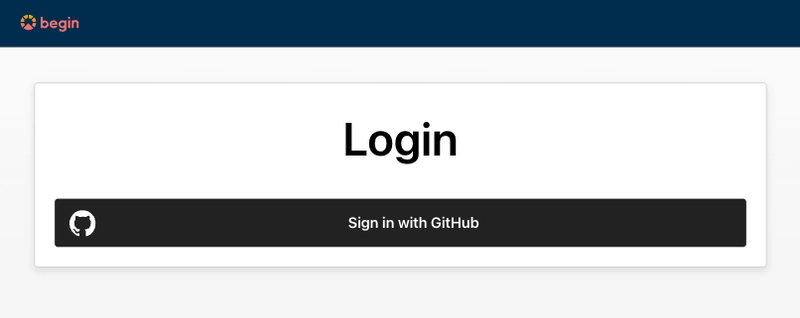
When you visit the URL provided you will get a screen like this:
Then once you complete the login with GitHub and authorizing Begin to use GitHub OAuth you will be rewarded with this screen.
Now in the command line you should see a message that you are successfully authenticated.
begin login
Found incomplete login, trying again
Please authenticate by visiting: https://api.begin.com/auth?user_code=NOT_A_REAL_CODE
Awaiting authentication...
Successfully logged in!
Creating an app
To create a new app on Begin you will use the Begin CLI. In order to create a new app you will need to be in the root folder of your project. The begin create command will ask you a few questions in order to setup your application. For example:
begin create
This project doesn't appear to be associated with a Begin app
? Would you like to create a Begin app based on this project? (Y/n) · true
? What would you like to name your app? · 12-days
? What would you like to name your first environment? · staging
Added appID 'NOTREALS' to project, be sure to commit this change!
App '12-days' + environment 'staging' created at https://shiny-b27.begin.app
? Would you like to deploy your app? (Y/n) · true
Archiving and uploading project to Begin...
Project uploaded, you can now exit this process and check its status with: begin deploy --status
Beginning deployment of 'staging'
Packaging build for deployment
Publishing build to Begin
Build completed!
Deployed 'staging' to: https://shiny-b27.begin.app
You may notice that we decided to create a staging environment when we created the application. We recommend that you have at least two environments so you can test your deployment before moving it over to production. Speaking of production.
Adding a production environment
We will want to have a separate environment for production so we can test code changes in our staging environment before moving them to the production environment. To create a new environment and deploy to it run the following commands:
begin create --env production
begin deploy --env production
Now we have two different environments with different URL’s.
Next Steps
Tomorrow we’ll show you how to use environment variables to control how your app behaves in various environments.


Oldest comments (0)