I've finally decided to start a blog, but I need it simple and under my control. I don't need a lot of features like those offered by CMS, like Wordpress, neither want to give control of my content to a third party.
That's why I decide to use a JAMstack with a static site generator like Hugo and Netlify to host the site.
I've chosen Hugo because it is an option widely extended, has a lot of themes and I feel confident with Go.
I've also choose Netlify because I've used it before and is very simple to set up an environment for production with CDN and SSL and auto-deployment.
Another useful feature of Netlify is that it can auto-deploy every branch in a Git repository so you can work in a draft version of a post in a branch and every time you push the changes you can see the results deployed on Netlify on another URL and no mix changes with the production version of the blog.
Creating a site with Hugo
First of all, we need to create a new Hugo project, for that we can take a look at the Hugo Quickstart.
Once we have created a new Hugo project we need to upload it to a Git Repository, Netlify supports GitHub, GitLab and Bitbucket out of the box, but in this case, I will use GitHub because I use it in most of my projects but we're free to choose the one we want.
Creating a site with Netlify
When the blog is ready on the Git repository, it's time to create the project in Netlify.
Assuming we already have an account we need to create a "New site with Git"
After we select the Git account, Netlify will ask for the repository to use.
In case we didn't give access to Netlify to all our repositories, we can now add a new Repository selecting the next option.
Then we can leave the default options and use master as the branch to deploy.
Configuring Netlify
One we have created the project on Netlify, it will be aware of new commits on the master branch and will deploy them automatically.
Before finishing, we can (and should) configure Netlify options creating a file netlify.toml in the root directory when we can set several configurations, some important for this project are:
[build]
command = "hugo"

[context.production.environment]
HUGO_VERSION = "0.59.1"
HUGO_ENV = "production"

[context.branch-deploy.environment]
HUGO_VERSION = "0.59.1"

[context.deploy-preview.environment]
HUGO_VERSION = "0.59.1"
in which we can specify this is a Hugo project (though Netlify detects it automatically) and the Hugo version.
Extra: Stop auto-publishing changes on master and preview new changes
If for any reason we don't want Netlify to auto-deploy the changes, we can lock the current published version and when a new commit occurs, Netlify will not deploy the changes automatically in the production site.
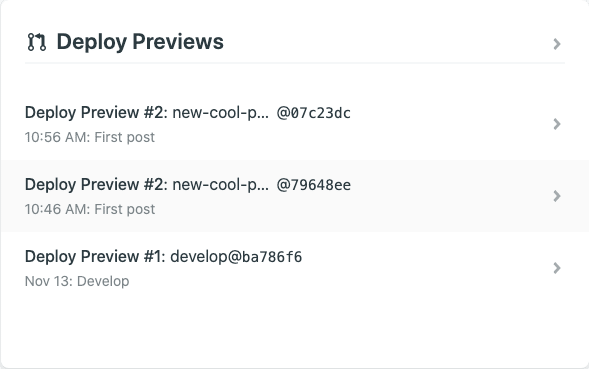
Although Netlify does not deploy the changes to production, they will be available in a preview URL, so we can review them an accept the changes when they ready.
That also can be used when working a new branch and we made a Pull Request to master, every commit & push generate a new preview url where we can see the changes.
Conclusion
If we want to have control of our content and we don't want to worry about setting up servers, databases ... the combination of Hugo and Netlify is very powerful and can save us a lot of time.


Top comments (0)