
I recently created a simple full-stack todo app written in Angular for the frontend and NestJs for the backend.
I had to host the app on a live server for testing. I decided to Heroku free dyno that I normally use for hobby apps.
Steps I followed:
- I personally use the Heroku CLI. So install one if you don't.
- Login to Heroku via command line
heroku login
- Create your app on Heroku (This can be done via command line or through the web).
heroku create new-app-devto
Deployment
- There are a couple of ways to perform deployment in Heroku
Setting App the Database
- Head over to your dashboard at the web interface, then select your app and view resources.
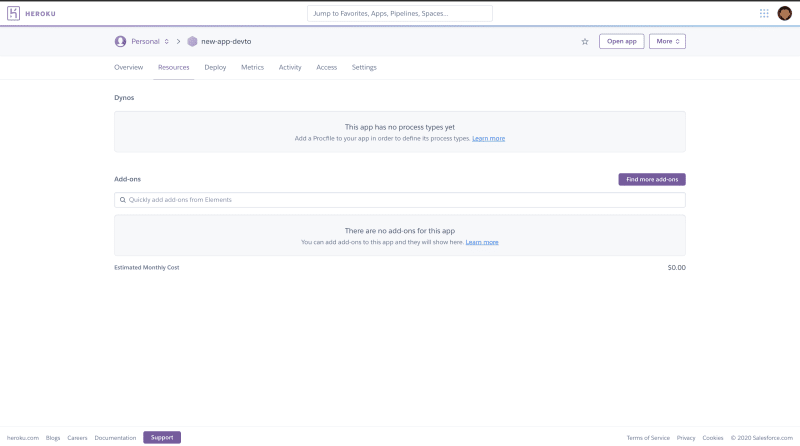 From Resources, go down to
 Add-ons. Search and select your desired Add-on. In our case that will be Heroku Postgres. - Select your billing plan and submit your form
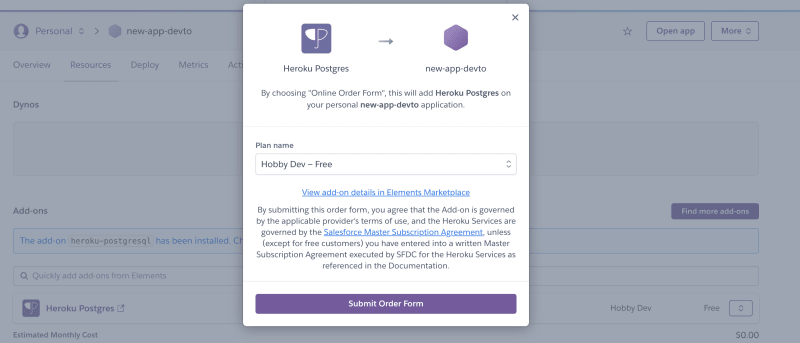
- You'll see that the add-on has been attached as a database.

Connecting your database to your App.
There a few ways to do this, but the most secure is using environmental variables.
We will use the nonsecure direct approach in this article and you can through the official documentation for setting env variables.
- Click on the navigator toggle icon near your profile icon and select Data. Select your database in the `Datastore and then select Settings.
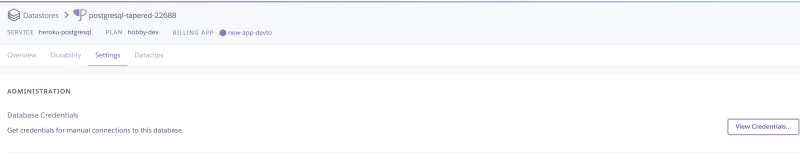 On Database Credentials, click the View Credentials button to reveal the credentials
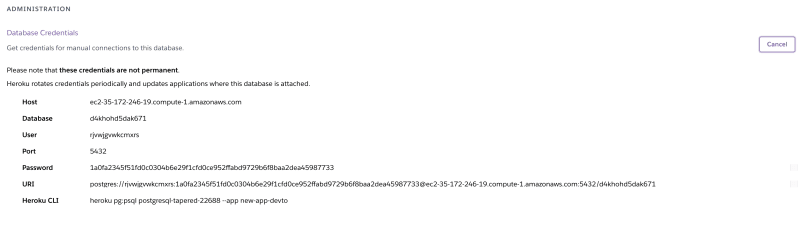 The credentials will be used in your TypeORM database configuration and connect directly to your database in Heroku. An example:-

Add, commit and push changes
- And after, add and commit all your changes then push to heroku
git push heroku master
- And your app will be live with a database connection.
Happy Coding.
- PS: Heroku added documentation to change the default branch

Latest comments (0)