
I will show you how to create a simple profile card without a programming knowledge. For that I will use T3MPL - a simple static website generator. T3MPL needs only a browser to work, so you have everything you need. :)
T3MPL is an open source tool, so this is totally free.
⭐ Select Template
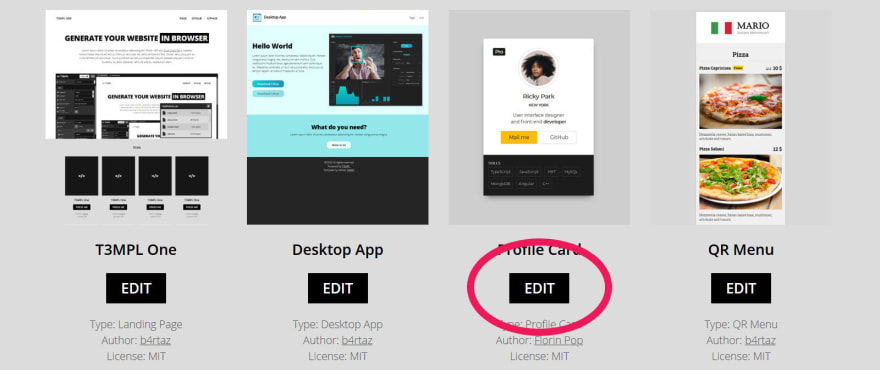
At the beginning I go to t3mpl.n4no.com. Now I must pick a template, I want to use the "Profile Card" template. So I click the "edit" button below the preview of the template.
💻 Editor

I see the editor with a picked template now. The editor has two major parts, the preview on the right - where I can see how my website looks now, and the sidebar on the left - where I can manipulate and change my site.
T3MPL provides a generic editor for each template. So each template has a little different editor. The author of a template configures that how the editor should look. The main division of configuration sections calls here "zones". Like I said before, each template has different zones. In this case the "Profile Card" template has three zones:
- Card - configuration of the profile card,
- Common - configuration of the website SEO, footer settings, etc.
- Configuration - global configuration.
🔨 Personalize
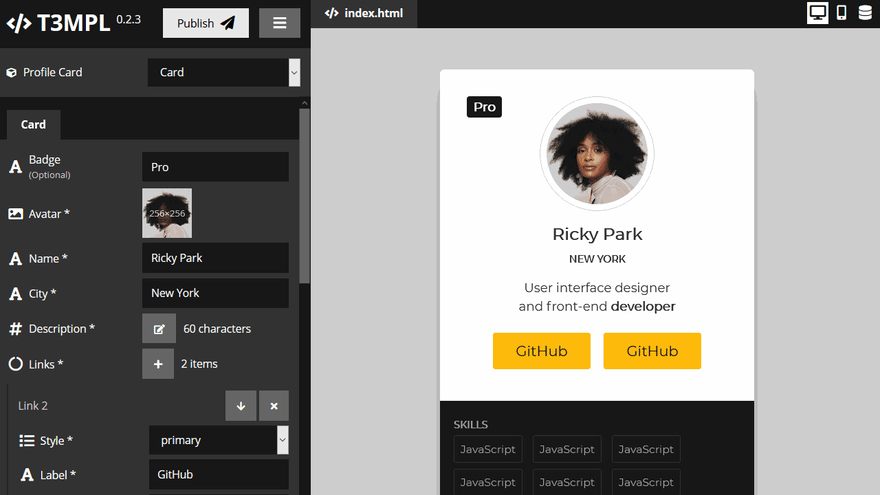
I can personalize every content on the page for my purpose now. The editor gives me a possibility to change an every text, a link and an image on the page.
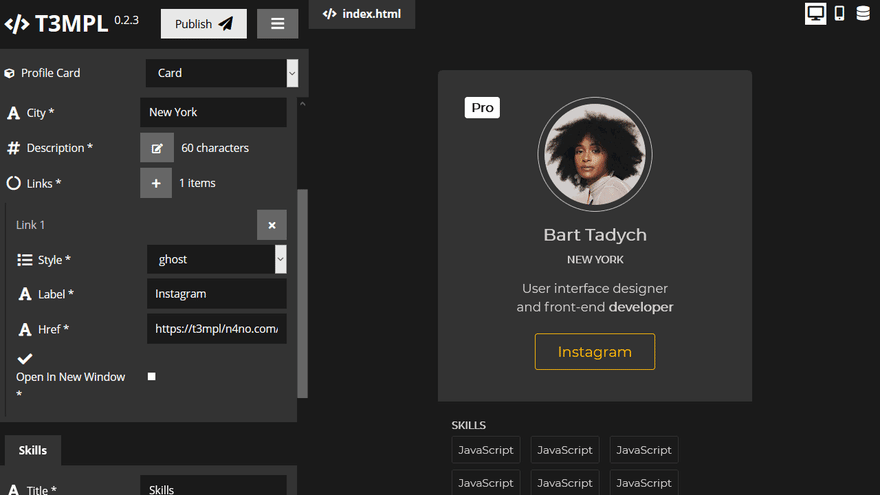
The editor supports collections. In this template I can control precisely how many links I need on the profile card. The same with my skills.

This template supports three different themes: light, dark and violet. I can pick each of them.
💾 Export/Import Changes
When I want to backup my changes, I can save my changes to a future editing. To do this I should click on the ☰ button and click Export data .t3data. The editor will generate a single .t3data file with my all modifications. In the future, I can load this file to revert my changes.
To load my all changes I should open my template in T3MPL editor, click on the ☰ button, and click Import data .t3data, then I should pick my .t3data file from my computer. That is simple.
🚀 Publish
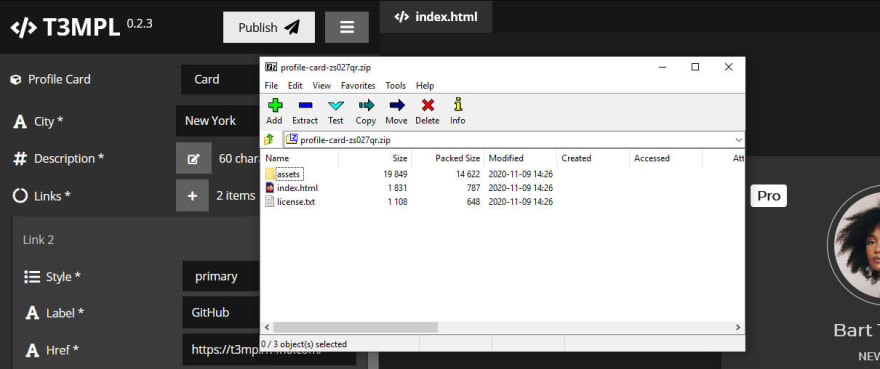
When I finish my changes, I can generate a final website. To do this I should click on the "Publish" button and click Save webpage as .zip. The editor will generate final website files.
This files I should upload to my server or other place like GitHub Pages, etc. The editor generates simple HTML files, so your server doesn't need any special requirements like PHP, Nodejs, etc.
That's it. Please let me know if you achieved that in 5 minutes. :-)
🚩 At the end, check this demo website.

Top comments (0)