
Here I will be documenting my entire day-1 journey of whatever I did to learn html. This is written by me purely for any future references and also to keep a track of important steps which might help me when I get stuck. This is not a tutorial from my end and I am open to any suggestions from my peers.
Note: This writing might help you only if you are a complete beginner.

Pre-Requisite

We can run html codes from any given text editor. My personal favorite is VS Code. Also whatever we see on the internet today, uses html language to work and hence it is the basic requirement for any tech jobs.
Phase 0

- HTML stand for Hypertext Markup Language. It is used to design the structure and layout of our website, also stands as the backbone of any given website. Example: Our body's skeleton.
- CSS stands for Cascading Style Sheets. It adds styling to the backbone and hence appealing the user experience. Example: Our body's appearance.
- JS or JavaScript is the logic for the page layout. Makes the entire web-page functional and responsive. Example: Our body's brain.
-
Alt+arrow keycan move line up and down. Also, create a special root file named index.html. We can access the boiler plate using!+ emmet abbreviation. -
ctrl+/to comment out lines.
Phase 1
<!DOCTYPE html>                         <!--- Specifies that it is html5 type document --->
<html lang="en">                        <!--- Root of an html page --->
<head>                                  <!--- Contains meta-data --->
    <meta charset="UTF-8">
    <title>Document</title>             <!--- Title of the document --->
</head>
<body>                                  <!--- Main body rendered by the browser --->
    <h1> This is a heading </h1>        <!--- The heading tag --->
    <p> lorem300 </p>                   <!--- The paragraph tag, `Alt+Z` for word-wrap --->
</body>                                 <!--- Closing the body tag --->
</html>                                 <!--- End of file --->
- Tag is a container that has either contents or other tags in it.
- Elements are the ones which has contents, empty elements have neither content nor tags in them.
Element= opening tag+ content+ closing tag. - Attributes are the properties of an element, example
<a href="https://wikipedia.com/"> WIKI </a>has a=anchor tag and href=attribute. We can use single/double quotes. - html tag is the parent tag for head tag and body tag. Head tag and body tag are the child of html tag. head tag and body tag are siblings.
- We can use both .html and .htm extension. Inspect element or view page source can show you the template codes.
- Responsive website means it can fit to any kind of display size.
- html is not case sensitive. We use
<!--- --->for comments.
Phase 2
Document Object Model (DOM):
The Document Object Model is a programming API for HTML and XML documents. It defines the logical structure of documents and the way a document is accessed and manipulated.

- Headings has 6 levels h1, h2, h3, h4, h5, h6 where h1 to h6 has decreasing size/importance. Helps a lot in SEO hence not use it to increase/decrease size or bold/italics it.
- Some important tags:
-
<p></p>is paragraph tag which adds paragraphs. -
<a></a>is anchor tag to add links. We can specify images in place of alternate texts so that when the user clicks the image it renders to the given link.<a href="/about"> <img src="image.png" width="120"> </a> -
<img src alt></img>is the image tag to add image. -
<b></b>,<i></i>,<u></u>, bold, italic and underline tags respectively. -
<br></br>adds new line. -
<big></big>,<small></small>, are the used to show big and small text respectively. -
<hr></hr>is used for horizontal divider. -
<sub></sub>,<sup></sup>, are subscript and superscript tags respectively. -
<pre></pre>is a preserve option used to display texts as it is without ignoring the spaces and tabs. -
<div></div>is division tag, type of container, which is also a block element(taking up most of the width) -
<span></span>is span tag which is a container and an inline element(takes up only the needed spaces/width)
-
- Block Elements
<address><article><aside><blockquote><canvas><dd><div><dl><dt><fieldset><figcaption><figure><footer><form><h1>-<h6><header><hr><li><main><nav><noscript><ol><p><pre><section><table><tfoot><ul><video></video>
- Inline Elements
<a><abbr><acronym><b><bdo><big><br><button><cite><code><dfn><em><i><img><input><kbd><label><map><object><output><q><samp><script><select><small><span><strong><sub><sup><textarea><time><tt><var>
- Documents usually use Absolute and Relative links. The main difference between absolute and relative paths is that absolute URLs always include the domain name of the site with http://www. Relative links show the path to the file or refer to the file itself. A relative URL is useful within a site to transfer a user from point to point within the same domain.
Phase 3

- Creating a proper web-page layout, using correct tag in correct place, proper indexing is necessary for search engines and better user experience. We mainly use header, main and footer.
<header></header>-
<main></main>-
<section></section> <article></article><aside></aside>
-
<footer></footer>
Phase 4
- Lists: We have html lists to organize our content in a structured manner. there are mainly two types of lists:
Unordered list
       <ul type="circle">
        <li>Home</li>
        <li>About</li>
        <li>Services</li>
        <li>Contact</li>
    </ul>
Ordered list
      <ol type="i">
        <li>Home</li>
        <li>About</li>
        <li>Services</li>
        <li>Contact</li>
    </ol>
-
Forms: We use forms to collect input from the user.
<form></form>: There are different form elements for different kind of user input- input element: Can be of text, checkbox, radio, button and submit type. We also have a 'file' type.
- textarea element: Defines a multi-line input, columns and row attributes can be used to size the textarea.
- select element: Defines a dropdown list.
<div>
        <h1>Travel Form for our trip</h1>
        <form action="form.php">
          <input type="text" placeholder="Enter Your Name" /><br />
          <label for="sectionida">
            <input
              type="radio"
              value="Section a"
              name="section"
              id="sectionida"
            />
            Section A
          </label>
          <label for="sectionidb">
            <input
              type="radio"
              value="Section b"
              name="section"
              id="sectionidb"
            />
            Section B
          </label>
          <label for="sectionidc">
            <input
              type="radio"
              value="Section c"
              name="section"
              id="sectionidc"
              class="red blue"
            />
            Section C </label
          ><br />
          <input type="checkbox" id="foodcanteen" class="red" name="canteen" />
          <label for="foodcanteen">Want Food Canteen card</label><br />
          <!-- https://developer.mozilla.org/en-US/docs/Web/HTML/Element/input -->
          <textarea
            name="explain"
            id="explain"
            cols="30"
            rows="10"
            placeholder="Explain why you want to join "
          ></textarea>
          <select name="car" id="car">
            <option value="no-car">Select your car</option>
            <option value="onmi">Omni</option>
            <option value="omni2">Omni2</option>
            <option value="dzire">Dzire</option>
            <option value="i10">i10</option>
            <option value="i20">i20</option>
          </select>
        </form>
      </div>
-
Tables: We use tables to display tabular data.
-
<table>– this tag is used to define Tables. -
<tr>– table row. -
<td>– table data cells. -
<th>– for table heading which is bold and center. -
<thead></thead>- used to wrap table head. -
<tbody></tbody>- used to wrap table body. - colspan attribute- wraps multiple columns.
-
<div>
        <table>
            <caption>Max Scores by different players in FauG</caption>
            <thead>
                <tr>
                    <th>S.No</th>
                    <!-- <th>Player Name</th> -->
                    <th colspan="3">Max Score</th>
                    <!-- <th>Game</th> -->
                </tr>
                <tr>
                    <td>1</td>
                    <td>Sachin</td>
                    <td>123</td>
                    <td>FauG</td>
                </tr>
            </thead>
            <tbody>
                <tr>
                    <td>2</td>
                    <td>Rahul</td>
                    <td>123</td>
                    <td>PubG</td>
                </tr>
            </tbody>
        </table>
    </div>

-
Videos:
<video></video>tag is used to work with videos. We can use it's attributes to adjust width(height adjusts automatically if not specified) and also to auto-play and loop the video.
<div>
   <iframe width="560" height="315" src="https://www.youtube.com/embed/9-GSIN8s5Eo" frameborder="0" allow="accelerometer; autoplay; clipboard-write; encrypted-media; gyroscope; picture-in-picture" allowfullscreen></iframe><br>
</div>
- The codes after execution some what looks like this (it is just a sample output):

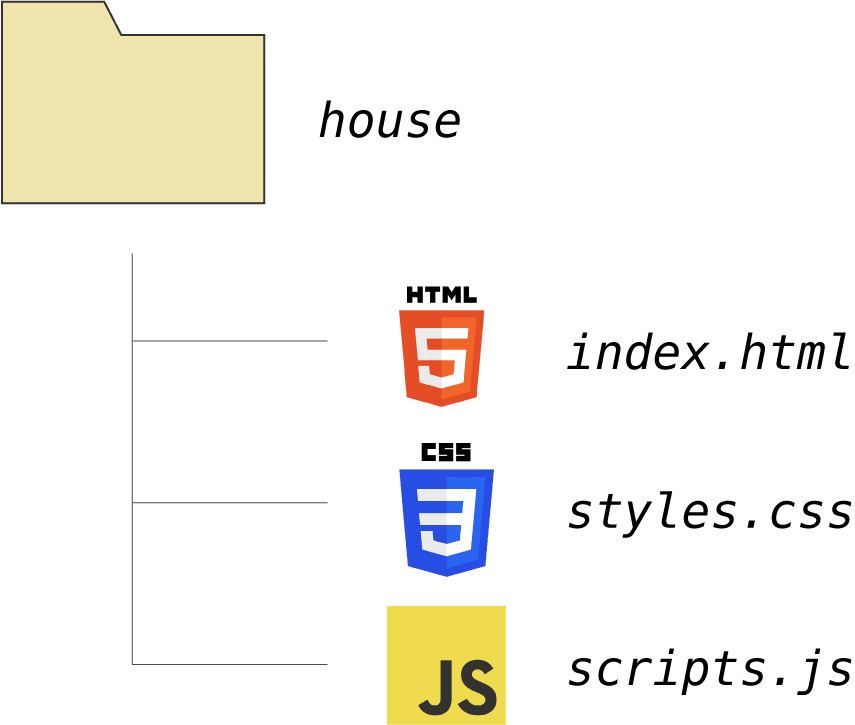
- The directory structure of the folder should be like:
Phase 5
Search Engine Optimization is also as important as the code itself. We will first focus only on html standpoint of SEO and not the keyword building and content optimizing aspect of SEO. There are mainly two types of SEO:
- On page SEO- Done by html developers
- Off page SEO
Developers can implement SEO using the following techniques:
<head>
    <meta charset="UTF-8">
    <meta http-equiv="X-UA-Compatible" content="IE=edge">
    <meta name="viewport" content="width=device-width, initial-scale=1.0">
    <meta name="description" content="Seo is like this is a nice article on seo">
    <meta name="keywords" content="seo, search, seo 2021">
    <link rel="shortcut icon" href="favicon.ico" type="image/x-icon">
    <title>SEO in 2022: A beginners guide</title>
</head>
- Set the title crisp, nice and to the point.
- Set the meta-data description.
<meta name="description" content="........."></meta>. - Set a nice URL slug.
- Set the meta keywords tag.
- Set the meta anchor tag
<meta name="author" content="Ayushi"></meta>. - Set a favicon.
- Compress images and other resources.
- Remove unused html/css/js files and compress them.
- Add alt texts to the embed images/videos/other such contents.
Dumping codes into GitHub
I always prefer to keep an online reference, maybe in form of a blog or in GitHub. To continue doing the same with GitHub we should have git in our local system and a GitHub account. Follow the steps:
-
git initto initialize the working folder. -
git addto add all the files into the staging area. -
git diffto check the modified files. -
git commit -m "message...."to commit the changes with appropriate messages. - Now we go and create a remote repository from our GitHub account or GitHub desktop version.
-
git remote add <repository name> <repository url>to add files in our remote repository. -
git push <repo name> masterto push all the codes into the remote repository.

Top comments (4)
Great to see newbie devs working hard.
Kudos.
Nice, make project enhance your skill
o-o
Practical examples make the subject much easier to understand, while the light, approachable tone keeps the reader interested. The visuals support the points without being overwhelming. And help me at checkpsiraverification.co.za
SO INFORMATIVE!!!! I am a complete beginner and this blog really helped me so much... thanks
following for future posts :)