In this article, I am going to show you how to configure an Application Load Balancer to distribute network traffic to two EC2 instances in one or more Availability Zones. We will then enable stickiness, so that once a server is contacted, the user is always sent to that server. This ensures our legacy application continues to work despite not supporting distributed logins.
Please visit my GitHub Repository for EC2_projects on various topics being updated on constant basis.
Let’s get started!
Objectives:
1. Create 2 EC2 Ubuntu webservers
2. Create a Target Group
3. Create an Application Load Balancer
4. Enable Sticky Sessions and Test
Pre-requisites:
- AWS user account with admin access, not a root account.
Resources Used:
What is an Application Load balancer?
Steps for implementation to this project:
1. Create 2 EC2 Ubuntu webservers
Create 2 EC2 Instances with the following specifications, using the bootstrap scripts provided.
webserver1


- webserver1 userdata ```
!/bin/bash
sudo apt-get update -y
sudo apt-get install apache2 unzip -y
echo '
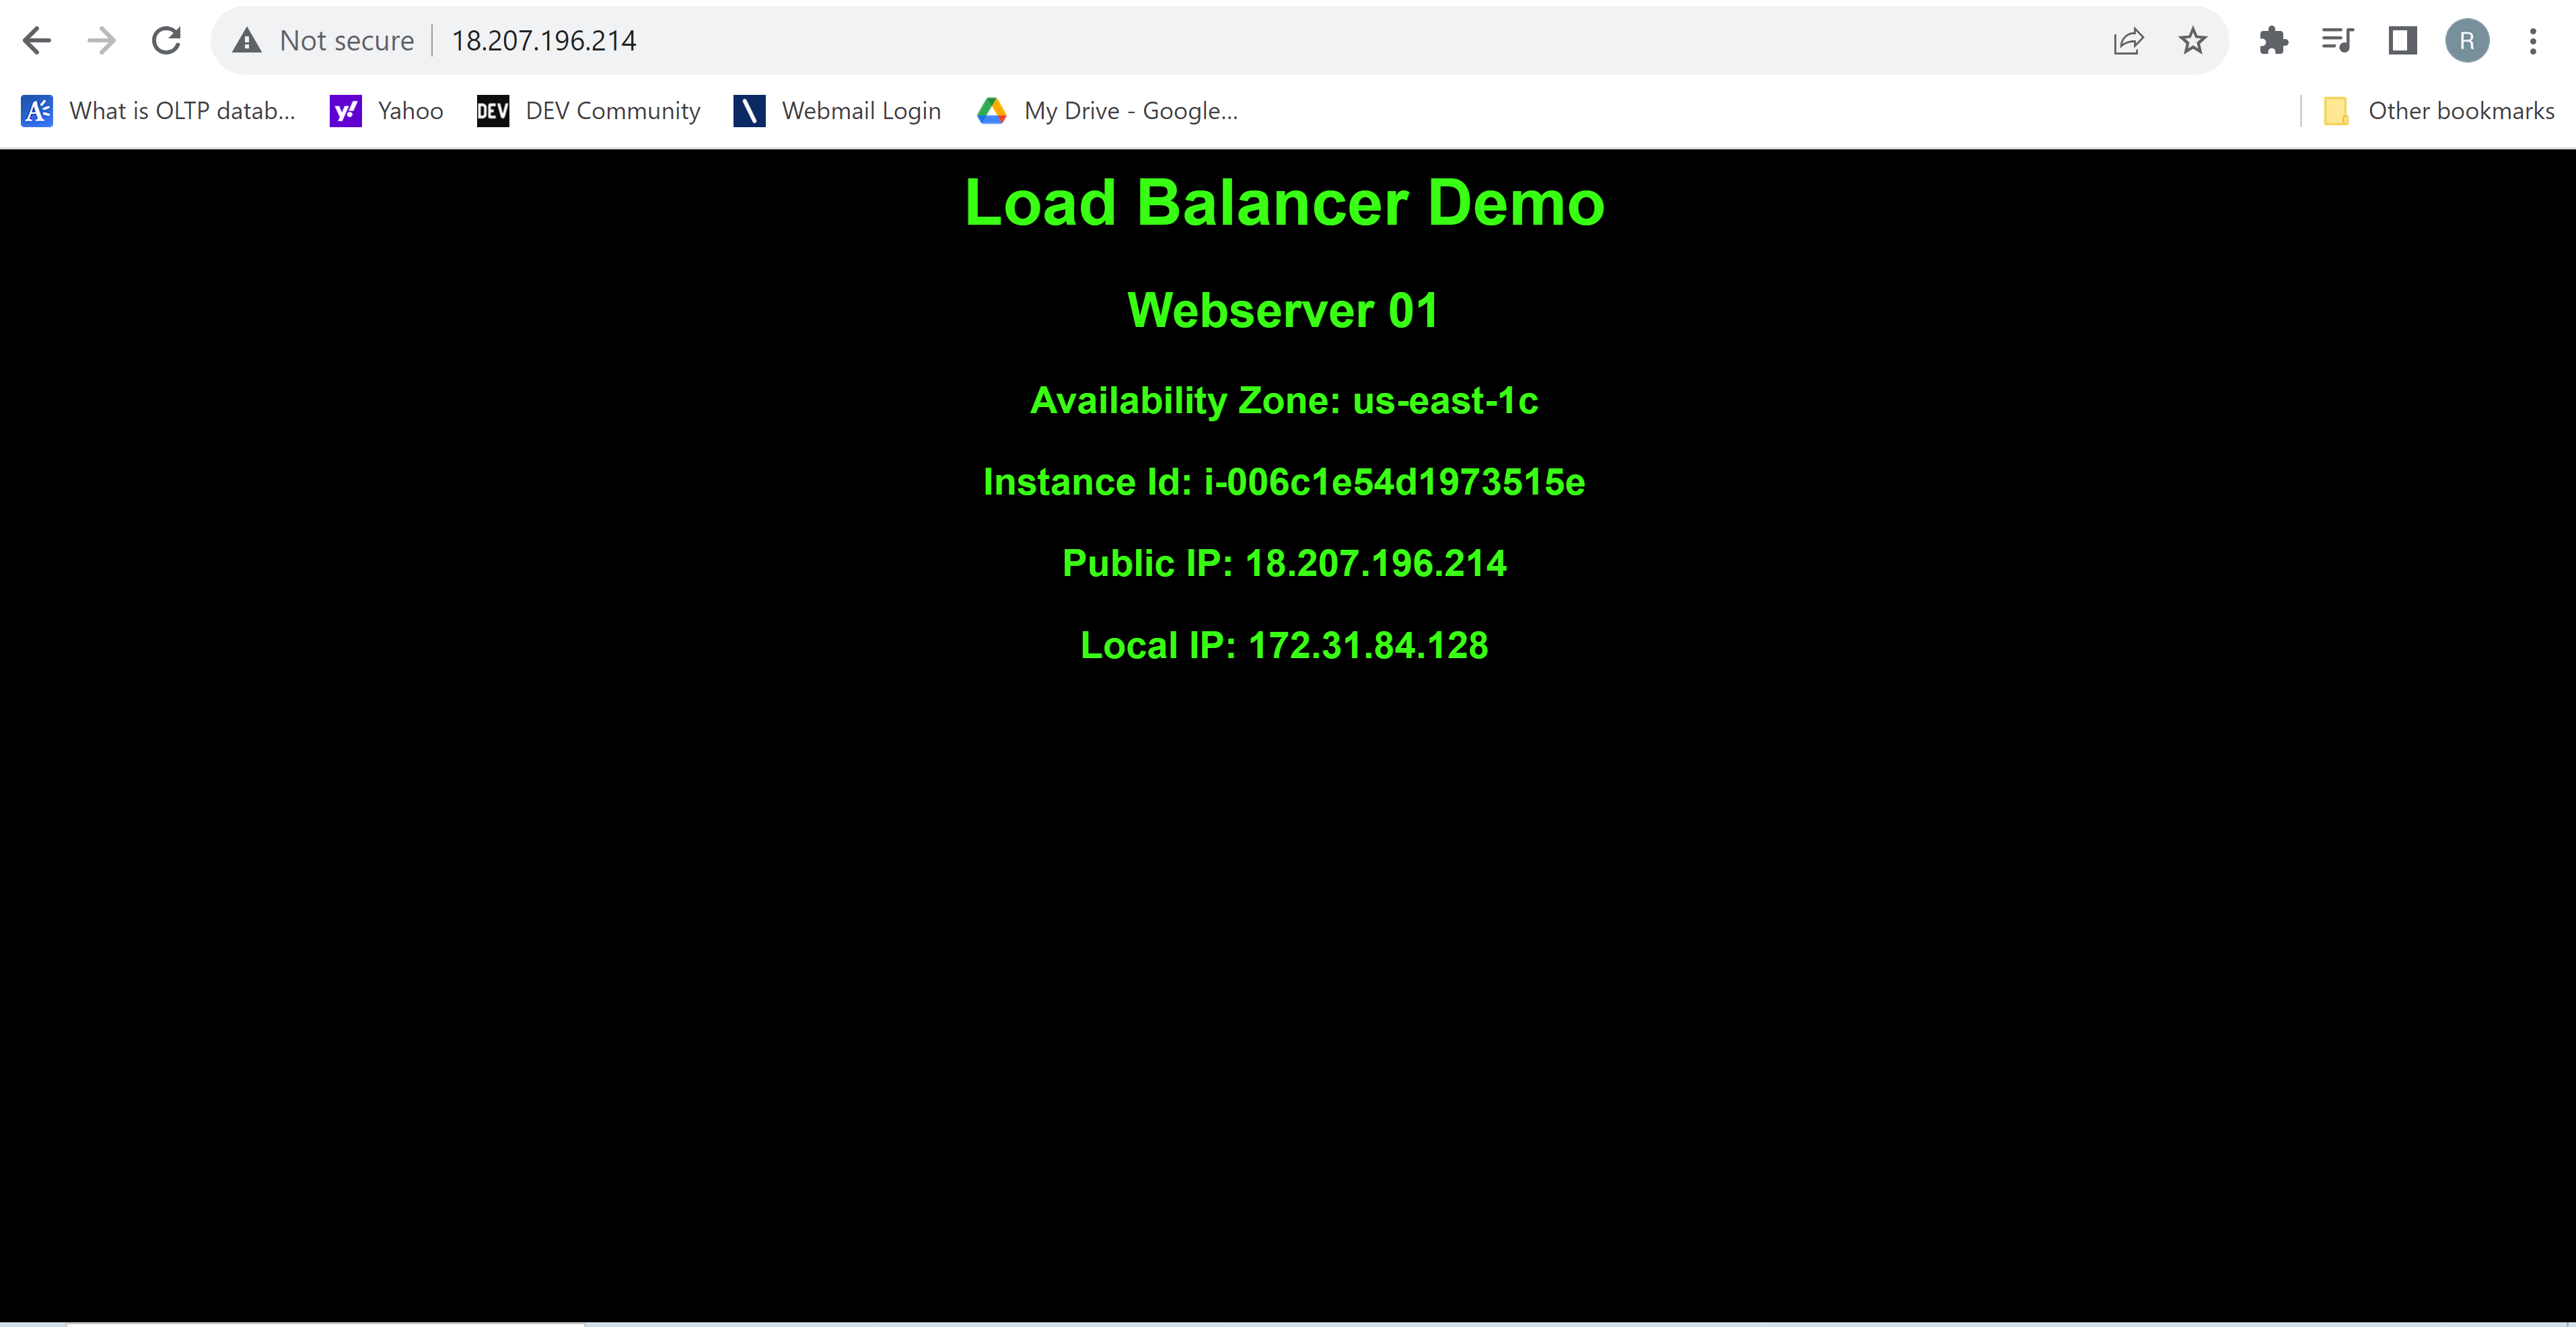
Load Balancer Demo
Webserver 01
Availability Zone: ' > /var/www/html/index.html
curl http://169.254.169.254/latest/meta-data/placement/availability-zone >> /var/www/html/index.html
echo '
Instance Id: ' >> /var/www/html/index.html
curl http://169.254.169.254/latest/meta-data/instance-id >> /var/www/html/index.html
echo '
Public IP: ' >> /var/www/html/index.html
curl http://169.254.169.254/latest/meta-data/public-ipv4 >> /var/www/html/index.html
echo '
Local IP: ' >> /var/www/html/index.html
curl http://169.254.169.254/latest/meta-data/local-ipv4 >> /var/www/html/index.html
echo '
' >> /var/www/html/index.html
- webserver1 ip address ***`18.207.196.214`*** on a new webbrowser
### webserver2
- webserver2 userdata
!/bin/bash
sudo apt-get update -y
sudo apt-get install apache2 unzip -y
echo '
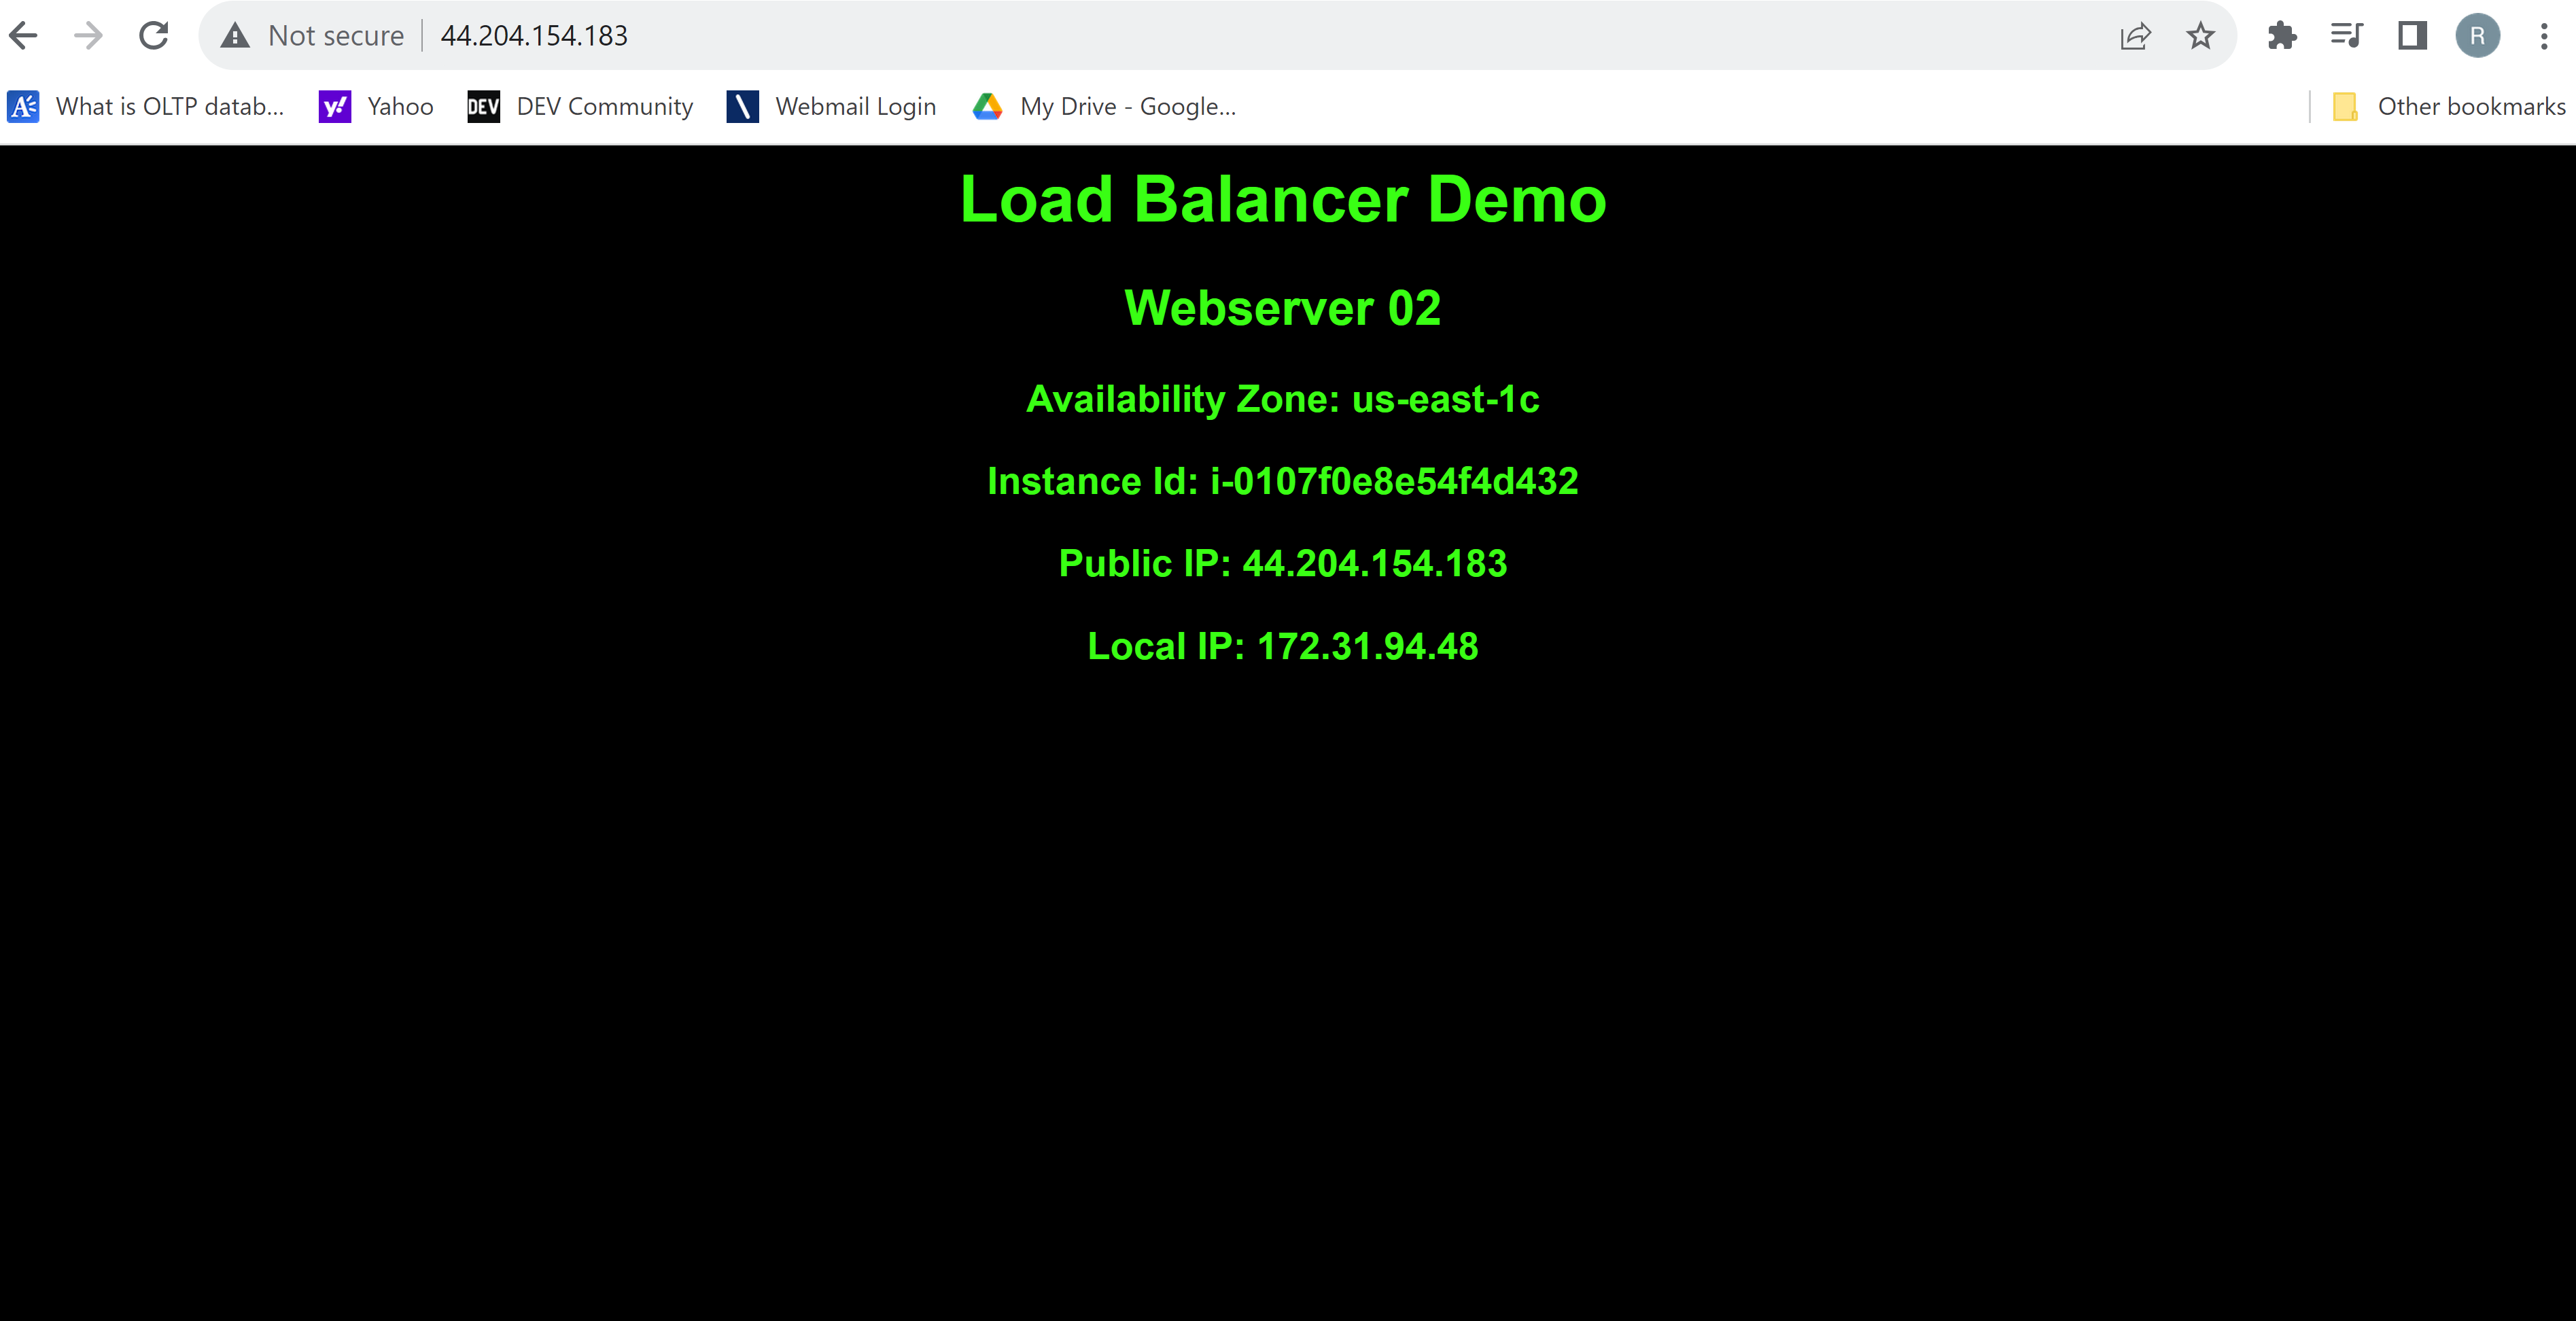
Load Balancer Demo
Webserver 02
Availability Zone: ' > /var/www/html/index.html
curl http://169.254.169.254/latest/meta-data/placement/availability-zone >> /var/www/html/index.html
echo '
Instance Id: ' >> /var/www/html/index.html
curl http://169.254.169.254/latest/meta-data/instance-id >> /var/www/html/index.html
echo '
Public IP: ' >> /var/www/html/index.html
curl http://169.254.169.254/latest/meta-data/public-ipv4 >> /var/www/html/index.html
echo '
Local IP: ' >> /var/www/html/index.html
curl http://169.254.169.254/latest/meta-data/local-ipv4 >> /var/www/html/index.html
echo '
' >> /var/www/html/index.html
- webserver2 ip address ***`44.204.154.183`*** on a new webbrowser
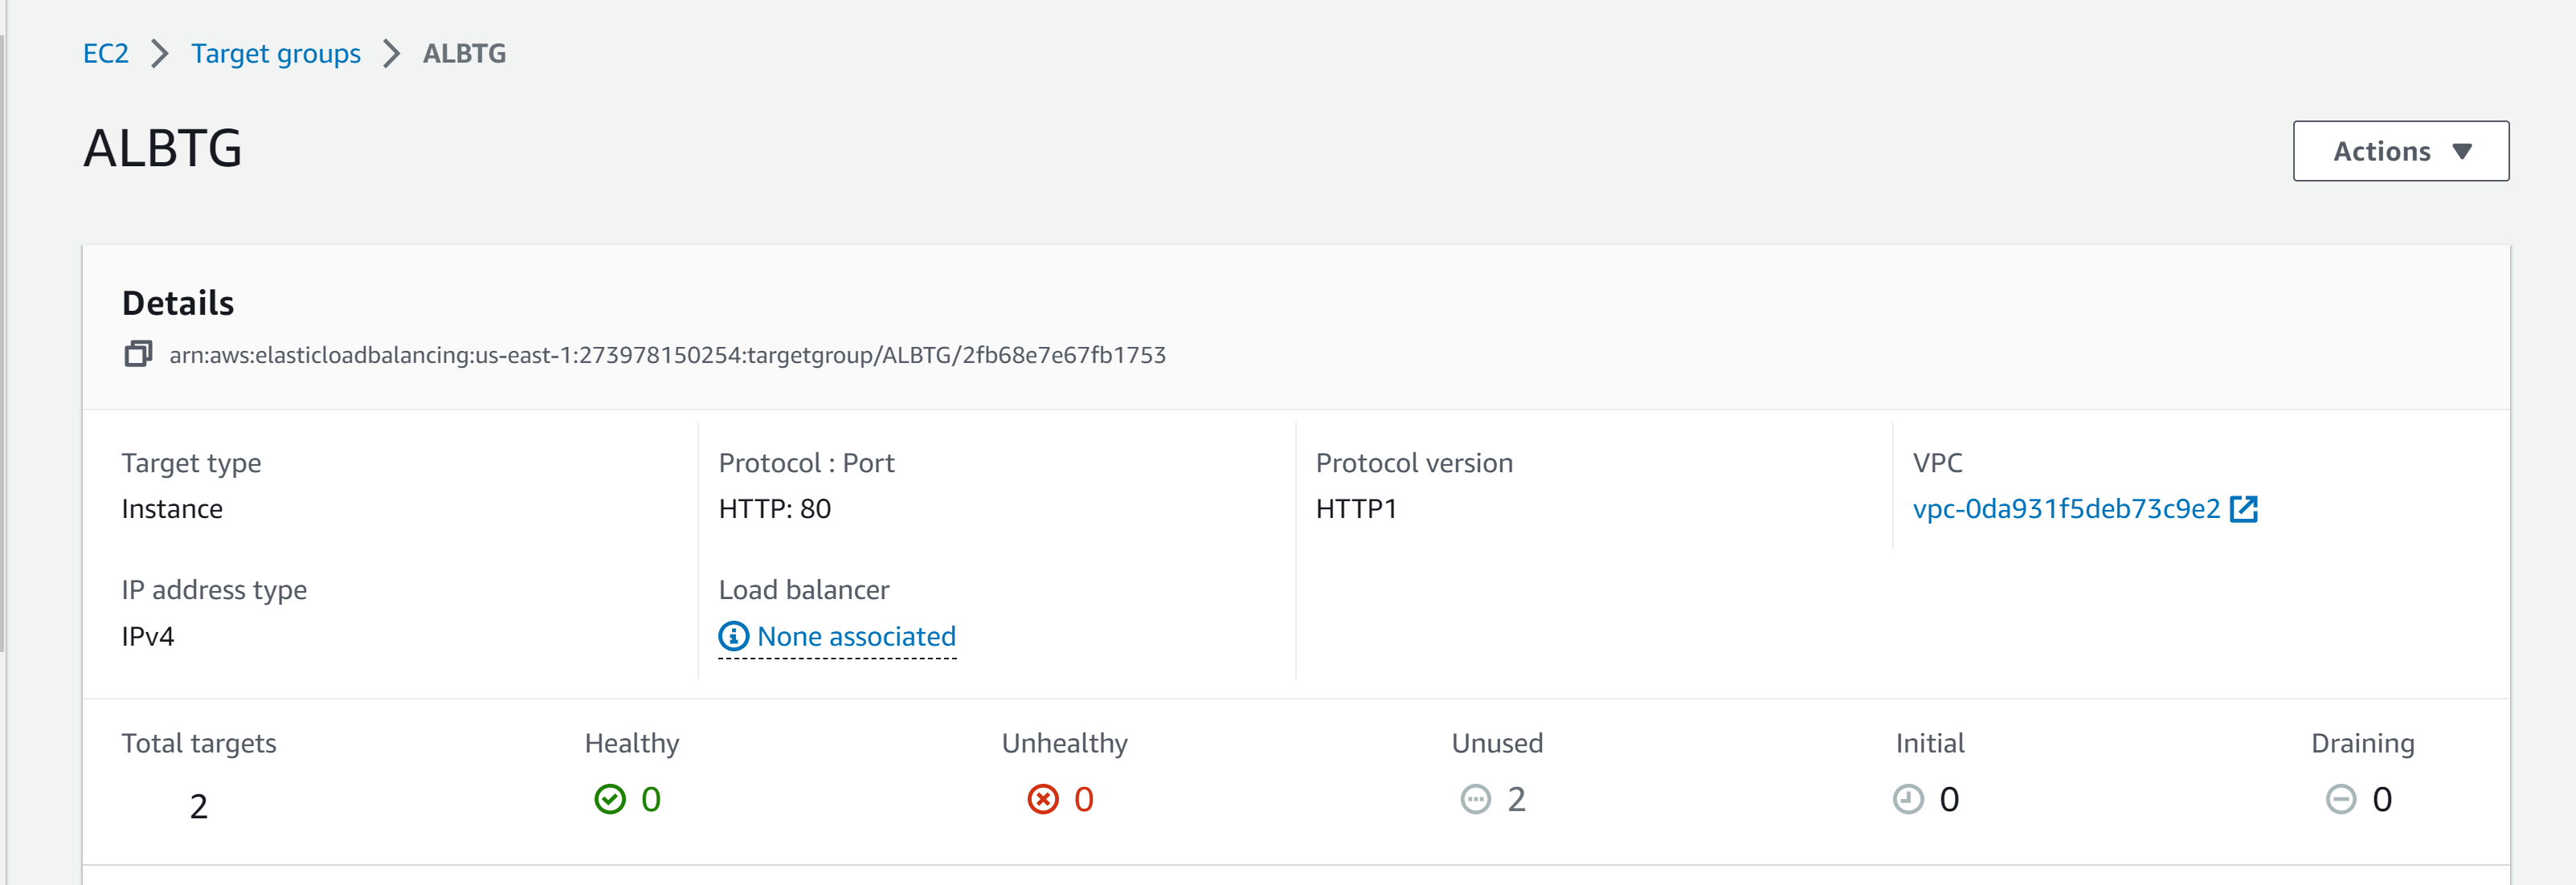
## 2. Create a Target Group
- Target groups route requests to one or more registered targets, such as EC2 instances, using the protocol and port number that you specify.
- Create a Target Group with the following specifications
## 3. Create an Application Load Balancer
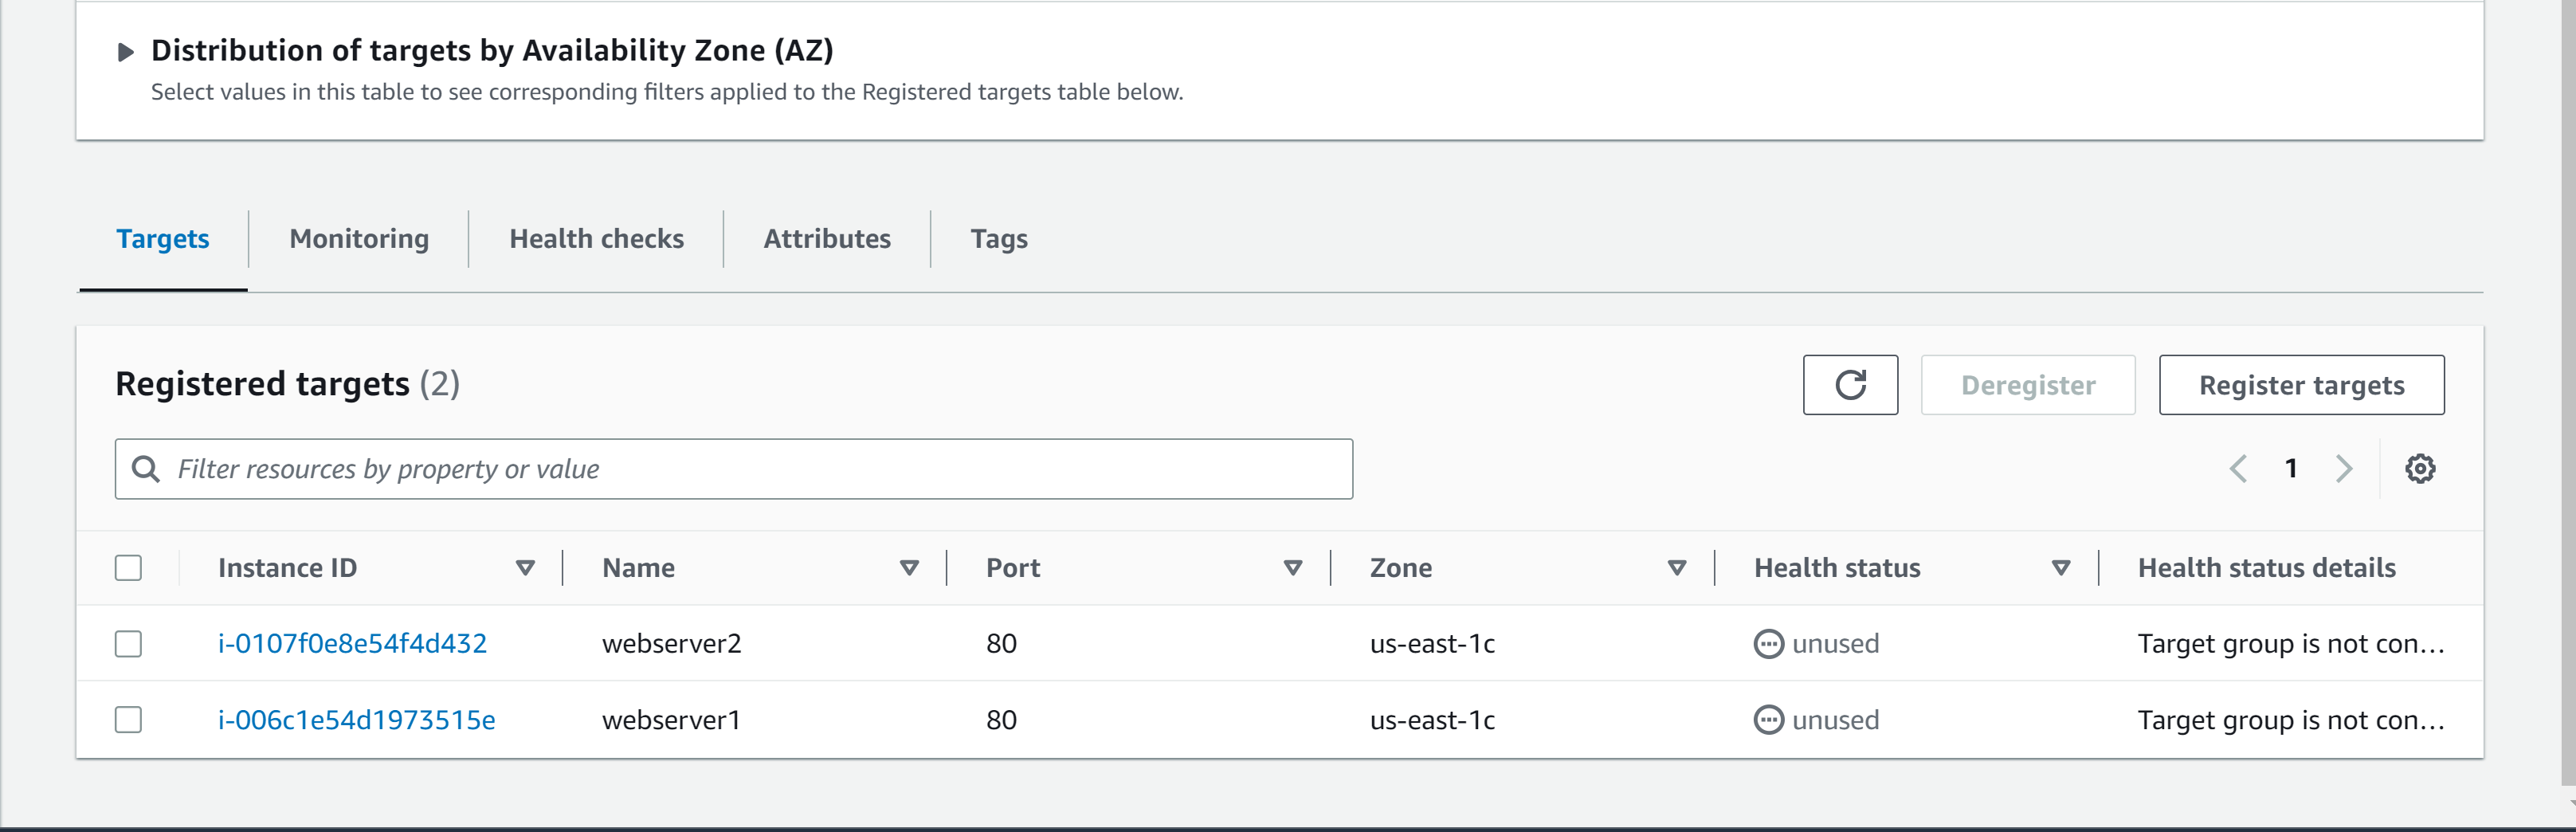
- Create an Application Load Balancer with the following specifications, add the two EC2 webservers as targets, and observe how the load balancing works in the web browser.
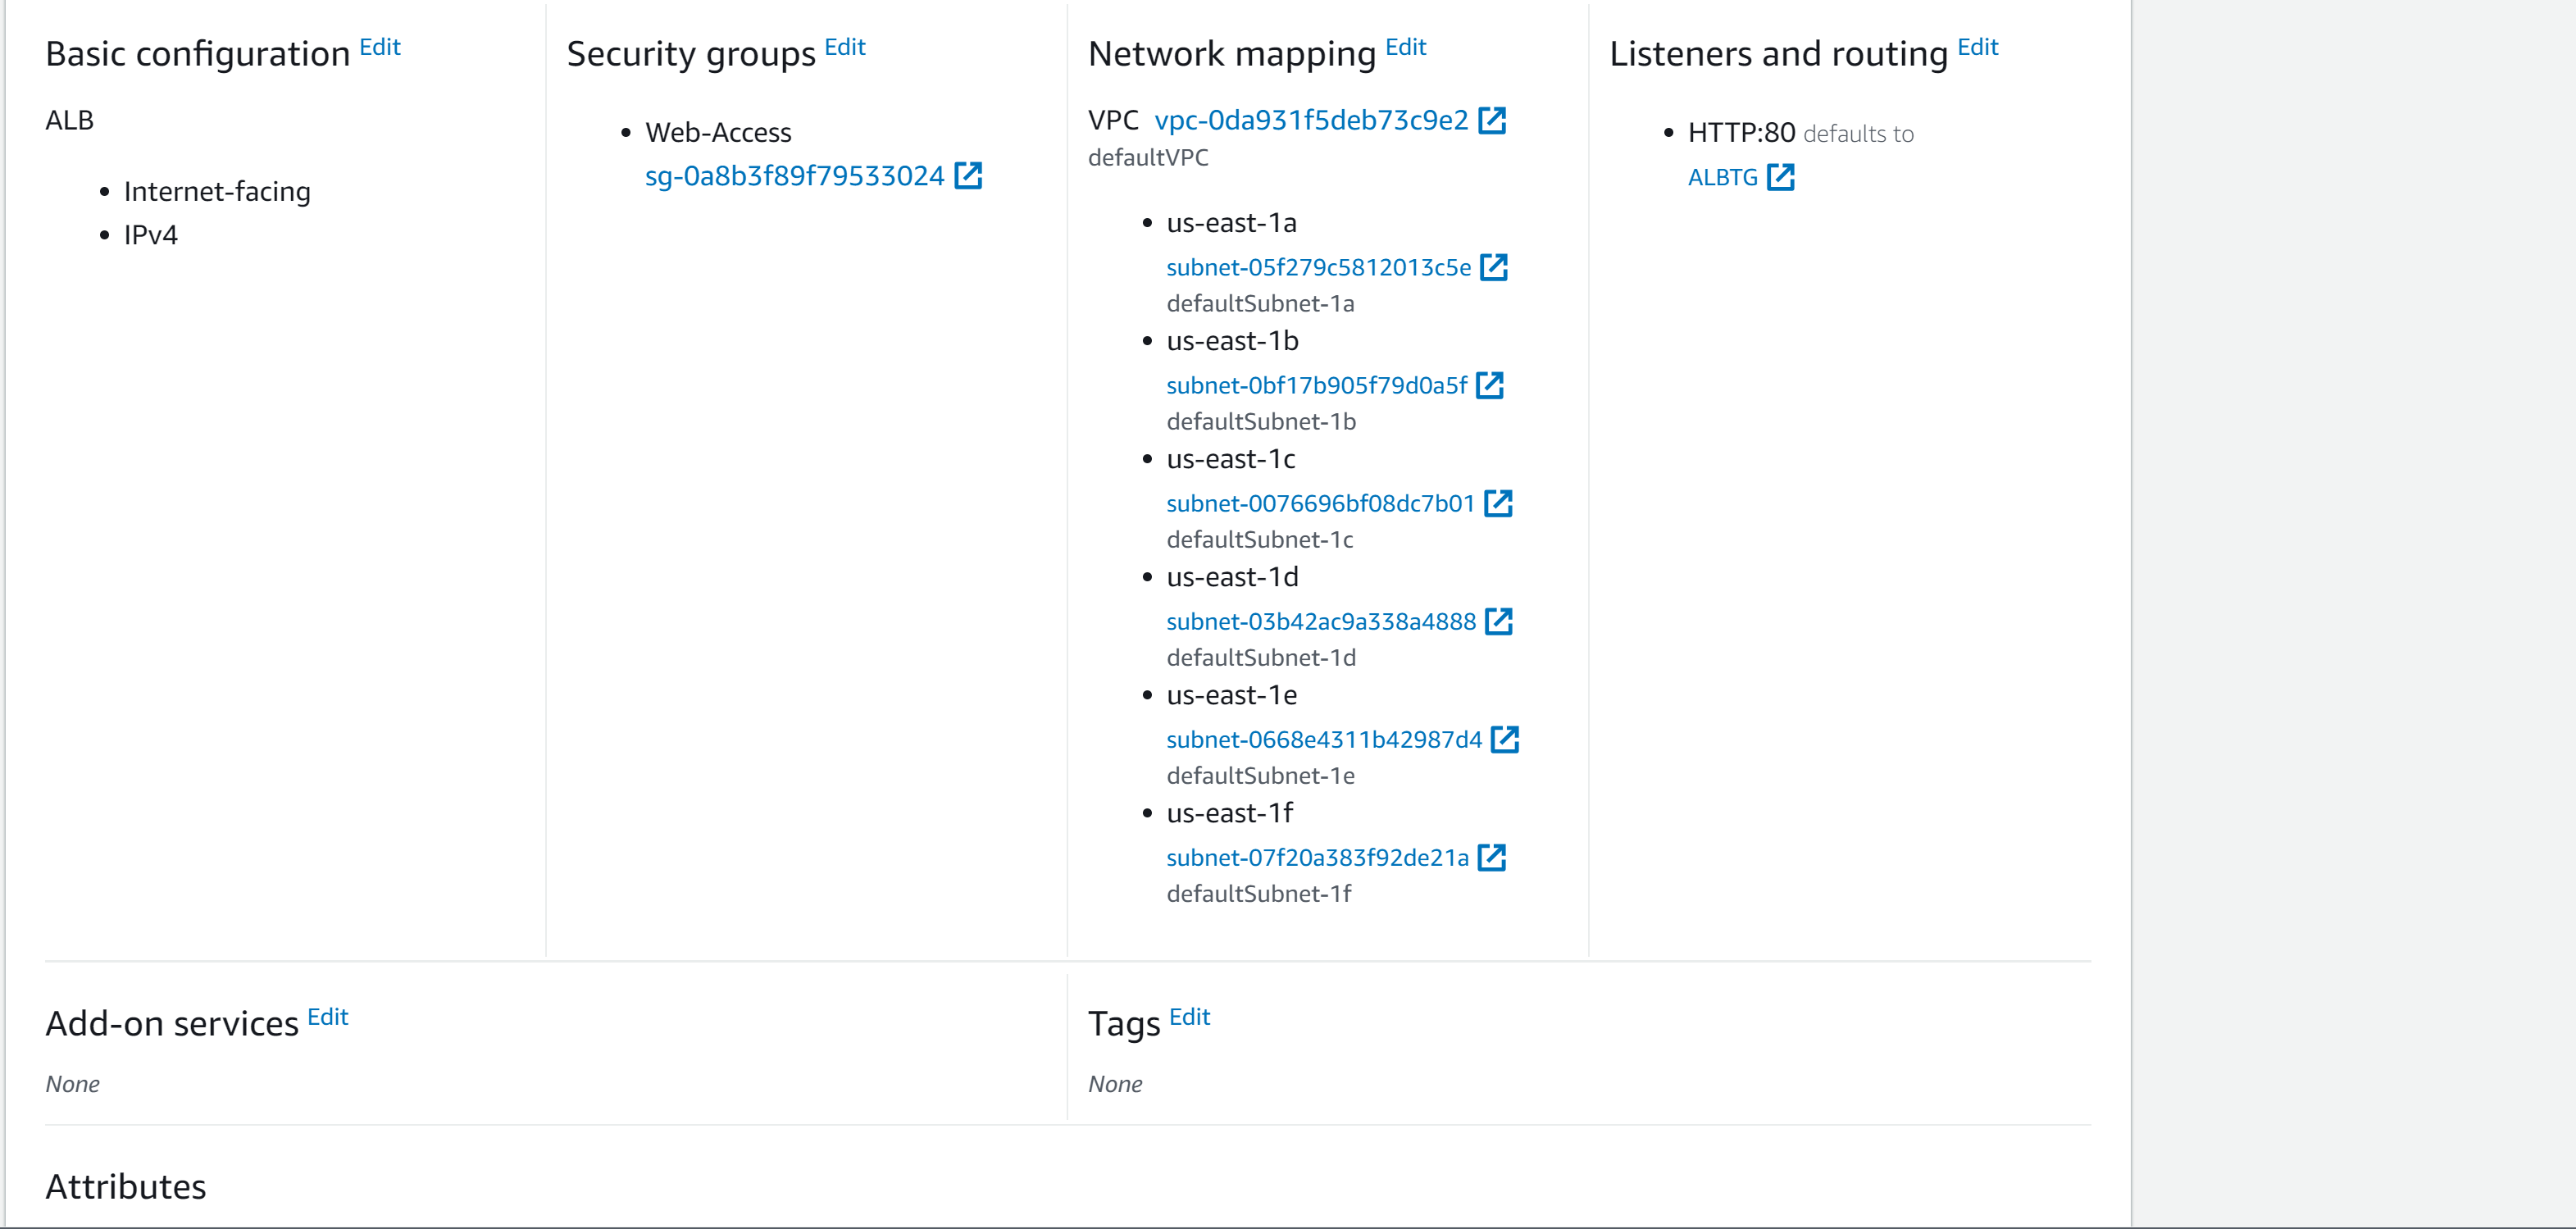
- Wait a few minutes for the load balancer to finish provisioning and enter an active state.
- After ALB is created, The Targets are Active

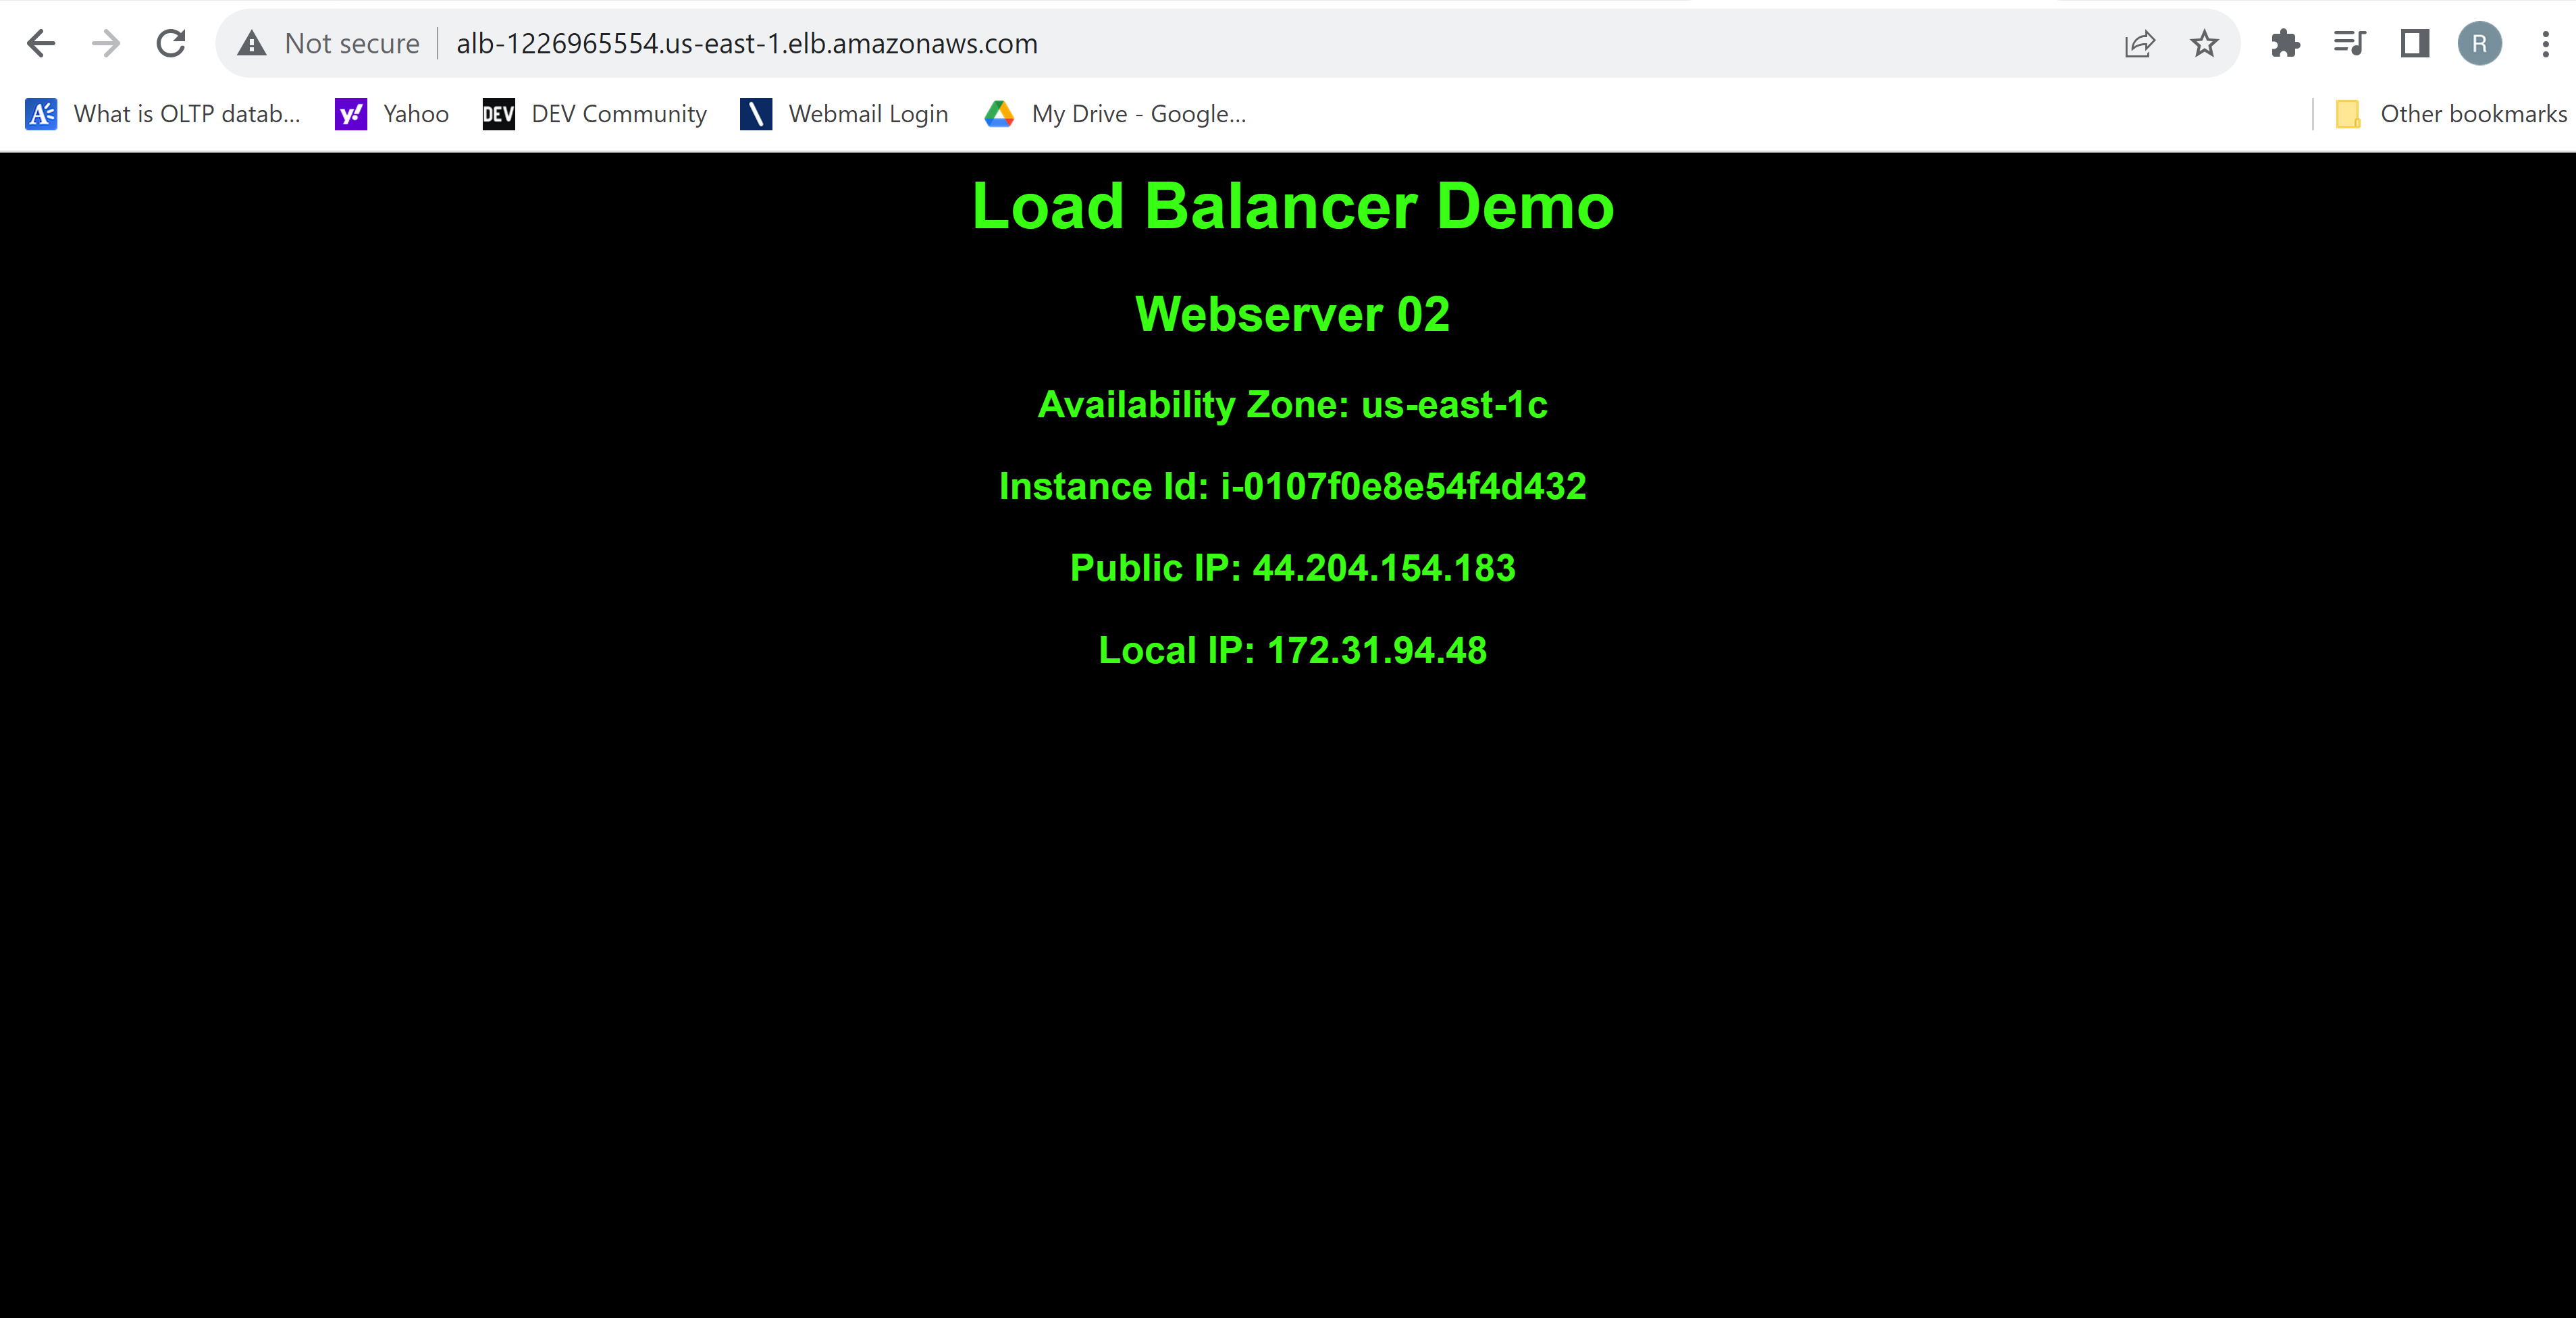
- Copy its DNS name ***`ALB-1226965554.us-east-1.elb.amazonaws.com`***, and paste it into a new browser tab.
- You should see the load balancer demo page again. The local IP lets you know which instance you were sent (or "load balanced") to.
- Refresh the page a few times.
- You should see the other instance's local IP listed, meaning it's successfully load balancing between the two EC2 instances.
### webserver1

### webserver2
## 4. Enable Sticky Sessions and Test
By default, an Application Load Balancer routes each request independently to a registered target based on the chosen load-balancing algorithm. However, you can use the sticky session feature (also known as session affinity) to enable the load balancer to bind a user's session to a specific target. This ensures that all requests from the user during the session are sent to the same target. This feature is useful for servers that maintain state information in order to provide a continuous experience to clients. To use sticky sessions, the client must support cookies.
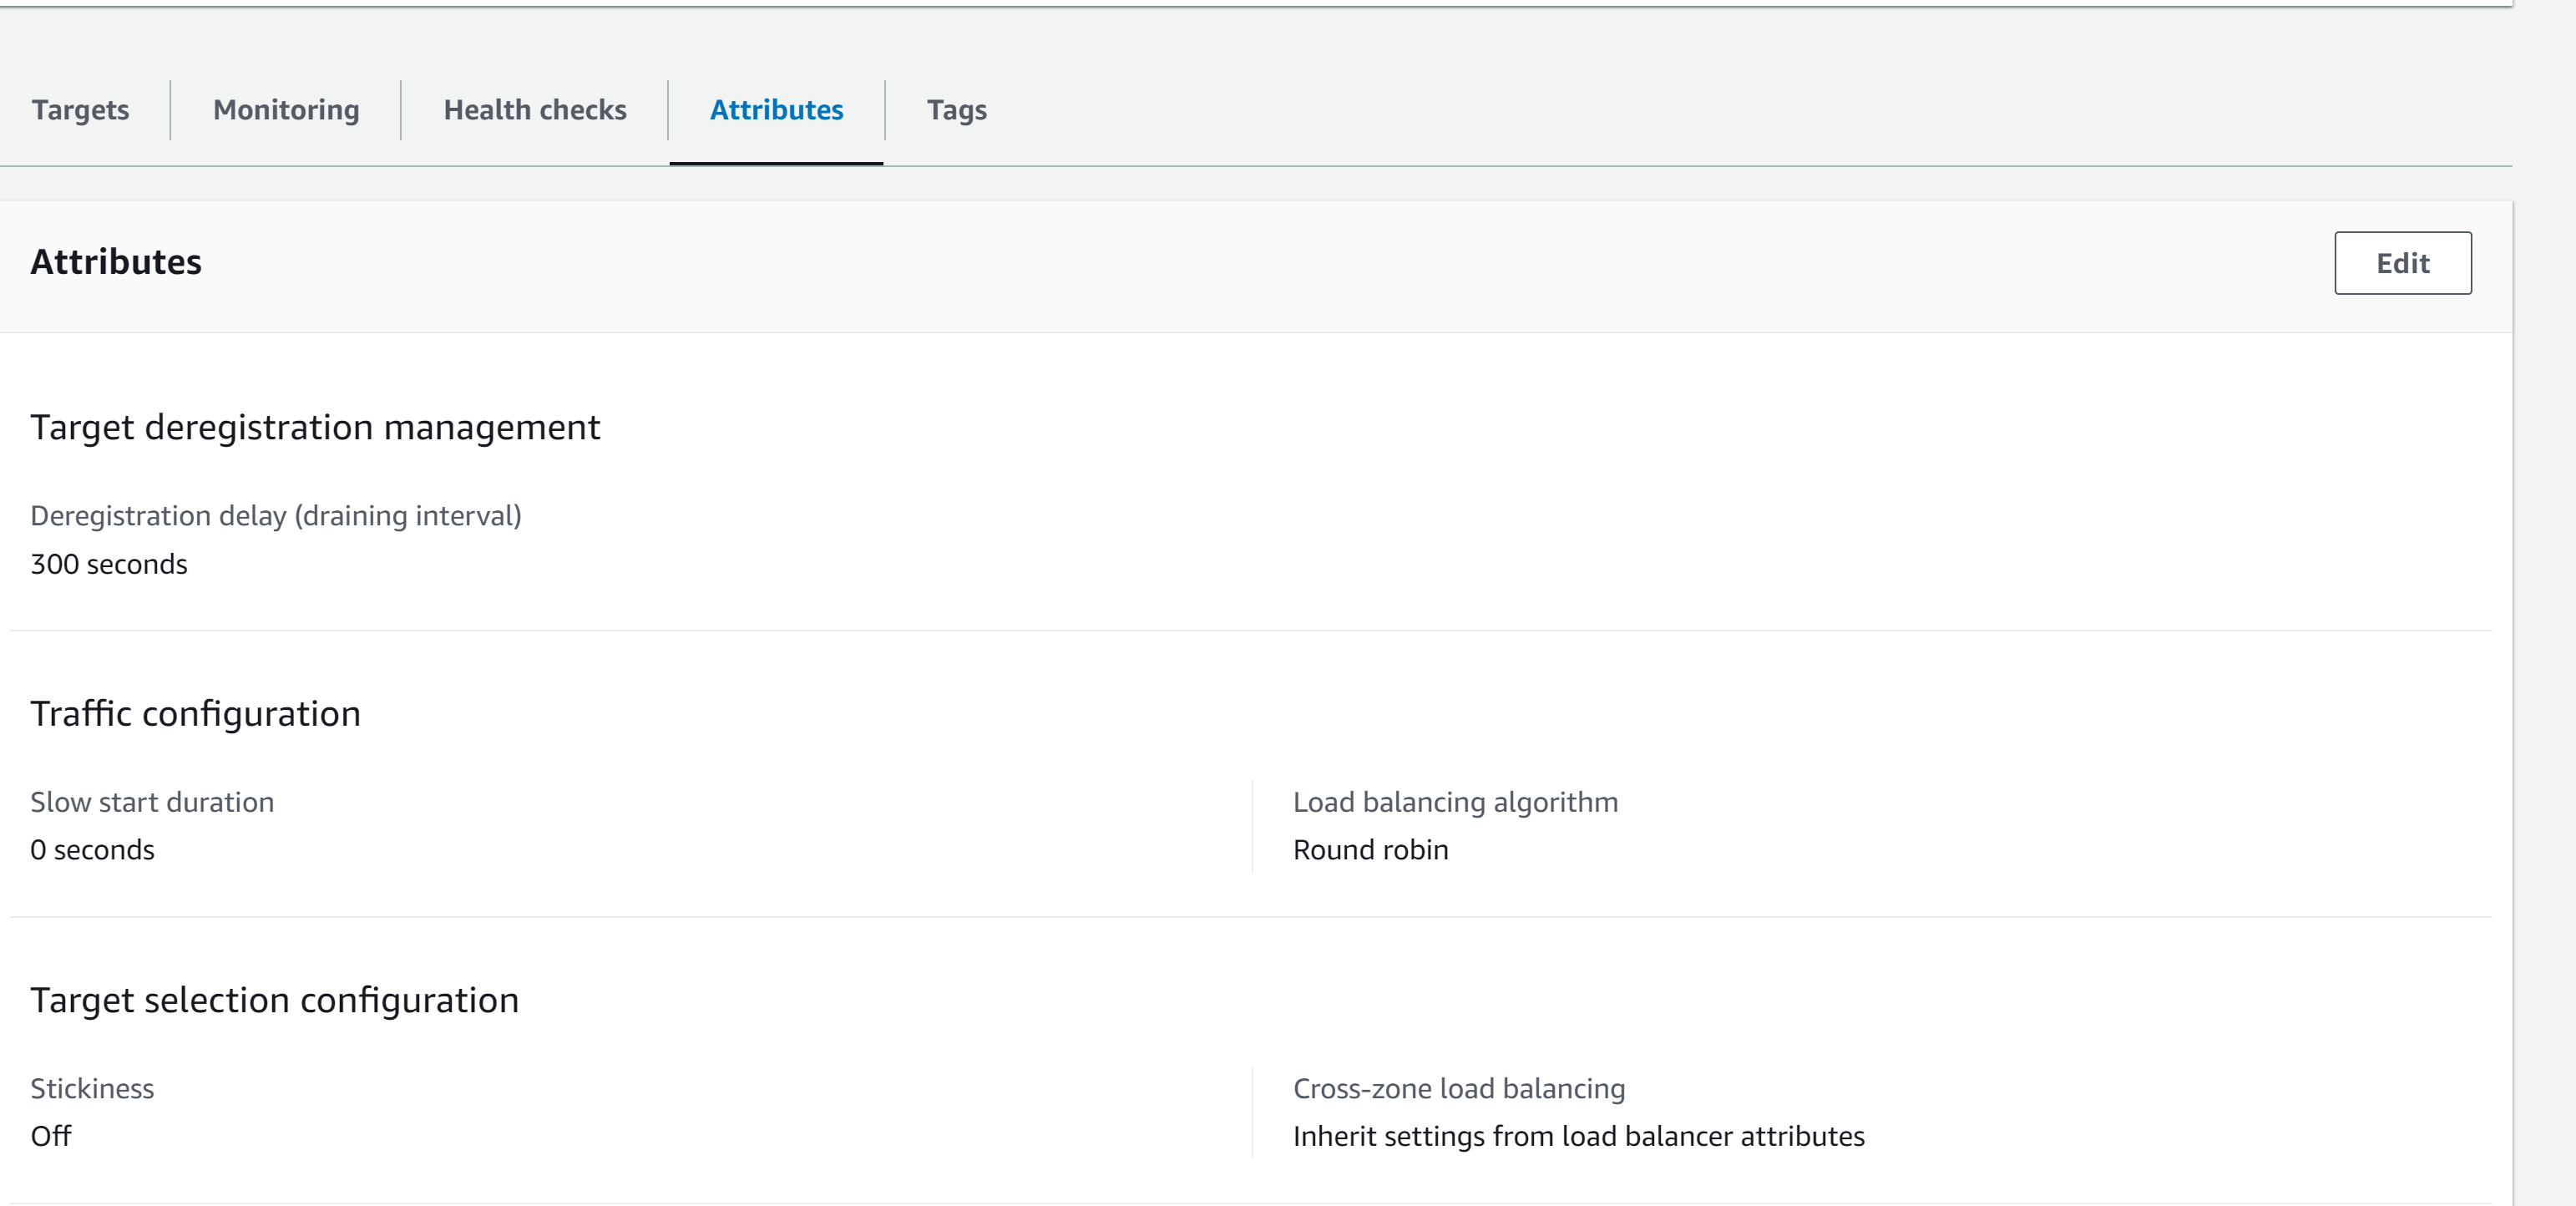
- Target Group ***`ALBTG`*** showing Stickiness Off
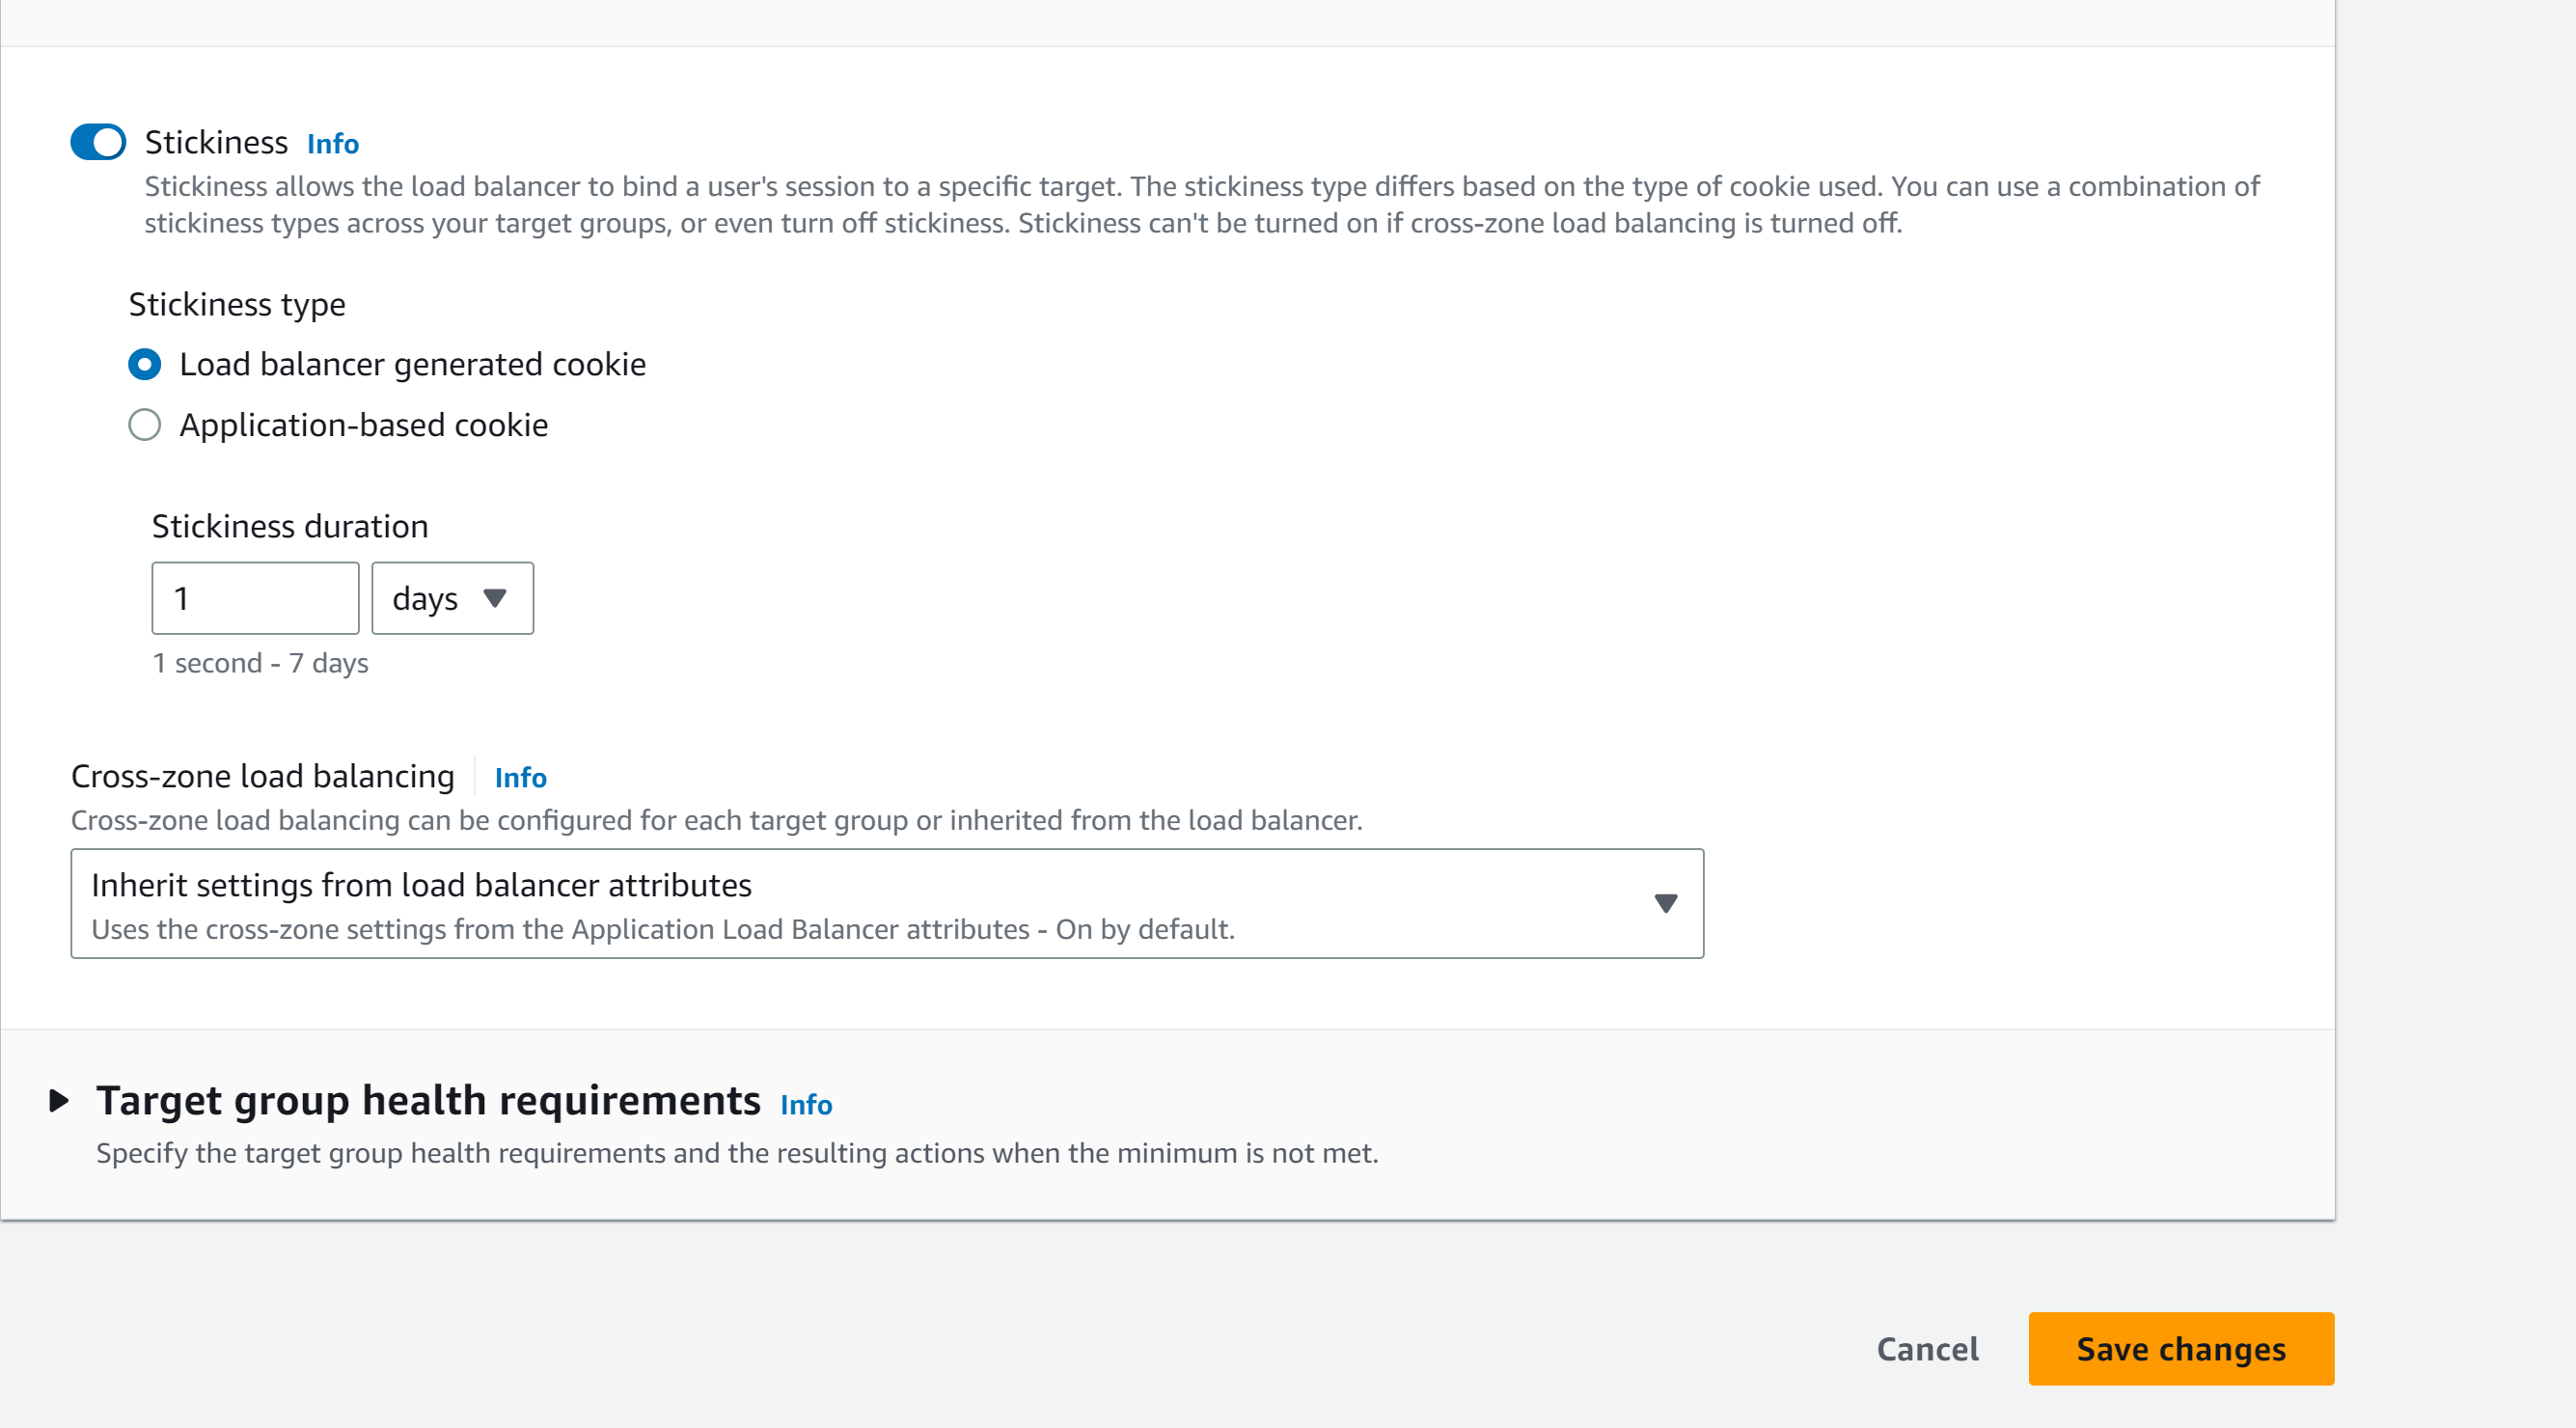
- Target Group ***`ALBTG`*** showing Stickiness On
- Save Changes
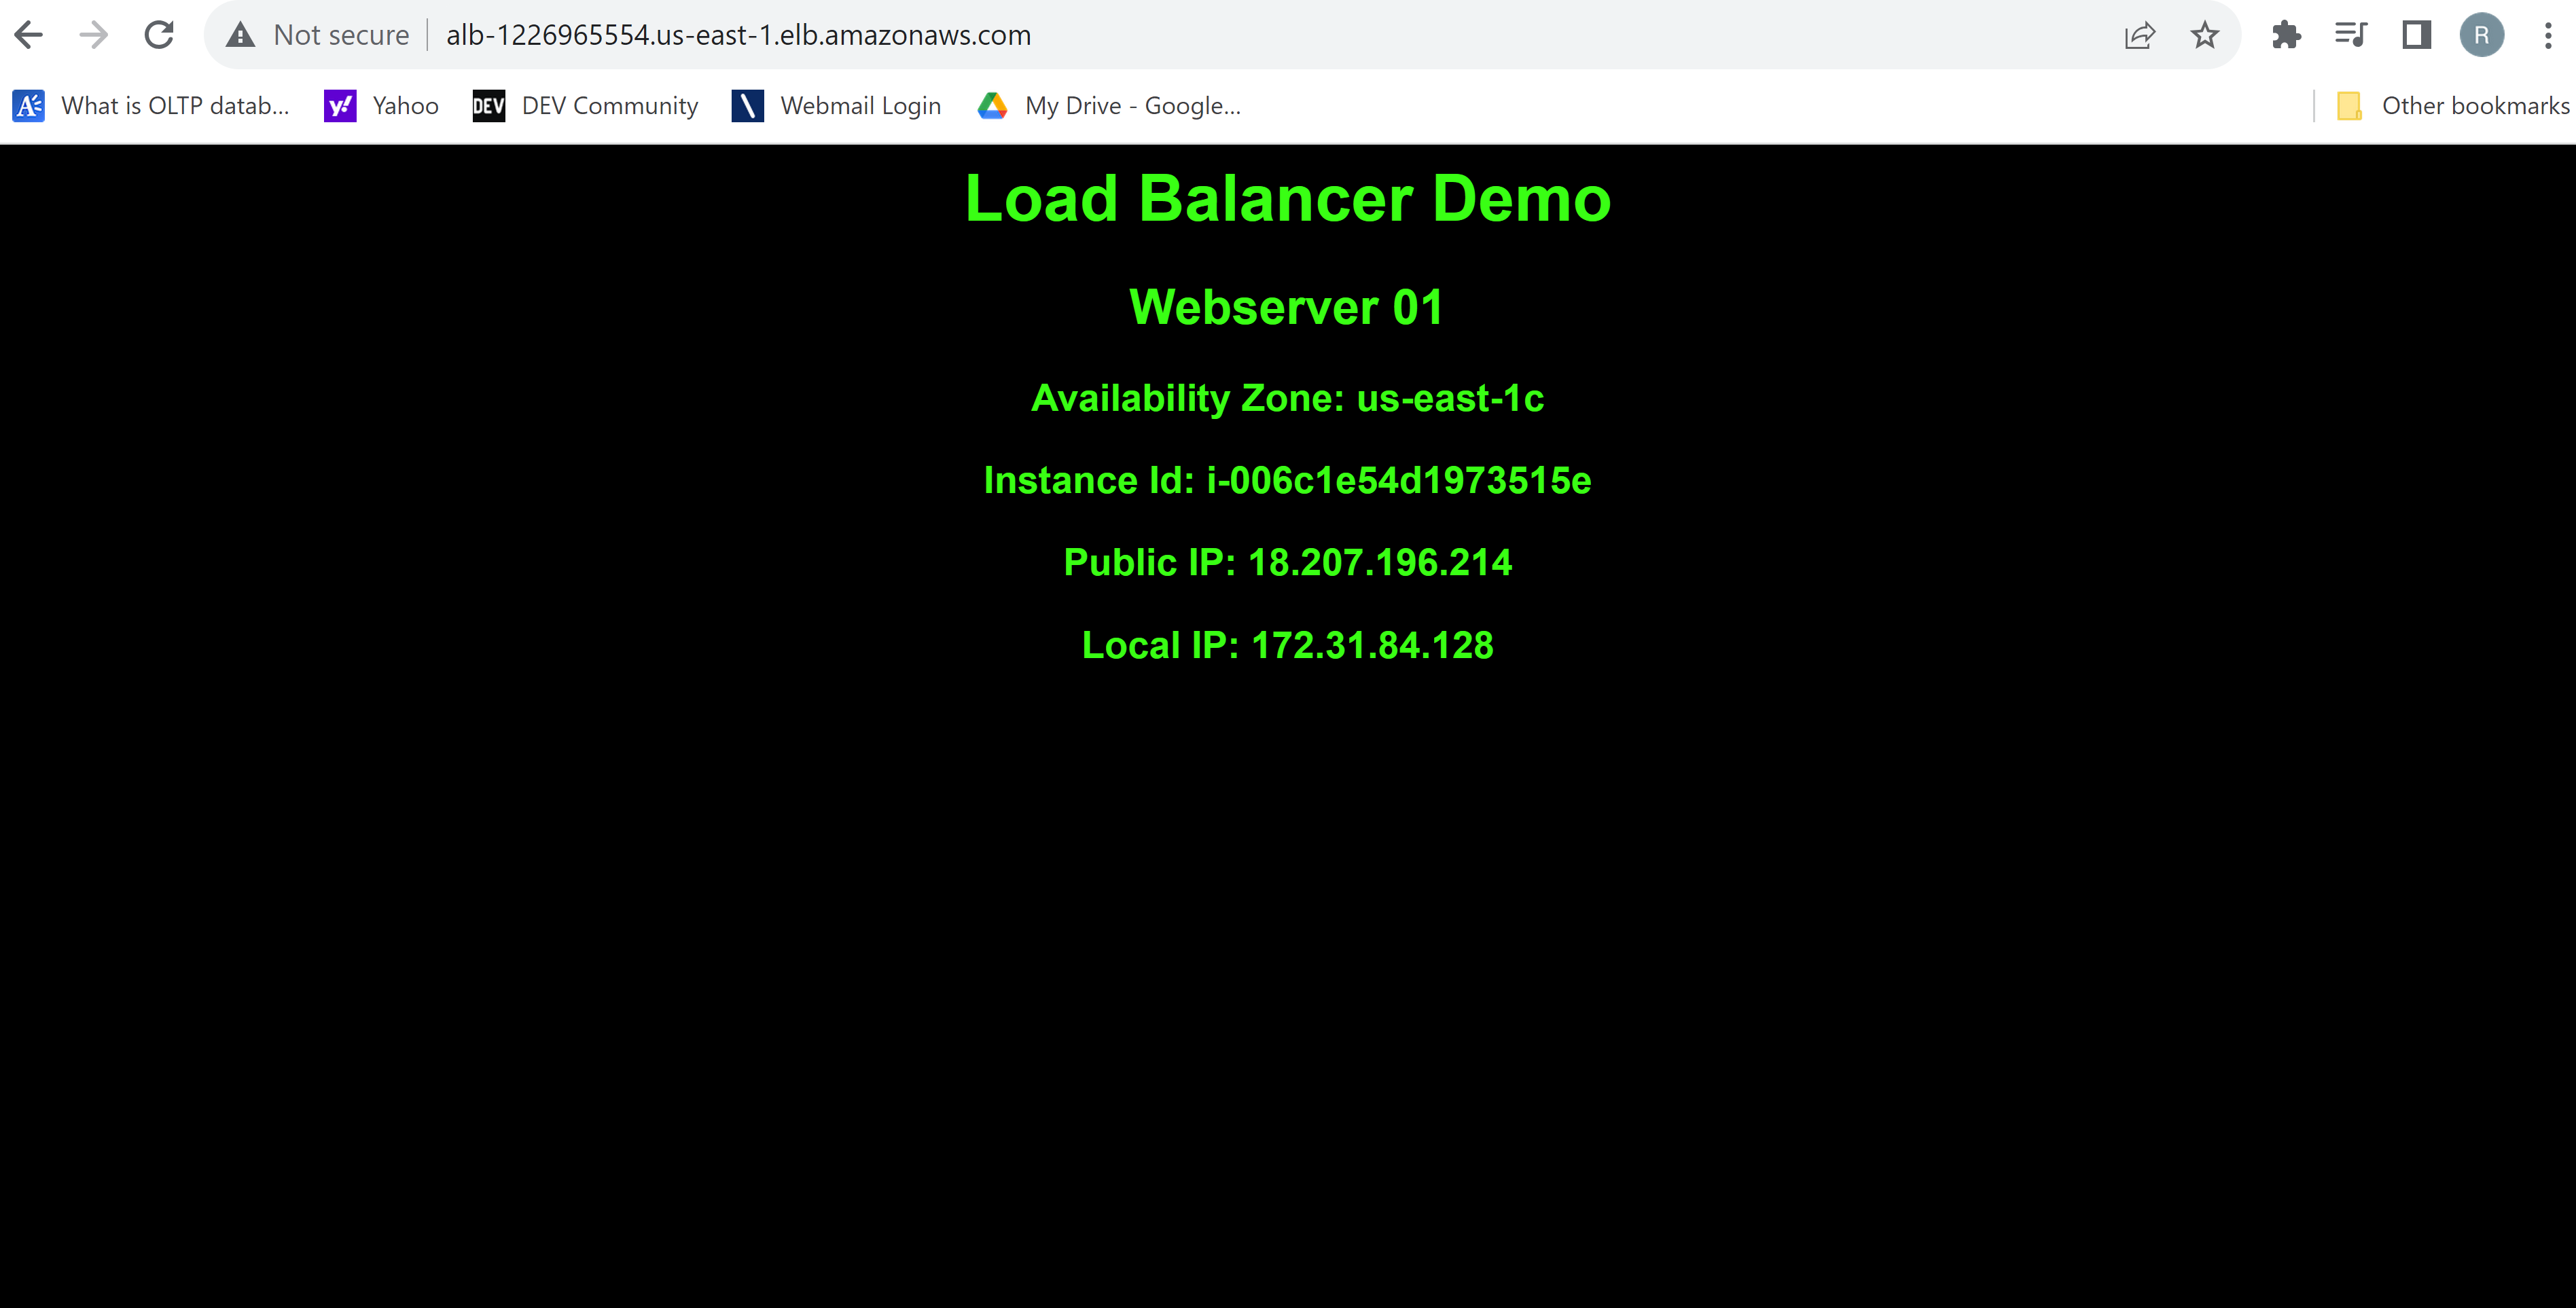
ALB DNS ***`ALB-1226965554.us-east-1.elb.amazonaws.com`*** on the web browser to show stickiness on webserver1
## Clean Up
- Delete EC2 webservers
- Delete Target Group
- Delete Application Load Balancer
## What we have done so far
We created an Application Load Balancer and enable sticky sessions to show all requests from the user during the session are sent to the same target.

Top comments (0)