Launching EC2 and installing OpenVPN
- Launch an EC2 instance(public) in a VPC to setup openVPN(Ubuntu is taken in this lab)
- Connect to the EC2 instance through SSH then update and upgrade the instance using:
sudo apt update sudo apt upgrade - Install openVPN server in the public subnet and run the OpenVPN installer wizard using following commands:
wget https://git.io/vpn -O openvpn-ubuntu-install.sh chmod -v +x openvpn-ubuntu-install.sh sudo ./openvpn-ubuntu-install.sh - In the wizard, provide choices as shown in fig. Then, provide a client name
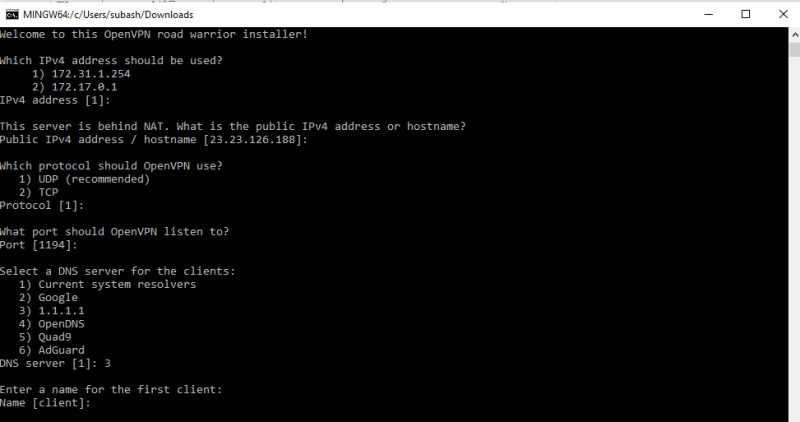
- Check the status of openVPN server:
sudo systemctl status openvpn-server@server.serviceIf a restart is needed:sudo systemctl restart openvpn-server@server.service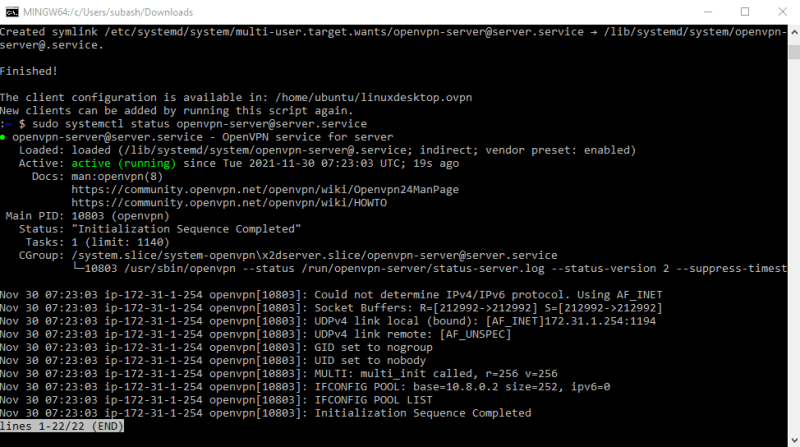
- Download the .ovpn file to local pc. It is required to connect through openVPN desktop client. The name of the .ovpn file depends on the name of the client provided during the previous wizard installation.
ssh -i "your-key.pem" ubuntu@<public ip address> "sudo -S cat /home/ubuntu/client_name.ovpn" > client_name.ovpnThe directory for the .ovpn file could differ : /root/
Configuring Security groups
The default port 1194 was selected in the wizard previously. So, the inbound rules should include Custom UDP for port 1194.

Downloading OpenVPN Connect and establishing the connection
- Go to https://openvpn.net/client-connect-vpn-for-windows/ (Windows)
- After the installation is completed, run the application and import the .ovpn file.
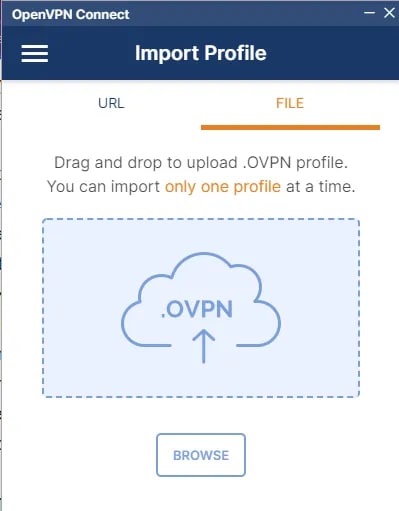
- The imported profile details is shown.

- If all the configurations are proper, the connection will be successful.
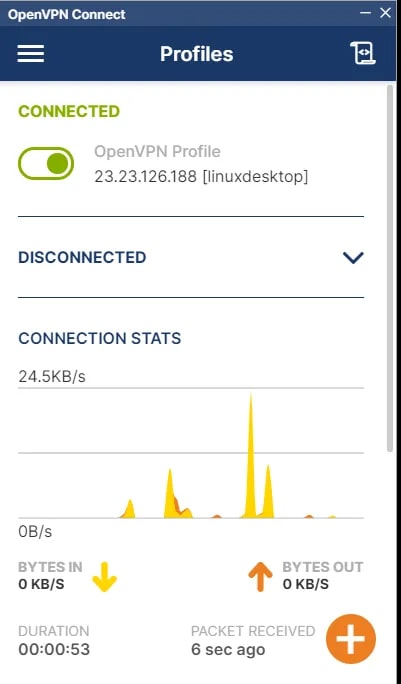
Verifying the connection to the instance in private subnet
- Once the openVPN connection is successful, we can verify whether the instances in the private subnet can be connected to or not.
- Launch an instance in a private subnet for the same VPC as of the instance in the public subnet.
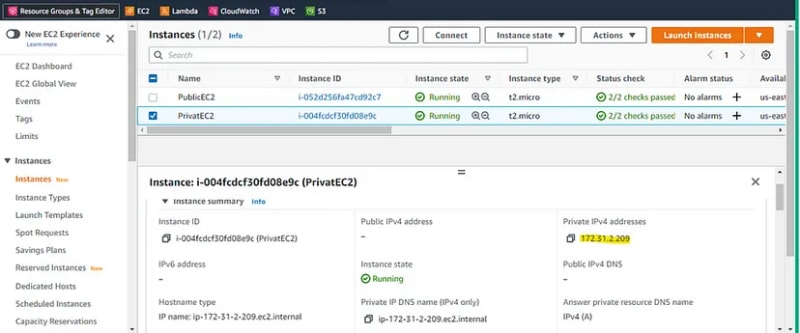
- Take the private IPv4 address and PEM file and connect through SSH
ssh -i "<pem-file>" ubuntu@<private-ip>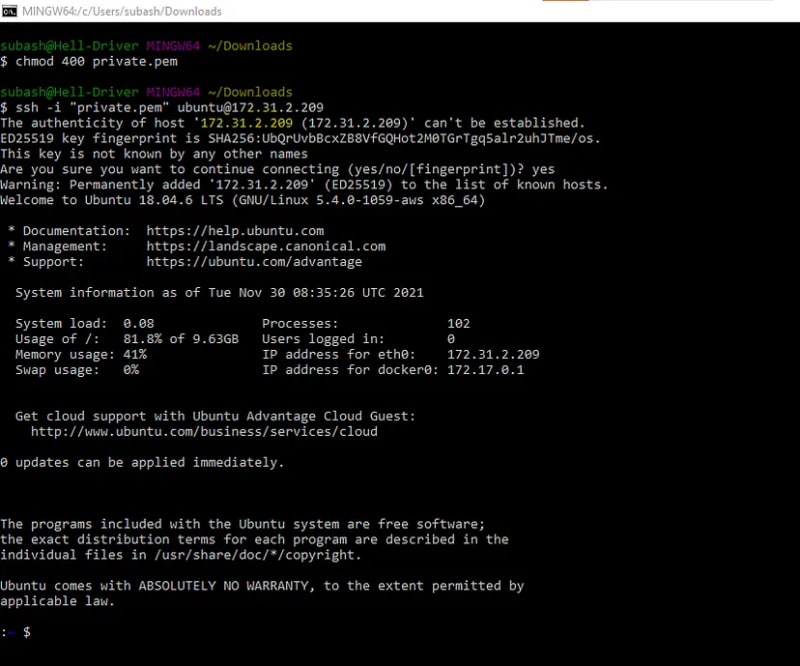


Top comments (0)