A Virtual Private Network (VPN) apparently is a private secure connection between two devices that is achieved using encryption over a public network, typically the internet.
We will be working on 2 project:
- AWS Client VPN - Client-to-Site(AWS Cloud).
- AWS Site-to-Site - On-premises/cloud-to-site(AWS Cloud).
What is AWS Client VPN? AWS Client VPN is a managed client-based VPN service that enables you to securely access AWS resources and resources in your on-premises network - AWS Documentation.
Project 1:
In this task, we will be working with AWS client VPN.
Outlines:
- I have my Windows 10 Laptop on-premises.
- I have a windows server in a private subnet in us-east-2 (Ohio).
- We will need SSL for mutual authentication, this can be created using EasyRSA on cmd and upload to AWS Certificate Manager (ACM)
- I have my VPC created which consist of 2 subnet and 2 route table (private and public).
- I have my server launched in the private subnet which can't be accessed from the internet.
STEPS:
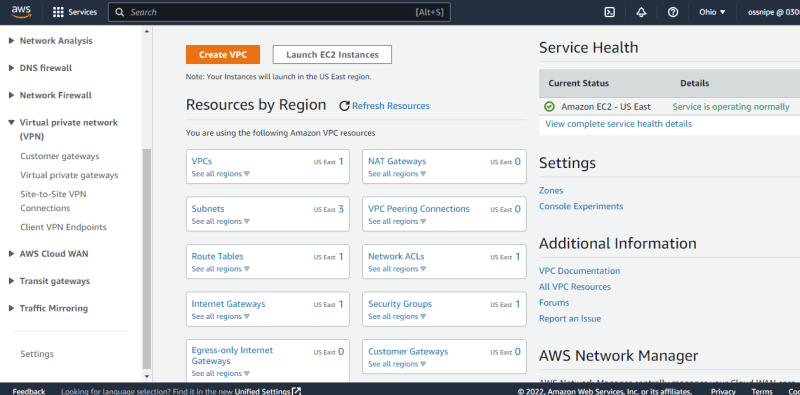
**Login to your AWS account and search VPC, click on VPC.
On the left hand side. Expand Virtual Private Network (VPN)
- Click on Virtual Private Gateway (VGW)**
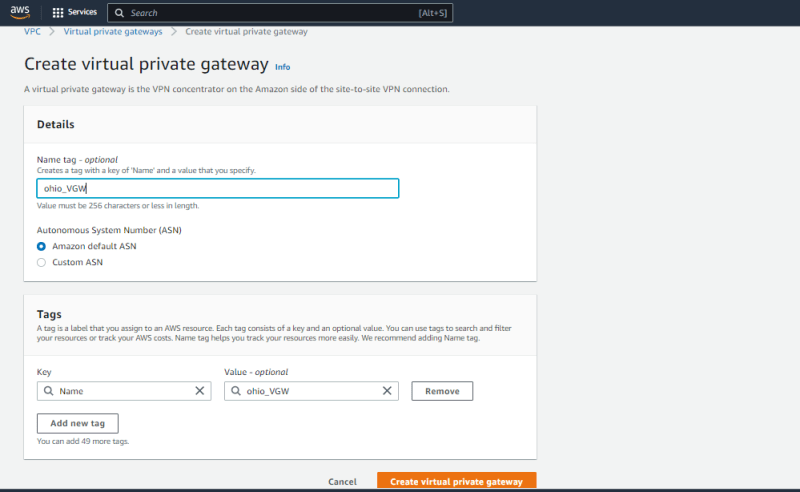
- Under VGW. Click create virtual private gateway
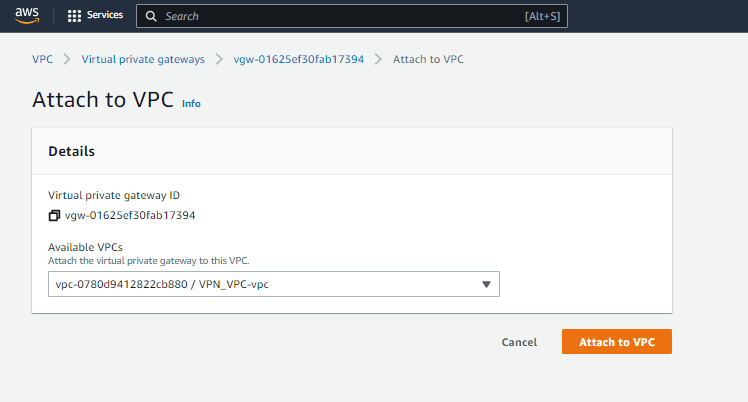
- Once created. click on Action then select Attach to VPC.
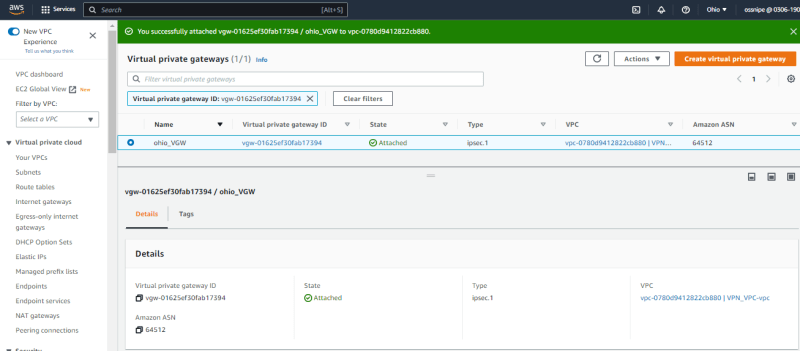
- Under state "Attaching", refresh and wait for few minute and state shows "Attached".
 On the left hand side. Expand Virtual Private Network (VPN)
Click on Customer Gateway.
On the left hand side. Expand Virtual Private Network (VPN)
Click on Customer Gateway.
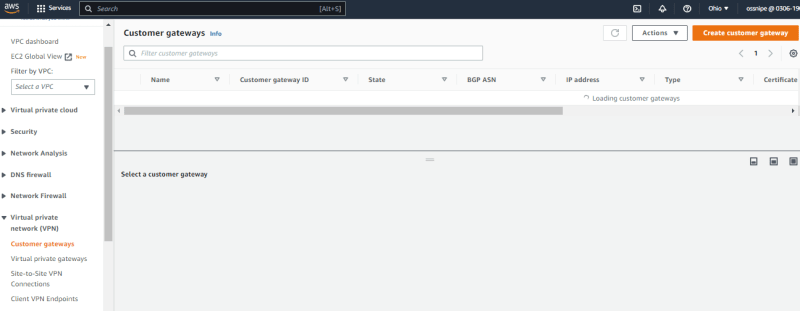 Click create Customer Gateway.
 - Input your ASN or leave default
- Enter your public IP address for customer device.
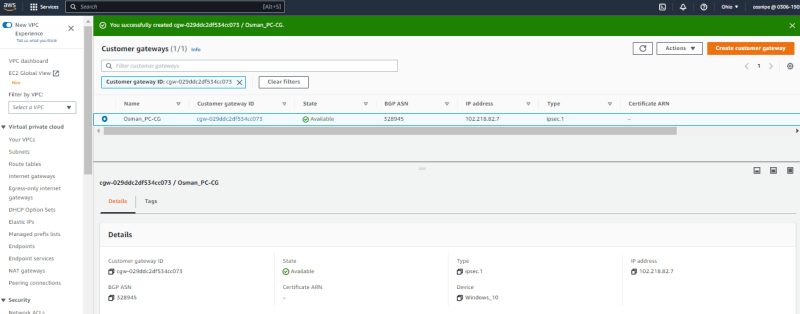
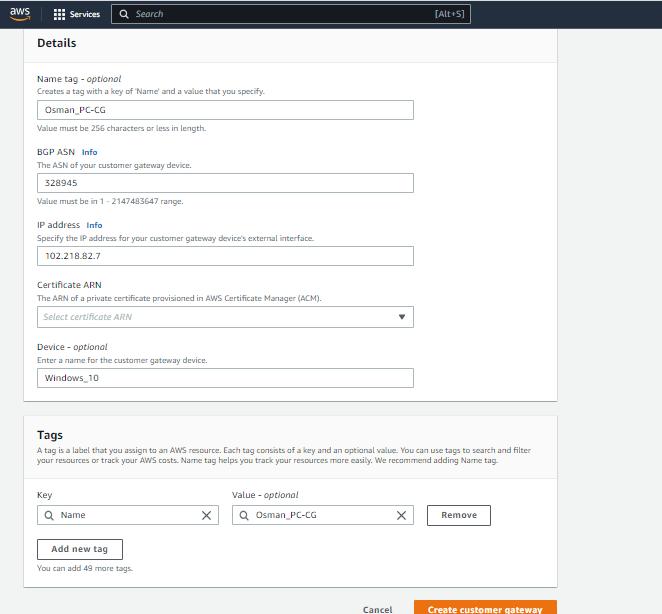 Create customer gateway.
Create certificates and keys and upload them to ACM
The following procedure installs Easy-RSA 3.x software and uses it to generate server and client certificates and keys and upload them to ACM.
Copy the link and open in your broswer. Download the latest EasyRSA zip file for your windows and extract it..
https://github.com/OpenVPN/easy-rsa/releases
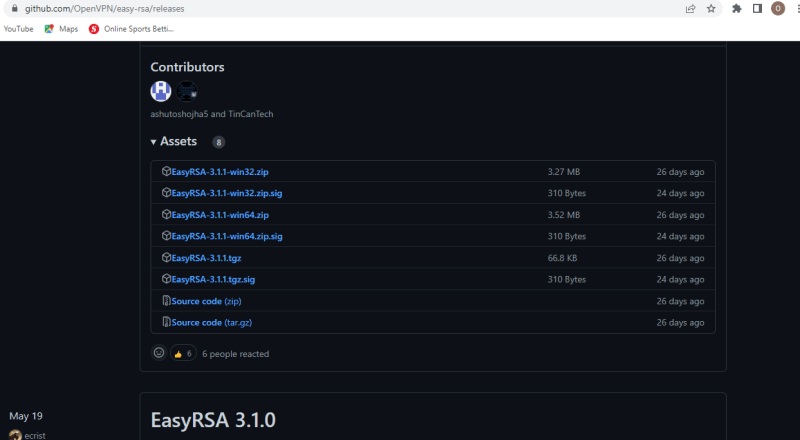
Open a command prompt and navigate to the location that the EasyRSA-3.x folder was extracted to.
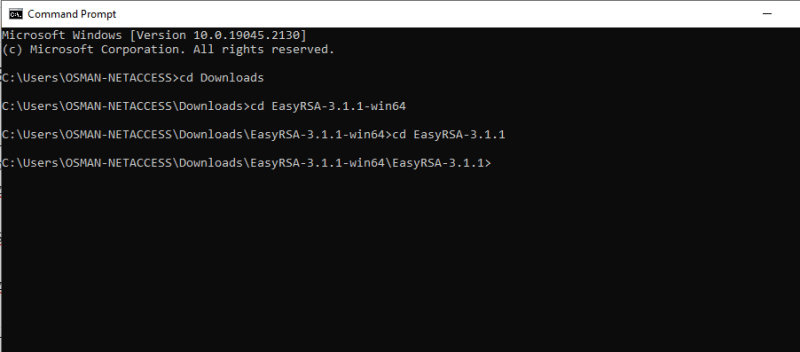
Open the EasyRSA-Start.bat via CMD or Naviha=gate to the EasyRSA folder.
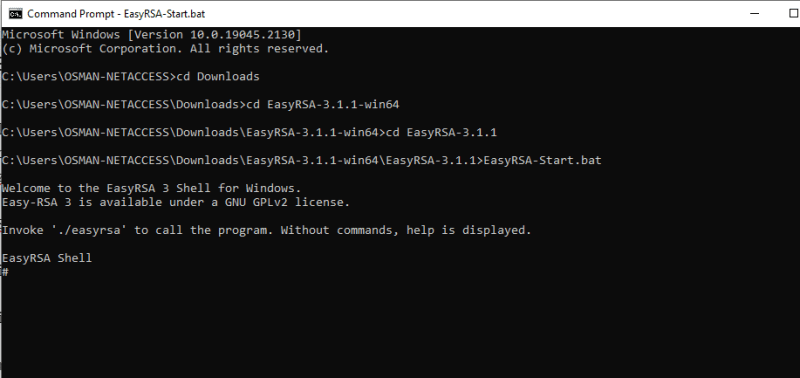
Run the following command to open the EasyRSA 3 shell.
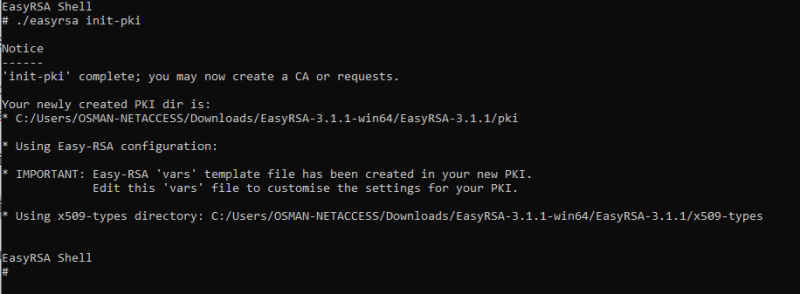
- Initialize a new PKI environment.
# ./easyrsa init-pki
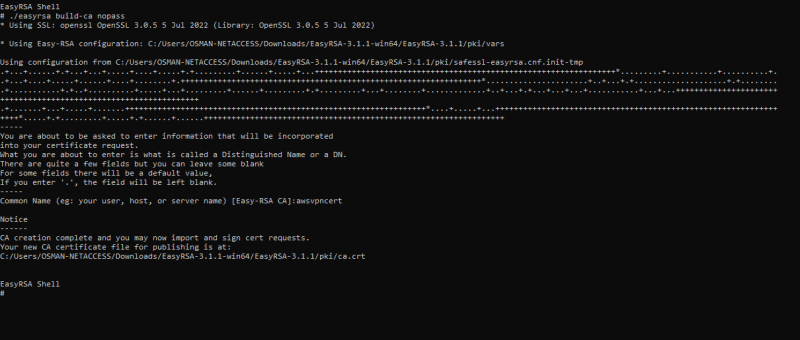
- To build a new certificate authority (CA), run this command and follow the prompts.
# ./easyrsa build-ca nopass
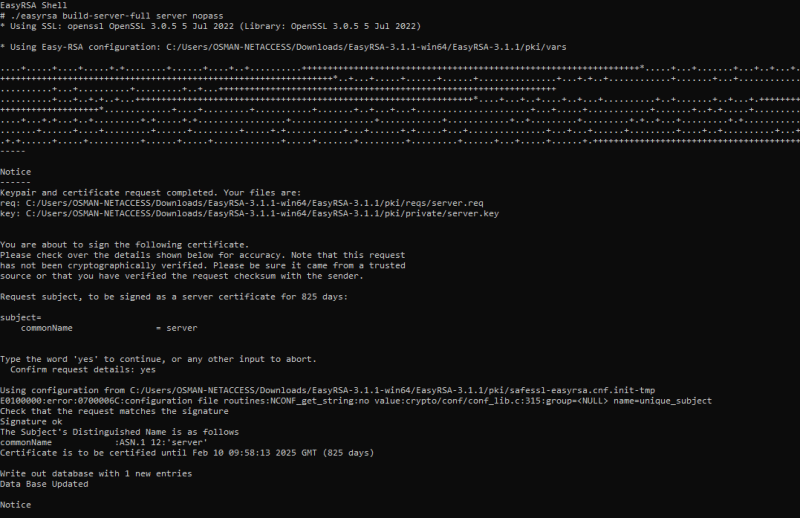
- Generate the server certificate and key.
# ./easyrsa build-server-full server nopass
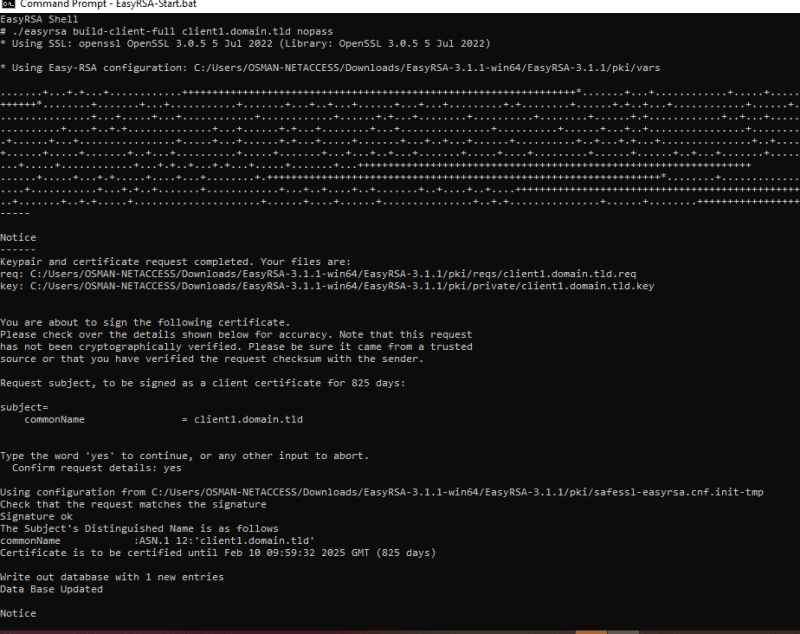
- Generate the client certificate and key.
# ./easyrsa build-client-full client1.domain.tld nopass
You can optionally repeat this step for each client (end user) that requires a client certificate and key.
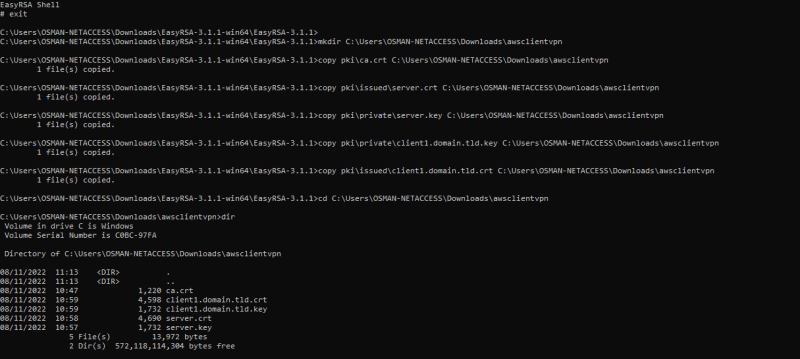
Exit the EasyRSA 3 shell.
I will create a custom folder by using the mkdir command, then copy the server certificate plus key and the client certificate plus key to the custom folder.
C:\Program Files\EasyRSA-3.x> mkdir C:\custom_folder
C:\Program Files\EasyRSA-3.x> copy pki\ca.crt C:\custom_folder
C:\Program Files\EasyRSA-3.x> copy pki\issued\server.crt C:\custom_folder
C:\Program Files\EasyRSA-3.x> copy pki\private\server.key C:\custom_folder
C:\Program Files\EasyRSA-3.x> copy pki\issued\client1.domain.tld.crt C:\custom_folder
C:\Program Files\EasyRSA-3.x> copy pki\private\client1.domain.tld.key C:\custom_folder
C:\Program Files\EasyRSA-3.x> cd C:\custom_folder
Upload the server certificate plus key and client certificate plus key to ACM. Be sure to upload them in the same Region in which you intend to create the Client VPN endpoint.
On the Search Bar, search for ACM, click on ACM.
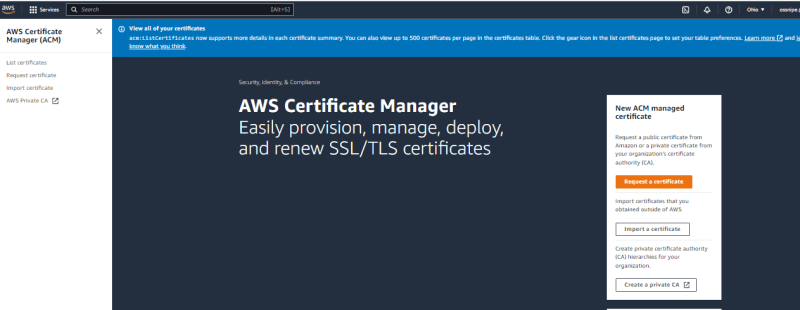
On ACM page, click on import a certificate.

I will navigate to my computer folder where i have the certificates and key, open with notepad to copy the details then paste on ACM.
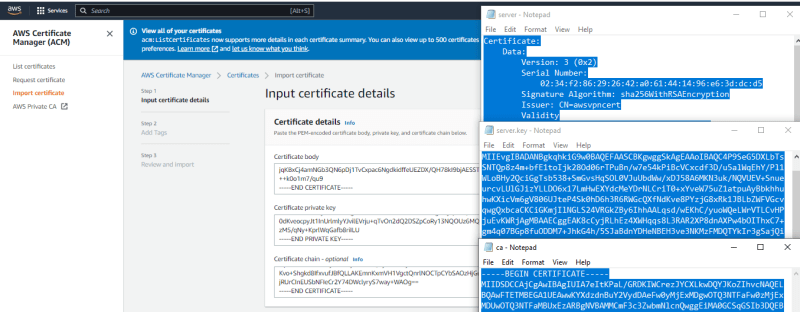
First. I will copy and paste the server cert, key and ca into ACM and import

Done. Next. i will copy the client cert, key and ca into ACM and import.

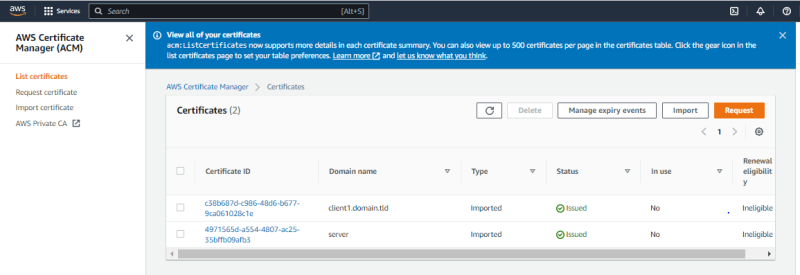
Both Certificates are on ACM and can be seen under list of certificates.
Let's create the AWS Client VPN Endpoints
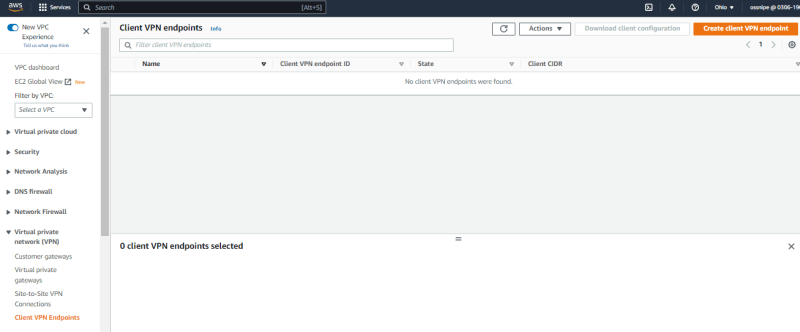
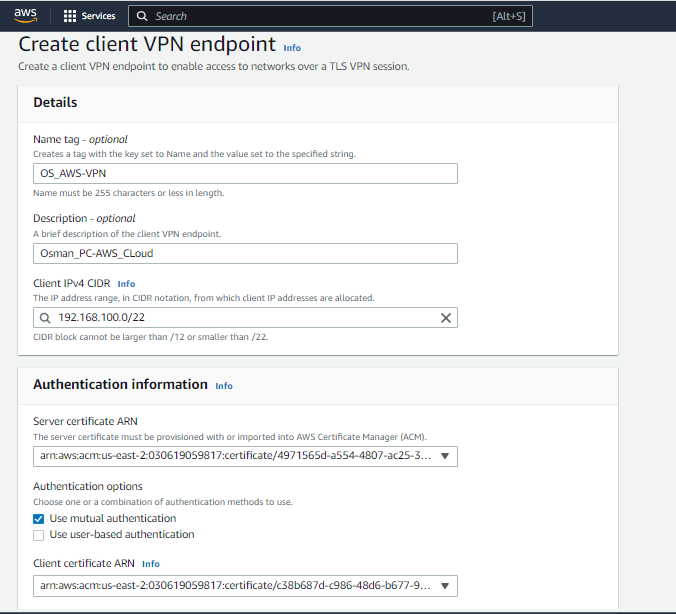
Click create client VPN Endpoint.
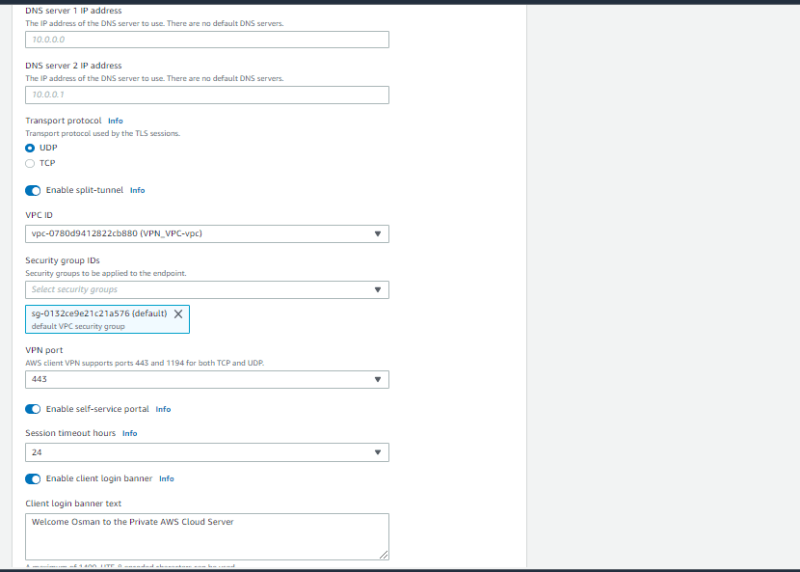
Input the information like client IP address - private ip address that will be allocated to the client devices
I selected mutual authentication using server and client certificate we created earlier via EasyRSA and ACM.
You can select user-based authentication if you have active directory setup.
I will recommend you enable split-tunnel. you can also enable connection logs for monitoring client connectivity and troubleshooting.
Once you've filled the correct information. click create
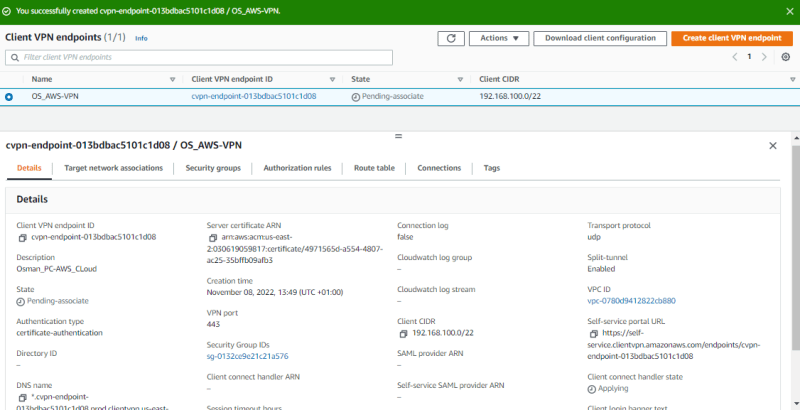
While the status state is pending-association.
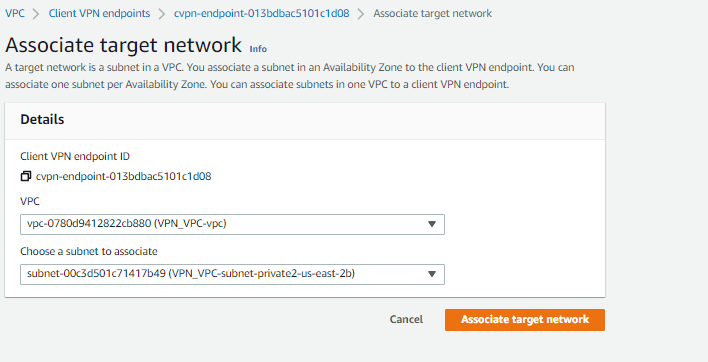
Under Target network association. Click on associate target network
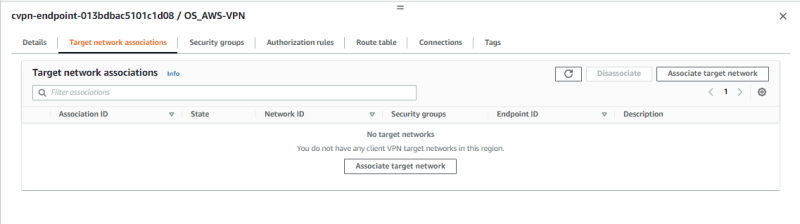
Select the VPC where you have your server. and select the subnet then associate the target network.
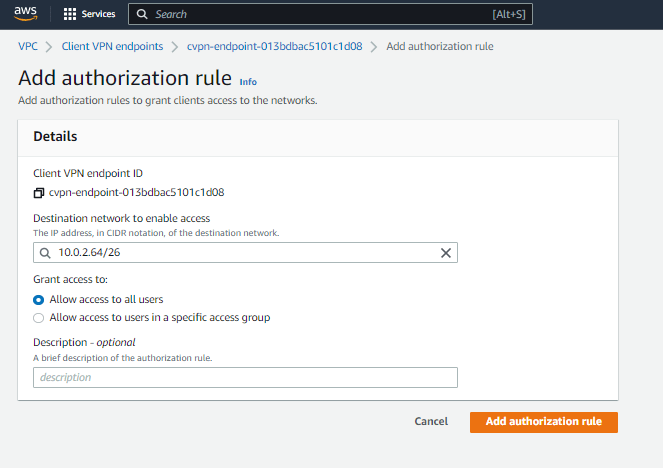
Under Association rules. Click on add association rule.
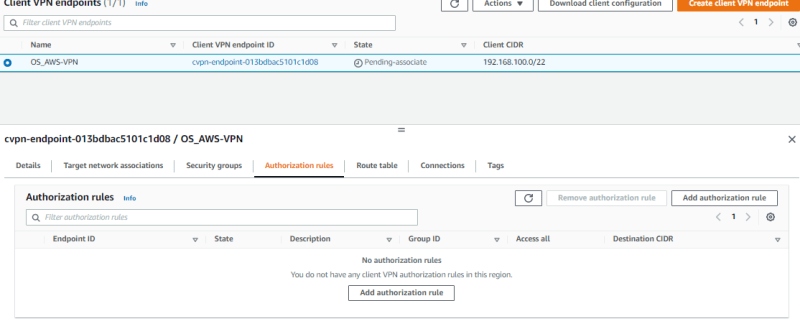
Enter the destination network, in my case i used the private subnet IPv4 CIDR address where my servers are located.
Once added, your client vpn endpoint status should now be "Available".
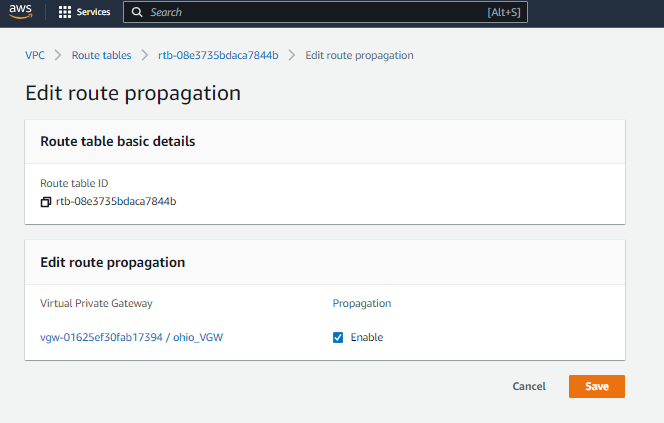
Now head over to your private route table, under Route Propagation click on edit route propagation
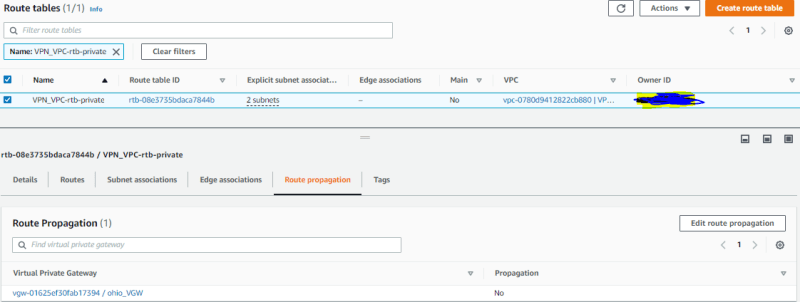
Enable Propagation for the virtual private gateway and save.
Now. Let's Download the Client configuration.
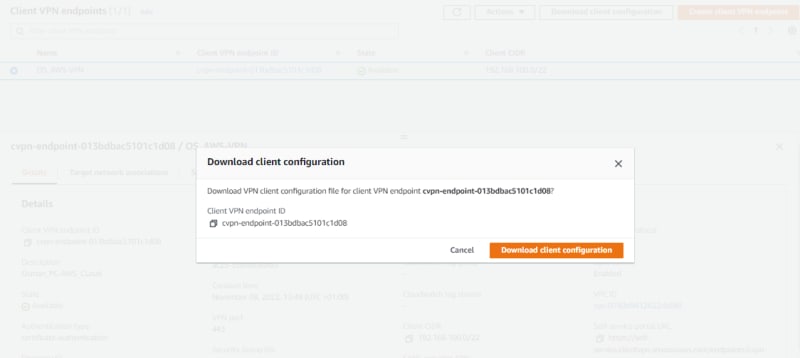
Once downloaded, open the downloaded-client-config.ovpn file as notepad.
Scroll to the end of the page inbetween and reneg-sec 0 input the cert and key.

e.g
client1.domain.tld cert
client1.domain.tld private key
reneg-sec 0
You copy and paste the client certificate and key then save the notepad.
Download OpenVPN or AWS VPN Client
click on manage profiles, then Add Profile. Input a display name and attach the .ovpn file.

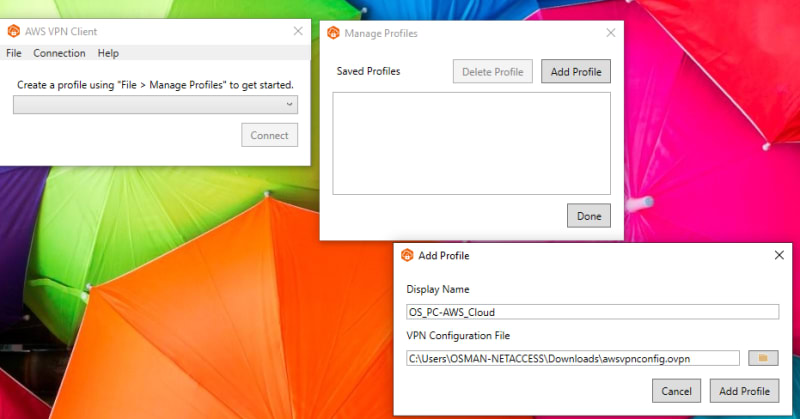
Click Add Profile and connect.
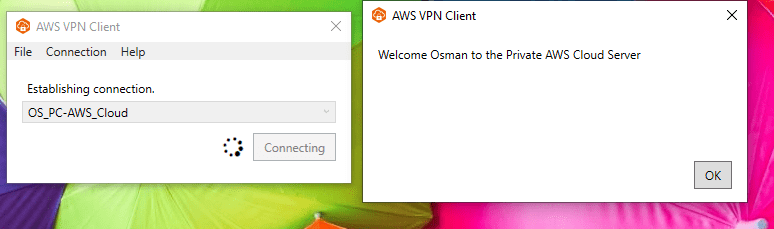
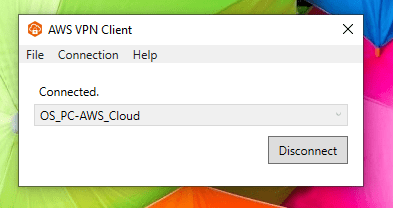
The welcome Banner configured and VPN connected.
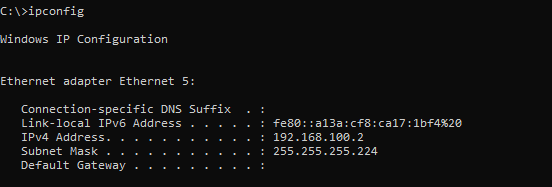
using ipconfig and see the IP address we configured for client IPV4
Now let access our server in the AWS cloud residing in a private subnet(us-east-2b)
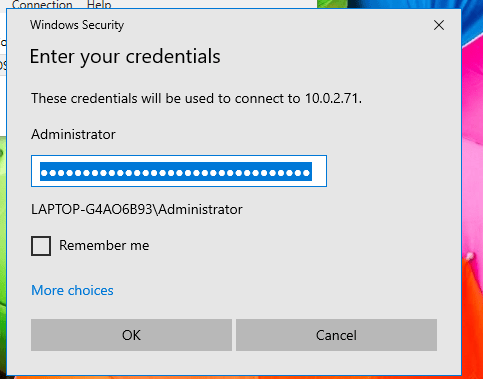
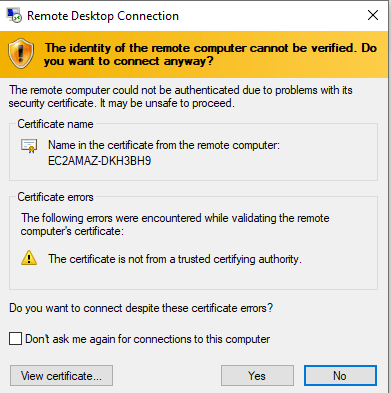
I will be connection via RDP port 3389 to my window server
Now i am successfully logged in and can perform task on the server.
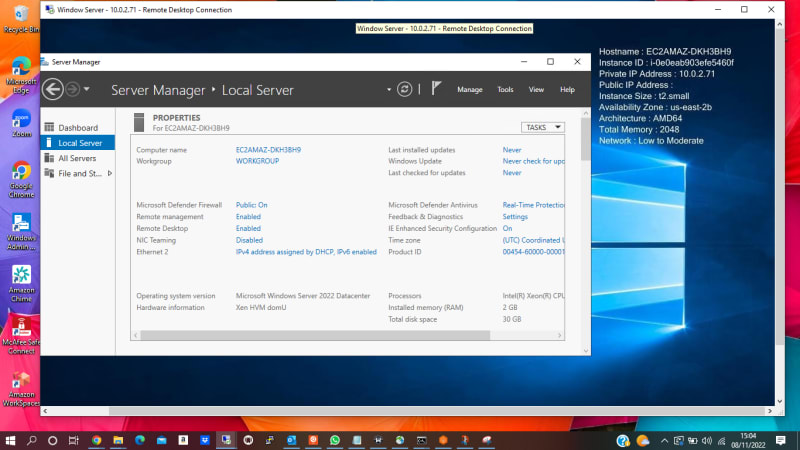
You can have more than one server in the private subnet and access everyone of them via AWS VPN Client.
Ciao! Thank you so much for reading and i hope my write up is informational. I will be writing on AWS Site-to-Site VPN real soon.
For more steps and guidelines. You can check out AWS Document: https://docs.aws.amazon.com/vpn/latest/clientvpn-user/user-getting-started.html#install-client


Top comments (0)