NOTE: This article has associated with my article about Analytics on AWS — Amazon Redshift.
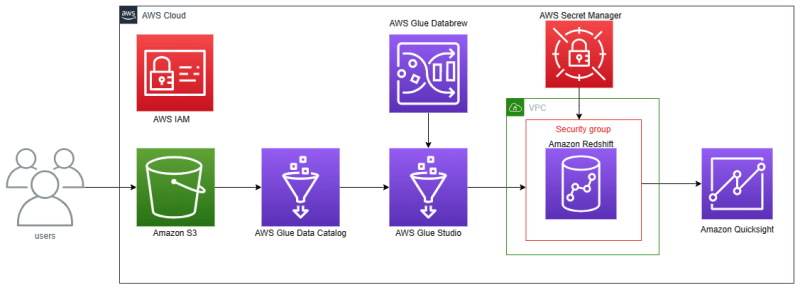
Hello everyone, I want to share my experience when I use AWS Glue. AWS Glue is AWS services serverless data integration from many sources and creating ETL (extract, transform and load) pipelines. I use AWS Glue features for:
AWS Glue Data Catalog — for creating databases and tables, crawlers, and classifiers.
AWS Glue Studio — for ETL (extract, transform, and load) jobs with drag-and-drop and coding.
AWS Glue Databrew — for creating connections when connecting from AWS Glue Data Catalog to Amazon Redshift.
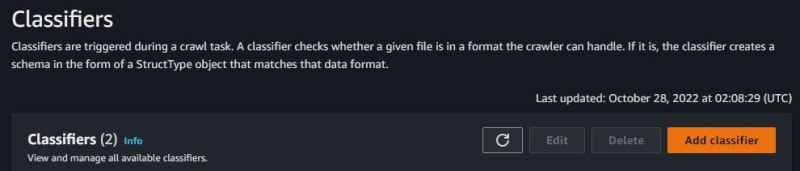
Before using AWS Glue, I have one CSV file and one Redshift cluster that has already been created for the ETL jobs process. Go to the Analytics section and click AWS Glue. You can see Data Catalog, and click Classifiers.

Click Add classifier. The classifiers worked when triggered by crawlers.
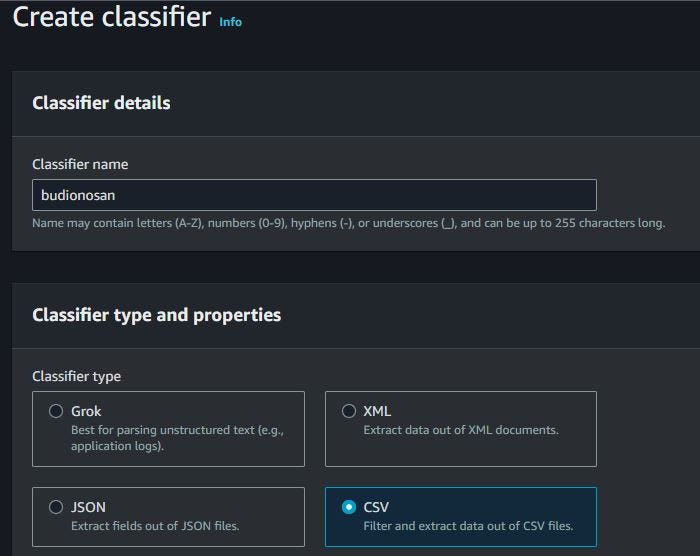
Fill in the classifier name. Because I have one CSV file, I choose CSV format for this classifier. For column delimiter, choose comma. Click Create if already filled.

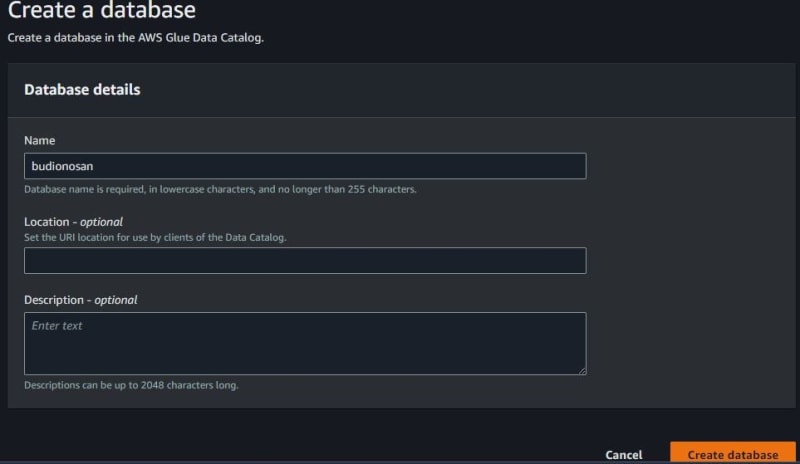
The databases must have one or more tables. Then click Databases and click Add database. Fill in the database name and click Create database.

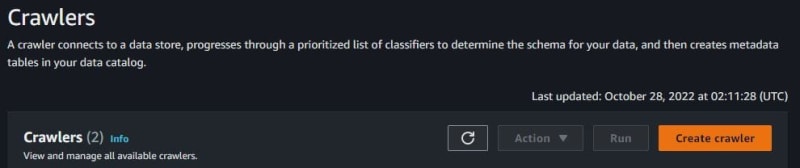
The crawlers worked to create a table, and connect data sources like Amazon S3, JDBC, Amazon DynamoDB, and many more. Click Create crawler.
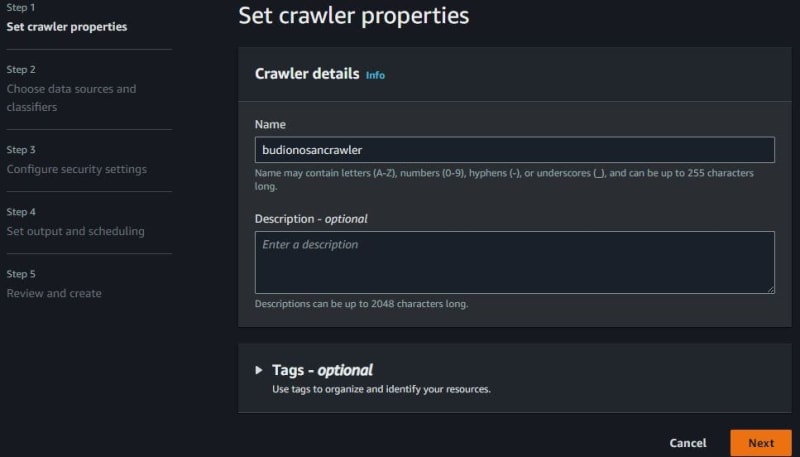
Fill in the crawler name. If do not have a data source, choose No and click add a data source. I have one CSV file in Amazon S3. This CSV file is used for this article/tutorial.

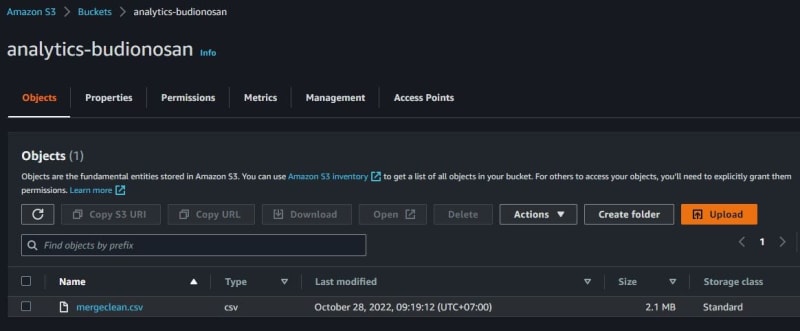
Choose S3 for the data source. Location of S3 data in this account and use S3 path when I store the CSV file. Choose to crawl all sub-folders. Then click Add an S3 data source.
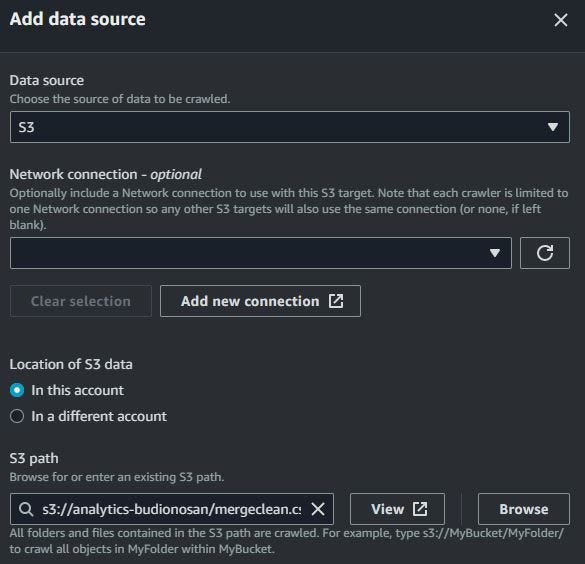

When already add data source, show the data source with Amazon S3. Choose classifiers that already created. Click Next.

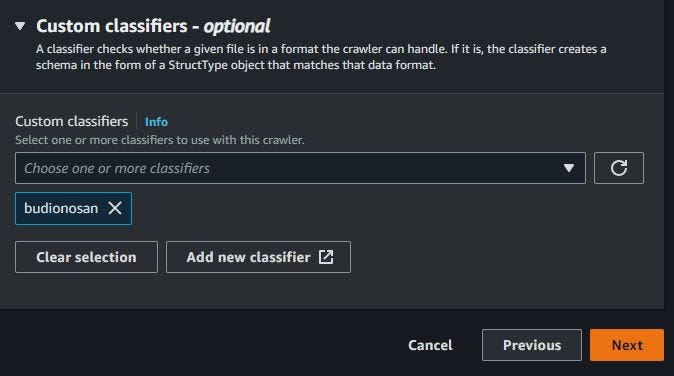
For IAM role AWS Glue, click create new IAM role if not have IAM role. After creating IAM role, can choose your IAM role. Click Next.

For the target database, choose the database that has already been created. While crawling the schedule, choose on-demand because I want to crawl my CSV file one time only. Click Next. When until review and create steps, click Create crawler.


The crawlers are ready. If want crawl CSV file, click Run and can see the crawlers process is running.


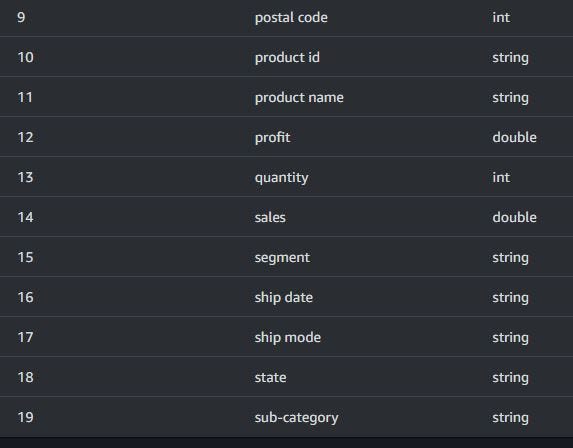
When the crawler process is finished, show Succeeded and have one table after when the crawler process is running. Click the crawler name and can see one table from one database and location S3 path also classifiers CSV. You can see the schema from this table.


Go to the Analytics section again and click AWS Glue Databrew to create connections.
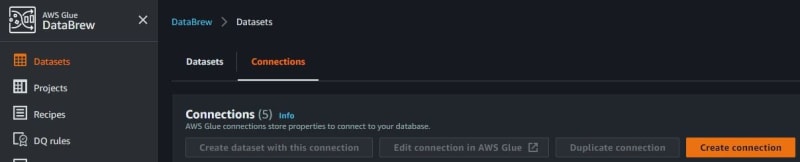
Fill in the connection name. Because want ETL jobs from AWS Glue Data Catalog to Amazon Redshift, use Amazon Redshift for connection type.
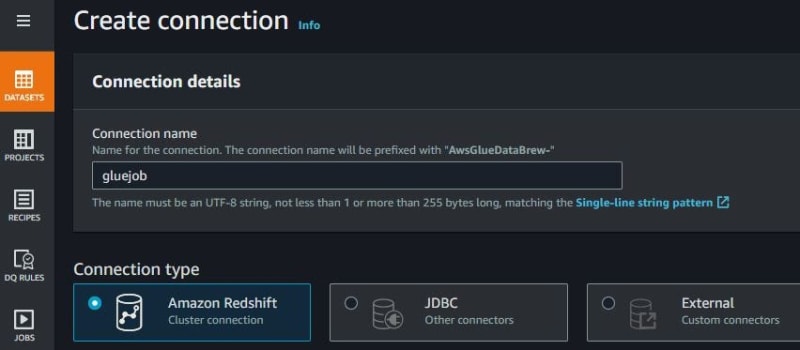
Choose Redshift cluster that already created, database name, database username and also password. Click Create connection.

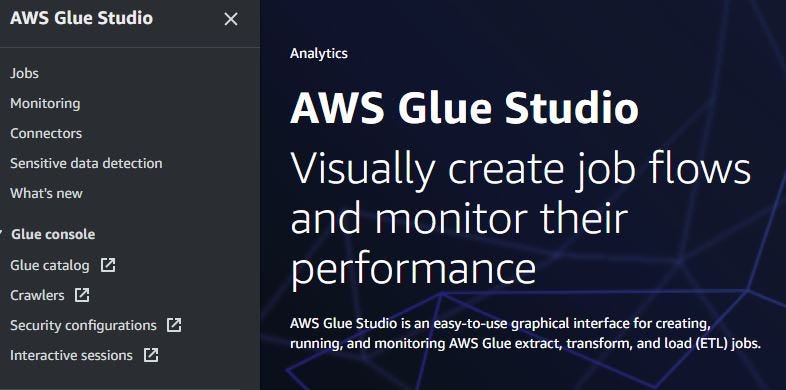
Still on AWS Glue. See Data Integration and ETL, click AWS Glue Studio like this screenshot.
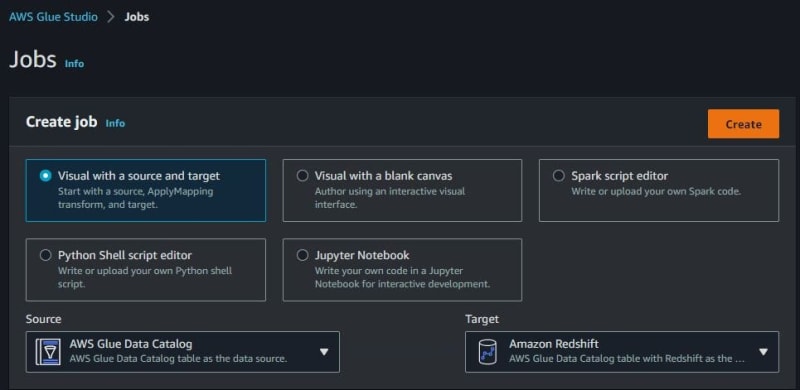
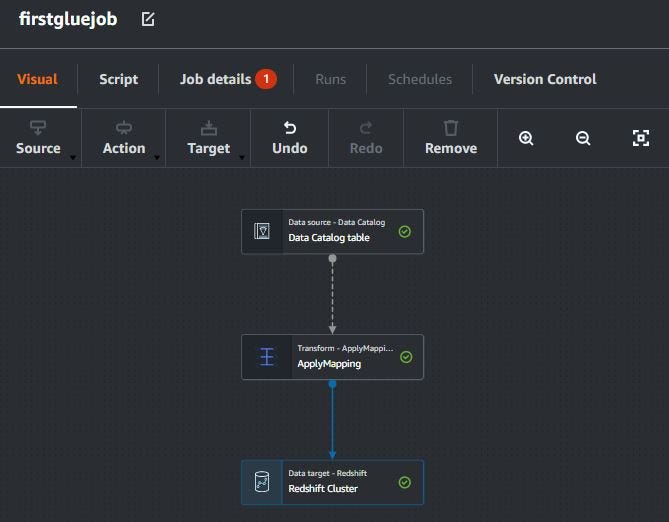
Create ETL jobs with a visual with a source and target. Source from AWS Glue Data Catalog and target to Amazon Redshift. Click Create. You can also create ETL jobs using Spark, Python, or Notebook code.
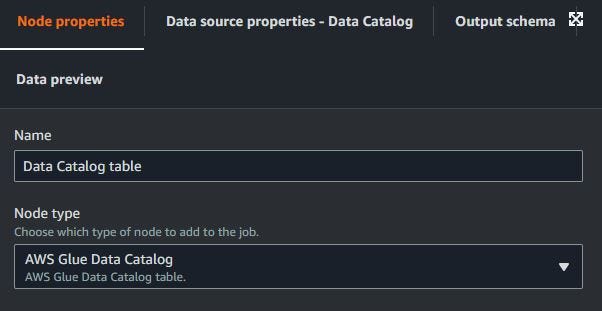
On the data source from AWS Glue Data Catalog, choose the database and table that have already been created to data source properties — Data Catalog.
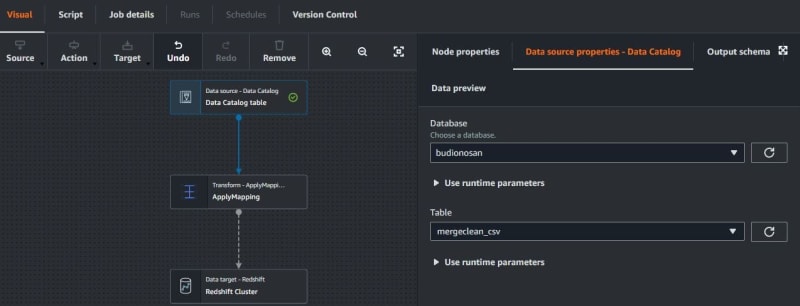
The node properties can edit the name and node type, but don’t want to change. For output, the schema is the same as in the table on AWS Glue Data Catalog.

Then go to Transform. Apply Mapping remaps the source data property keys into the desired configured for the target data. Transform in Apply Mapping can choose the drop source key and change the data type.
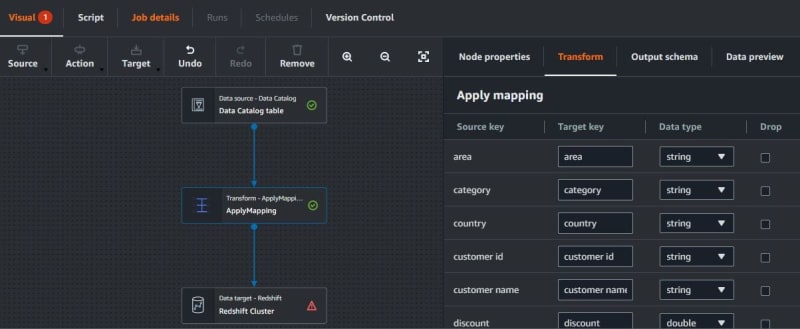
The node properties can edit the name, node type, and node parents. Node parents used before transform such as data source (AWS Glue Data Catalog), but I don’t want change. For output, the schema is same as in the table on AWS Glue Data Catalog.

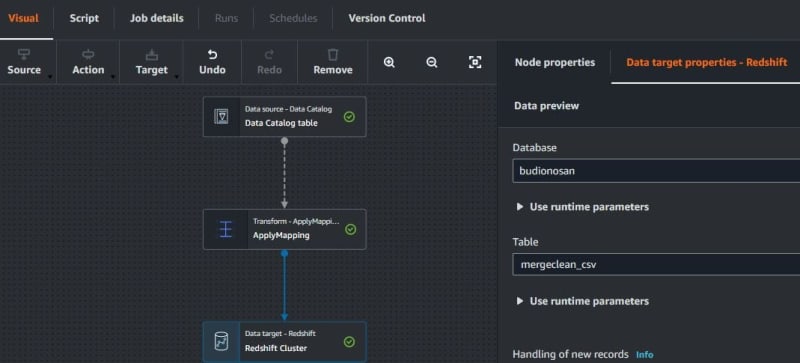
On data target to Amazon Redshift, choose database and table.
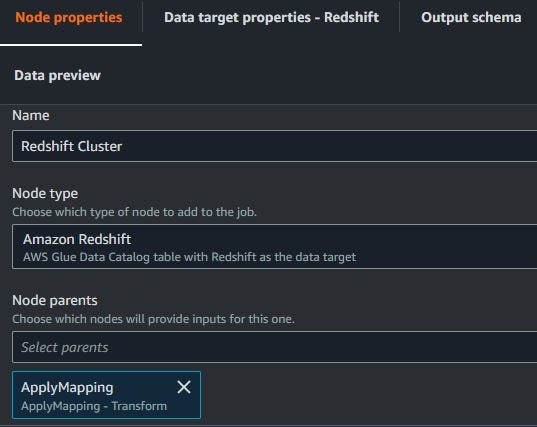
The node properties can edit name, node type and node parents. Node parents used after transform and target to Amazon Redshift, but do not want change. For output, the schema is same as in the table on AWS Glue Data Catalog.
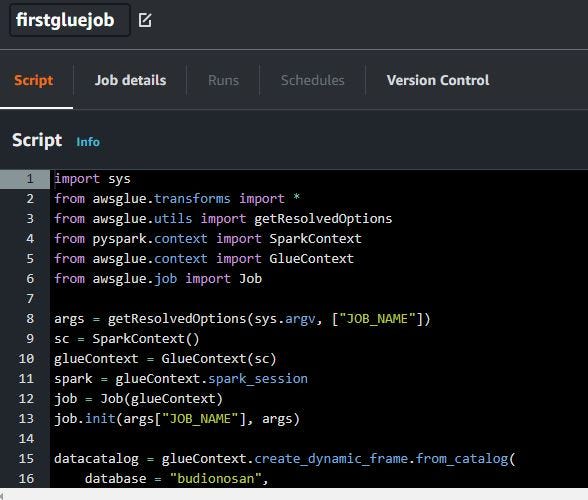
When visual mode is already finished like this. Click Script for see ETL jobs code.
When in script mode, if click Confirm when you want edit script, cannot back to visual mode.


Use coding ETL jobs. For the code, I share my code to my GitHub. Copy my code and paste to script mode.
After coding ETL jobs is finished, click Job details. Fill in the job name and choose IAM role for Glue Studio. Use IAM role when create data catalog on AWS Glue Data Catalog.

Choose Spark for ETL jobs type, Glue 3.0, use Python 3 and G 1X for worker type when ETL jobs running.
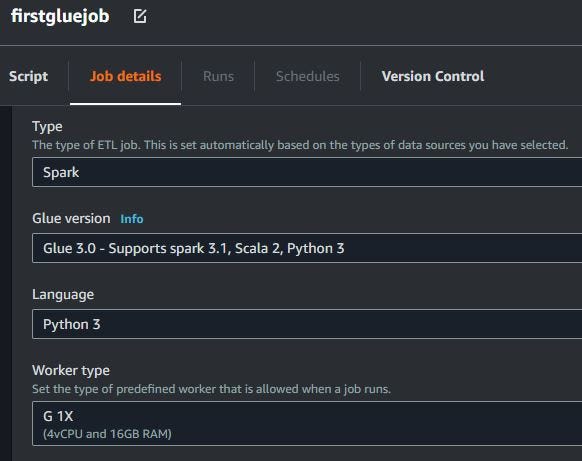
Use 3 workers for ETL jobs running. Job bookmark is enabled for process ETL jobs when running. For number of retry, don’t use retry alias 0.

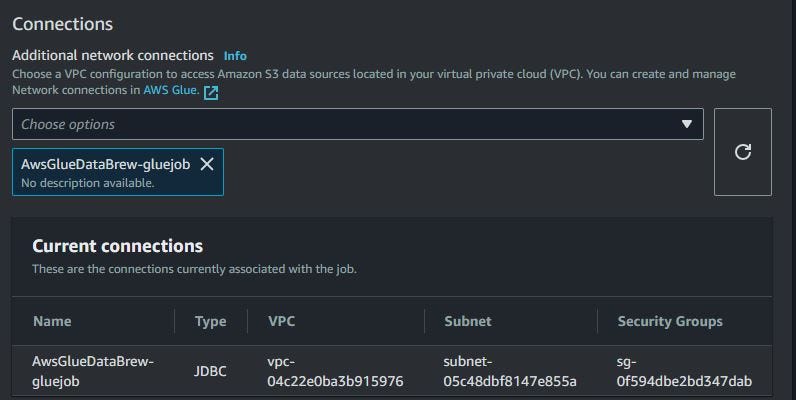
Choose connections from AWS Glue Databrew connections that have already been created. The Databrew connection connected with VPC, subnet, and security groups (also connect to Amazon Redshift).
Go to Amazon Redshift, go to Redshift cluster, click query data version 1, and connect to the database with AWS Secret Manager.
When job details are already finished, click Save to update the job configuration. Click Run for running ETL jobs and click Run Details to see more details on how ETL jobs are running.


Wait ETL jobs until run status is Succeeded. This ETL jobs need 59 seconds only.

Refresh until table results from ETL jobs is available.

Thank you very much :) I want try AWS Glue Databrew. Thank you again. See you again.


Top comments (0)