
One thing I love about getting a new dev machine is starting off fresh. After getting my new MacBook Pro one of the first things I look forward to is setting up my dev environment. For me this starts with my shell & terminal setup.
Table of Contents
PreReqs?
If you don't have Homebrew installed you will want to do that first as the rest of this post assumes so. Homebrew pauses and explains what its doing so expect interaction on your part as well.
Copy & Paste the snippet below.
xcode-select --install
/usr/bin/ruby -e "$(curl -fsSL https://raw.githubusercontent.com/Homebrew/install/master/install)"
Upgrade your Terminal - iTerm2
By this I mean if you're still only using the basic terminal that comes with your Macbook its time to consider making the switch to iTerm2. Before you ask why just take a visit to the features page on the website.
Download and Install using this link: https://www.iterm2.com/downloads.html
OR
Use cask from brew to install.
brew cask install iterm2
OH MY ZSH!

To complete the base package this gem should be in your toolkit. Firstly make sure that you already are using a zsh shell. For new macs this should already be your default. If you're upgrading to Catalina or have an older OS you may need to switch your shell. In your new downloaded iTerm2 shell simply confirm with an echo command.
echo $SHELL
/bin/zsh
You are good to go as long as "/bin/zsh" was returned. If another shell was returned you either need to change your default shell
chsh -s /bin/zsh
or install zsh before proceeding.
brew install zsh
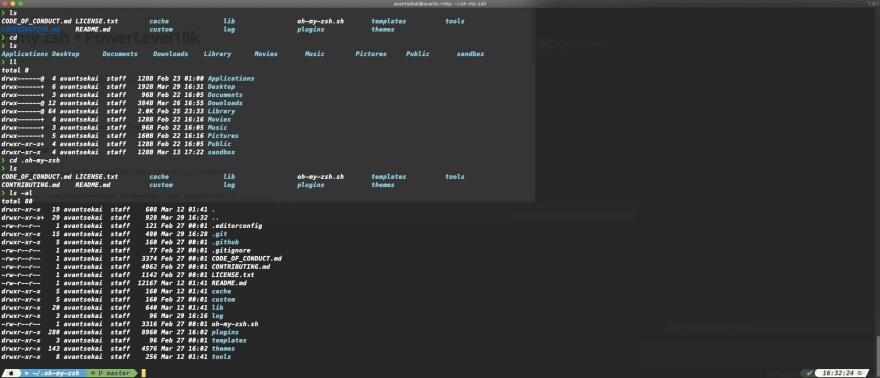
Now its time to proceed with what we are really here for; oh-my-zsh. If iterm is like getting the combo meal. Then oh-my-zsh is like ordering from the secret menu. You can take a look at their page (https://ohmyz.sh/) and/or just google to see what the fuss is all about.
Install oh-my-zsh:
sh -c "$(curl -fsSL https://raw.github.com/ohmyzsh/ohmyzsh/master/tools/install.sh)"
You should notice the change to your shell now but if not just restart iterm2. Now you got your tools and it's time for the fun part. Customization!
Note: The Rest of the article follows my personal setup. Follow along if you are interested in a similar configuration or tips on how to customize your own setup.
What's your Theme?
Choose a Theme
Let's start off by choosing a theme. Themes can be found at https://iterm2colorschemes.com/. To install simply navigate by going to:
iTerm2 → Preferences → Profiles → Colors → Color Presets → Visit Online Gallery.
This will take you to the same page mentioned above. Near the top of the page you will see some folders named "tar.gz" and ".zip". By clicking on either of the folders you are able to download the entire bundle of themes on the page. Of course if you are already on that page you can skip all of that navigation as well.
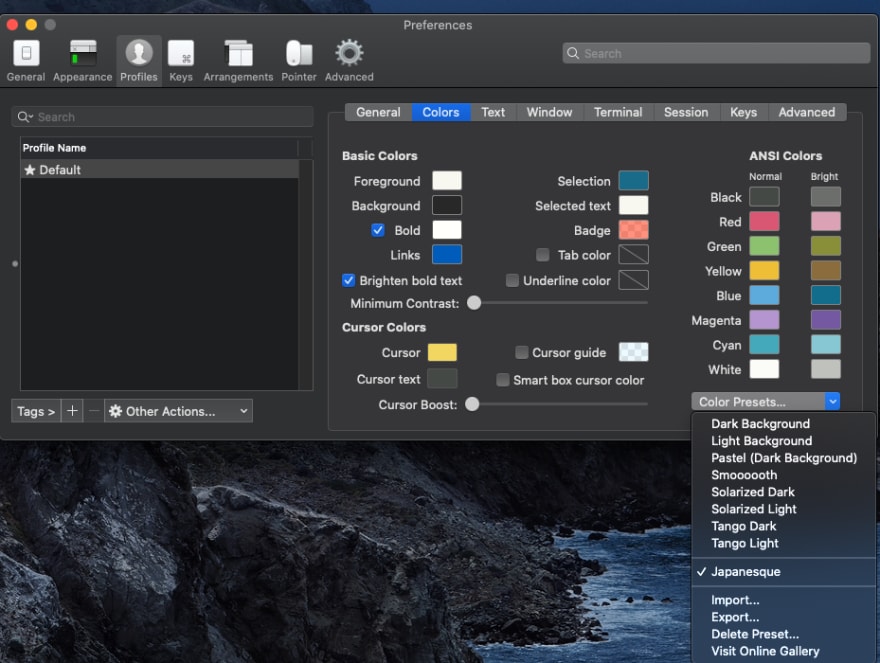
Install your Theme
iTerm2 → Preferences → Profiles → Colors → Color Presets → Import → →schemes →
After this when you go back to Color Presets you will now see the theme you want as an option to be selected.
Time to Power Up!
oh-my-zsh has its own set of themes that can give a boost to the look and feel of your terminal. The default along with many others can be found on the git documentation page but there are more out there if you are willing to search.
GitHub Documentation:
https://github.com/ohmyzsh/ohmyzsh/wiki/Themes
Powerlevel10K
My theme of choice is powerlevel10k. To install clone the repo
git clone --depth=1 https://github.com/romkatv/powerlevel10k.git $ZSH_CUSTOM/themes/powerlevel10k
Next in your ~/.zshrc set the theme
ZSH_THEME="powerlevel10k/powerlevel10k"
Save and source
source ~/.zshrc
Upon success powerlevel10k will run a wizard for some setup configuration and will ask to install the Meslo Nerd Font; which is the recommended font for this theme.
The Wrap Up
Pretty much everything you need for an awesome terminal is now at your disposal. Of course there are far more customizations that can be done to tweak your setup and this will set you well on your way. Please share any comments or questions. I also plan on sharing more similar to this and possibly making a series for these kind of post. Let me know if there is something in particular that piques your interest.

Top comments (0)