Recently WebdriverIO has been added in Nuxt.js create-nuxt-app scaffolding tool as a test framework option to provide end to end browser and mobile automation testing.
In this tutorial you'll learn how to test a Nuxt.js app with WebdriverIO following the Page Object pattern and set up Continuous Integration with TravisCI using WebdriverIO hooks.
Create a simple to-do list application
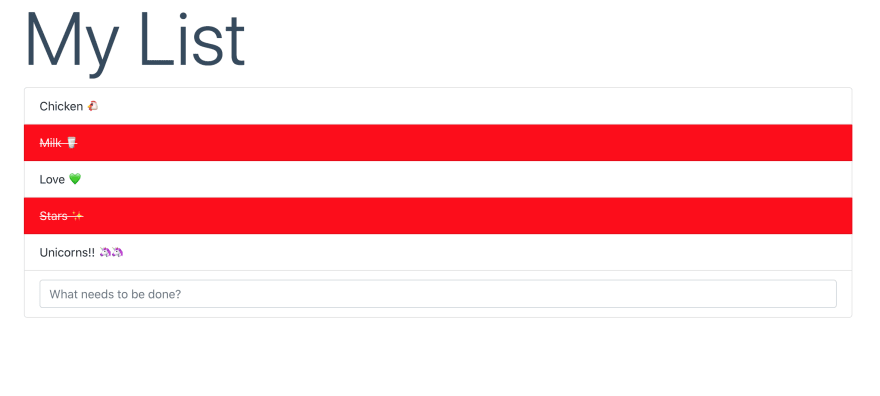
In this section we're going to create a very simple to-do list app: when users write inside the text field and press the "enter" key, a new item will be added to the list, then they can click on items to mark them as completed. You can play with the app here ✅.
👉🏻 Some parts of code are omitted for the sake of simplicity, check the complete code on Github.
Let's start! Create the app using create-nuxt-app scaffolding tool
npx create-nuxt-app todolist
And select WebdriverIO testing framework
? Testing framework:
  None
  Jest
  AVA
❯ WebdriverIO
Then create the store files inside store/todos folder
getters.js
export default {
  todos (state) {
    return state.list
  }
}
state.js
export default () => ({
  list: []
})
mutations.js
export default {
  add (state, { text }) {
    state.list.push({
      text,
      done: false
    })
  },

  toggle (state, todo) {
    todo.done = !todo.done
  }
}
And the TodoList component under components/TodoList.vue
<template>
  <ul class="todolist list-group">
    <li v-for="(todo, index) in todos" :key="index" class="todolist__item list-group-item" :class="{ done: todo.done }" @click="toggle(todo)">
      {{ todo.text }}
    </li>
    <li class="list-group-item">
      <input type="text" class="form-control" placeholder="What needs to be done?" @keydown.enter="addTodo">
    </li>
  </ul>
</template>

<script>
import { mapMutations, mapGetters } from 'vuex'

export default {
  computed: mapGetters({
    todos: 'todos/todos'
  }),
  methods: {
    addTodo (e) {
      const text = e.target.value
      if (text.trim()) {
        this.$store.commit('todos/add', { text })
      }
      e.target.value = ''
    },
    ...mapMutations({
      toggle: 'todos/toggle'
    })
  }
}
</script>
Render it inside pages/index.vue and your TodoList app is ready ✌🏻
<template>
  <div class="container-md">
    <h1 class="title">My List</h1>
    <todo-list />
  </div>
</template>

<script>
import TodoList from '~/components/TodoList.vue'

export default {
  components: {
    TodoList
  }
}
</script>
Write your tests using Page Object pattern
The goal of using Page Object pattern is to provide an additional layer of abstraction of any page information and use it in tests to refer to page elements. You should store all selectors and action methods that are unique for a certain page in a page object, so that you still can run your test after changes to the markup.
Using WebdriverIO our initial project structure comes with wdio.conf.js configuration file containing all the required info on how to execute WebdriverIO, such as test specs to run and capabilities (Chrome by default), and a test/e2e folder containing a test example (index.spec.js file under test/e2e/specs) and a page object (main.page.js file under test/e2e/pageObjects).
Inside index.spec.js you can find a simple test implemented using a page object. Edit this test to make it passes!
const TodoListPage = require('../pageObjects/main.page')

describe('Todolist', () => {
  it('should open correct app', () => {
    TodoListPage.open()
    expect(browser).toHaveTitle('todolist')
  })
})
👉🏻 To speed up tests execution during development run the dev server in another terminal executing yarn dev, we'll see later how to programmatically build and serve your Nuxt app for Continuous Integration.
To execute tests run
yarn test:e2e
Your application will be executed inside a new Chrome instance and your first test passes 🎉 You'll get a report like this
[Chrome 83.0.4103.116 darwin #0-0] Running: Chrome (v83.0.4103.116) on darwin
[Chrome 83.0.4103.116 darwin #0-0] Session ID: 03399e35-a11d-4305-87bc-3cea66ce42de
[Chrome 83.0.4103.116 darwin #0-0]
[Chrome 83.0.4103.116 darwin #0-0] Todolist
[Chrome 83.0.4103.116 darwin #0-0]    ✓ should open correct app
[Chrome 83.0.4103.116 darwin #0-0]
[Chrome 83.0.4103.116 darwin #0-0] 1 passing (1.7s)


Spec Files:  1 passed, 1 total (100% completed) in 00:00:03
Now it's time to get our hands dirty and test if our application really works as expected. To keep things simple I haven't created a new TodoListPage object inheriting from Page, but remember that you can do anything you want with page objects, they're normal classes. The first step is to write all important selectors that are required in our TodoListPage object as getter functions:
-
itemInput: input text field to insert items (use$(selector)for single element) -
listItems: items inserted in the list (use$$(selector)for multiple elements).
class TodoListPage {
  get itemInput () { return $('input[type=text]') }
  get listItems () { return $$('.todolist__item') }

  open (path = '/') {
    browser.url(path)
  }
}

module.exports = new TodoListPage()
Then you can define further getters and action methods: listSize to retrieve the current list size and addListItem / addListItems methods to add one or more elements to the list
class TodoListPage {
  // ...
  get listSize () { return this.listItems.length }

  addListItem (item) {
    this.itemInput.setValue(`${item}\n`)
  }

  addListItems (items) {
    items.map((item) => {
      this.addListItem(item)
    })
  }
  // ...
}
Write another test that adds items to the list and checks if they're inserted correctly
describe('Todolist', () => {
  // ...
  it('should add items to the list correctly', () => {
    TodoListPage.open()
    TodoListPage.addListItems(['Milk', 'Apples', '1 Banana'])
    expect(TodoListPage.listSize).toEqual(3)
  })
  // ...
}
As you can see tests don't contain any CSS selector, everything is clean and easier to modify even in a rapidly developing web application context where page markup and design may change often. Following this pattern you can continue writing tests adding methods to the page object if needed: for example to test if an item is marked as completed when users click on it, you can inflate your page object with a method to check if an item at a specific position is completed (isItemCompletedAt) and another method to mark a specific item as completed (completeItemAt)
class TodoListPage {
  // ...
  isItemCompletedAt (position) {
    return this.listItems[position].getAttribute('class').includes('done')
  }

  completeItemAt (position) {
    this.listItems[position].click()
  }
  // ...
}
and then write the test
describe('Todolist', () => {
  // ...
  it('should complete items correctly', () => {
    TodoListPage.open()
    TodoListPage.addListItems(['Milk', 'Apples', '1 Banana', 'Meat'])
    expect(TodoListPage.isItemCompletedAt(2)).toBeFalsy()
    TodoListPage.completeItemAt(2)
    expect(TodoListPage.isItemCompletedAt(2)).toBeTruthy()
  })
  // ...
}
Build and serve your app for Continuous Integration
WebdriverIO provides several hooks to interfere with the test process in order to enhance it and to build services around it. To programmatically build and serve your Nuxt application in a Continuous Integration process you need to override onPrepare and onComplete hooks inside wdio.conf.js configuration file. Using Nuxt Builder you need to build and serve your app inside onPrepare hook and shut down the server inside onComplete hook. In the following code there's also a NUXT_ENV_CI environment variable to skip this process outside the Continuous Integration environment, keeping tests under development fast.
const path = require('path')
const nuxt = require('nuxt')

exports.config = {

  // ...

  async onPrepare (config, capabilities) {
    if (process.env.NUXT_ENV_CI !== 'true') {
      return
    }
    console.log('⛰  Setting up...')
    const rootDir = path.resolve(__dirname, '.')
    const nuxtConfig = {
      head: {
        title: 'todolist'
      },
      dev: false,
      rootDir,
      modules: ['bootstrap-vue/nuxt']
    }
    this.nuxtInstance = new nuxt.Nuxt(nuxtConfig)
    console.log('📦 Building your Nuxt.js project...')
    await new nuxt.Builder(this.nuxtInstance).build()
    await this.nuxtInstance.server.listen(3000, 'localhost')
    console.log('✨ Done!')
  },

  onComplete (exitCode, config, capabilities, results) {
    if (process.env.NUXT_ENV_CI !== 'true') {
      return
    }
    console.log('👋 Shutting down server...')
    this.nuxtInstance.close()
  }
}
To configure TravisCI for Continuous Integration you need to create .travis.yml configuration file, containing chrome addon, xvfb service and some scripts to make UI tests working.
dist: bionic

addons:
  chrome: stable

services:
  - xvfb

language: node_js
node_js: '12'

before_script:
  - fluxbox >/dev/null 2>&1 &
  - sleep 3

script:
  - NUXT_ENV_CI=$CI yarn test:e2e
In the script section yarn test:e2e is executed with NUXT_ENV_CI set to CI env variable value (CI is one of the default environment variables available to all builds and is set to true by default inside TravisCI).
👉🏻 If you need Continuous Deployment for your app see how to setup TravisCI to test, build and deploy your app on Netlify in 5 minutes.

Top comments (0)