I honestly feel that Dev.to is perfect for blogging, however I do find it hard to share the various web project that I want to share to the public. Sure I can cut and paste all my project code and share the screen shot, but I can't exactly let reader go for a test run on my blog.
Facing with this dilemma, I could either start a new server ( cost money ) or I could use the various free static side offered to the public such as GitHub Pages, Netlify and etc..
Since I am using GitHub as my code repo, I think this is the perfect time to use GitHub Pages. Single build process, just by committing to GitHub Repo and it just work... well technically the pages update after roughly a few minutes.
To make this web page free, I just use the free tier by GitHub.
The following are the steps taken to start my own blog using GitHub Pages.
Step 1: Start your new repo.
you may start by going to your GitHub account page and located the green button with the text New

now pressing this button will redirect you to Create a new repository

Step 2: Name your repo.
What we are looking to do right now is what GitHub call user site.
the naming convention for the user site is as follow :
<username with all lowercase>.github.io
for example, my GitHub username is ashrafZolkopli
so my repo name should be
ashrafzolkopli.github.io

Step 3: Setting the repo to public.
Since we are using the free tier, we need to make sure that our repo is public and accessible. If you are using the paid tier, you may set the repo to private.

Step 4: Create repo.
You may now click on create repo button located at the bottom of the page

Step 5: Clone Repo to Localhost.
After you click on Create Repository button, GitHub will divert you to a new page

You may call me lazy, but I been using GitHub Desktop like forever.
Just a matter of a few click and you are done cloning.
Click on the set up in desktop button

on GitHub Desktop:

Click the Clone button

GitHub Desktop now will show us a new page.

Now again I am lazy, I just click on open in Visual Studio Code button

And my Visual Studio Code
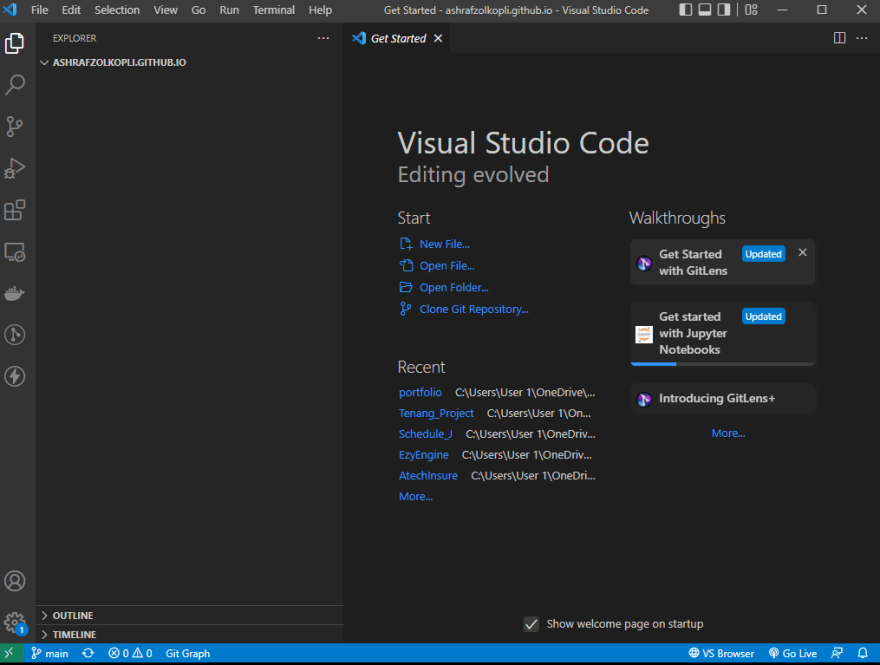
Now your Repo have been clone in your localhost.
Step 6: Create index.html file
You now can choose either to use GitHub Jekyll for your build process and use index.md file with build in Github template or do it like me what uses pure html, css, js file.
For purpose of this tutorial, I would now use a Start Bootstrap admin page template,
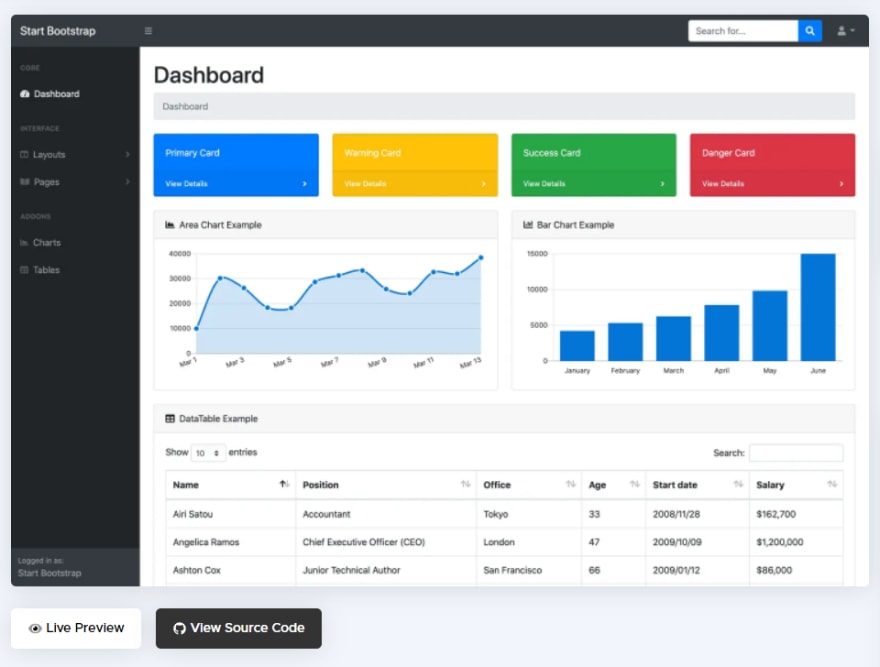
you can download the app zip file from its Github repo,
Again for the purpose of this tutorial, I am using only the index.html, css, js and assets file only

We can verify that it works

Step 7: Commit to GitHub
if you notice on the side bar, there are 9 changes had been made to the localhost that have not been commit to our local git.

Open your source control bar,
find and click the "+" button beside the 9 in circle, that says "Stage All Changes"
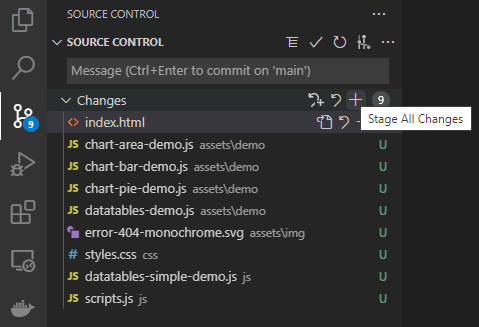
now your Changes become Stage Changes

In your message bar, you can name the changes into what ever you one, I would name this as my Initial Commit

while your cursor is still in the message bar, Click "ctrl" + "enter" on windows, This will commit your changes on localhost git

look for the "..." button highlighted in green

now choose push

Allow some time for the push to your GitHub Account.
Now go to your GitHub account repo and verify the push is successful

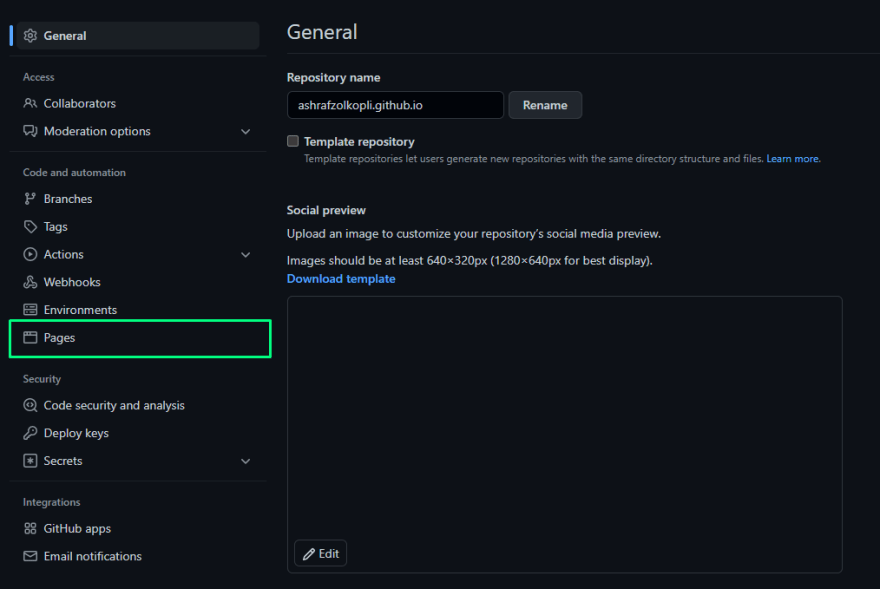
Step 8: Set up GitHub Pages
On your GitHub repo, click on Settings

once Setting page is loaded, find the Pages button highlighted in green
Since I am publishing from main branch I do not have to change any configuration.

you may need to change the branch if you want to publish from a different branch
Step 10: Admire your Now Static Website,
now you can go to your page to admire your New Static Website
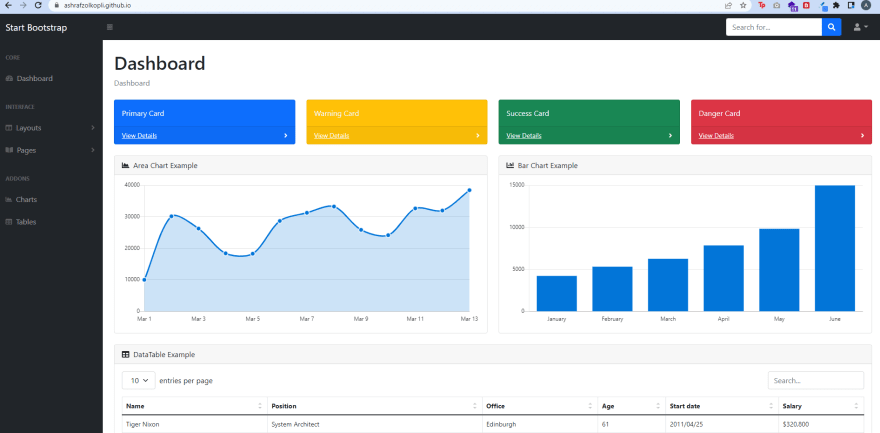
my URL : ashrafzolkopli.github.io
if you click on this page later, I may change the layout and such for my own project, I included the screen shot for reference.
Conclusion
I hope this step by step tutorial help you in deploying your own static website on GitHub Pages.
Please feel free to comment or like if you read till this far...
Comments are welcome and if you have any issue please feel free to comment here or contact me via WhatsApp.

Latest comments (0)