In case it helped :)

We will go through the following steps
- Register the web app in Firebase
- Setup Firebase Configurations in React
- Integrate in UI
- Test the Notification
- (Optional) If notifications not appearing
Register the web app in Firebase
Login into the Firebase console and click on Add project. Follow the steps to add the project.
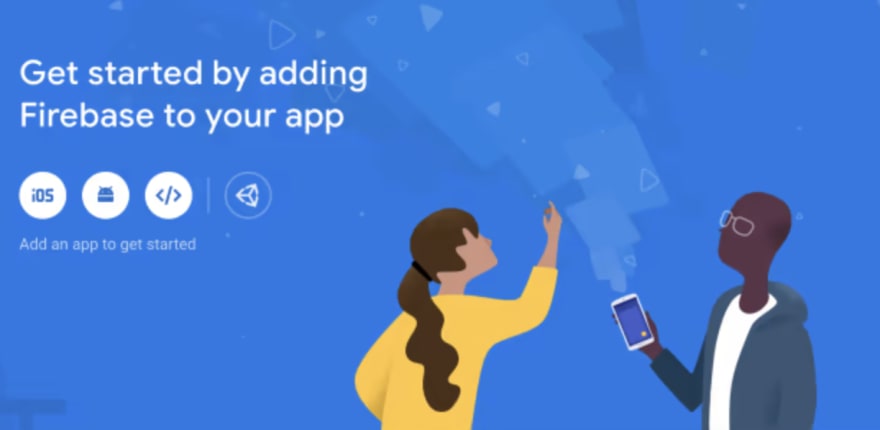
After registering the app, you will get the following page.

We’ll be requiring this configuration in the next step.
Setup Firebase Configurations in React
This step is divided into the following sub steps.
- Install the firebase dependency in the project using
npm install firebase
2. We will configure firebase, in our project. Create a file called firebaseInit.js (the name can be anything you want).
Inside this file, add the following lines
import firebase from 'firebase/app';
import 'firebase/messaging';
// For Firebase JS SDK v7.20.0 and later, measurementId is optional
const firebaseConfig = {
  apiKey: "YOUR_API_KEY",
  authDomain: "YOUR_AUTH_DOMAIN",
  projectId: "YOUR_PROJECT_ID",
  storageBucket: "YOUR_STORAGE_BUCKET",
  messagingSenderId: "YOUR_MESSAGING_SENDER_ID",
  appId: "YOUR_APP_ID",
  measurementId: "YOUR MEASUREMENT ID"
};
firebase.initializeApp(firebaseConfig);
Note: The above configuration can be found from your firebase project (Under Project Settings or from Step 1)
3. Inside this file, we will integrate the cloud messaging. But before jumping in, we need a key called VAPID key
VAPID Key
According to the documentation
The FCM Web interface uses Web credentials called “Voluntary Application Server Identification,” or “VAPID” keys, to authorise send requests to supported web push services.
This key can either be generated or imported from your existing key pair through the Firebase Console.
- Open the Cloud Messaging tab of the Firebase console Settings pane and scroll to the Web configuration section.
- In the Web Push certificates tab, copy the Key pair (LHS Value in the screenshot below)
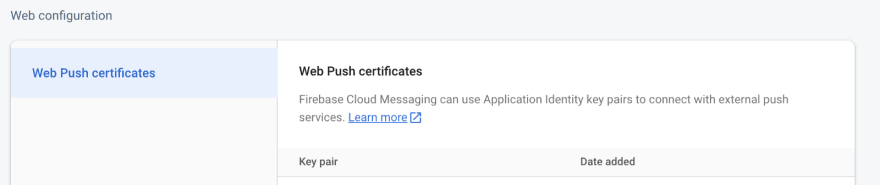
For more information about the format of the keys and how to generate them, see Application server keys.
Back to our firebaseInit.js, add these lines
const messaging = firebase.messaging();
const { REACT_APP_VAPID_KEY } = process.env
const publicKey = REACT_APP_VAPID_KEY;
Notification permissions
Before sending push notifications to the browser, we first need to get permission from the user. This is handled by the getToken method that firebase provides.
export const getToken = async (setTokenFound) => {
  let currentToken = '';
  try {
    currentToken = await messaging.getToken({vapidKey: publicKey});
    if (currentToken) {
      setTokenFound(true);
    } else {
      setTokenFound(false);
    }
  } catch (error) {
    console.log('An error occurred while retrieving token.', error);
  }
  return currentToken;
};- The method
getTokenwill ask the user for notification permissions, if they have not been granted. Otherwise, it returns a token or rejects the promise due to an error. - And we pass the vapid key from the previous step to
getToken
After you’ve obtained the token, store it using your preferred method, in our case, we will just log in the console.
Set the Listeners (Foreground and Background)
When the app is active in foreground, we need to add this code to the firebaseInit.js file, so that we know the notification has received
export const onMessageListener = () =>
  new Promise((resolve) => {
    messaging.onMessage((payload) => {
      resolve(payload);
    });
  });
Background Listener
In the scenario when the page is in background or hidden behind other tabs, we need to handle onBackgroundMessage.
- We do that by adding a
firebase-messaging-sw.jsservice-worker file in the public folder of our react app. Add the following lines
importScripts("https://www.gstatic.com/firebasejs/8.2.0/firebase-app.js");
importScripts("https://www.gstatic.com/firebasejs/8.2.0/firebase-messaging.js");
const firebaseConfig = {
  apiKey: "YOUR_API_KEY",
  authDomain: "YOUR_AUTH_DOMAIN",
  projectId: "YOUR_PROJECT_ID",
  storageBucket: "YOUR_STORAGE_BUCKET",
  messagingSenderId: "YOUR_MESSAGING_SENDER_ID",
  appId: "YOUR_APP_ID",
  measurementId: "YOUR MEASUREMENT ID"
};
firebase.initializeApp(firebaseConfig);- The first two import statements basically download the firebase libraries required for the service worker.
- Next we configure our firebase app, using the firebase config (see above steps or your firebase project)
- Finally, we handle the
onBackgroundMessageinside the service worker file
const messaging = firebase.messaging();
messaging.onBackgroundMessage(function (payload) {
  console.log("Received background message ", payload);
  const notificationTitle = payload.notification.title;
    const notificationOptions = {
      body: payload.notification.body,
      icon: "/logo192.png",
  };
return self.registration.showNotification(
    notificationTitle,
    notificationOptions
  );
});
Integrate in UI
Till now, we managed to configure the firebase inside our react app. Now, we will see how to integrate messaging in our UI.
- Inside our
App.jswe import the filefirebaseInit.jsand implement theonMessageListener
const [show, setShow] = useState(false);
const [notification, setNotification]=useState({title:"",body:""});
onMessageListener()
   .then((payload) => {
      setShow(true);
      setNotification({
        title: payload.notification.title,
        body: payload.notification.body,
      });
      console.log(payload);
   })
.catch((err) => console.log("failed: ", err));
Note: We use the useState hooks, which determine when to show the notification.
- Next, we create a component called
Notifications.This component is basically responsible for getting the token from the browser.
const Notifications = (props) => {
  const [isTokenFound, setTokenFound] = useState(false);
  console.log("Token found", isTokenFound);
  useEffect(() => {
    let data;
    async function tokenFunc() {
      data = await getToken(setTokenFound);
      if (data) {
        console.log("Token is", data);
      }
      return data;
    }
    tokenFunc();
  }, [setTokenFound]);
  return <></>;
 };
export default Notifications;
Here, we call the getToken function, which is defined inside firebaseInit.js Once we get the token, we log it in the console.
Note: We use the useEffect hook, since we don’t want to call the getToken repeatedly.
- Lastly, we create another component called
ReactNotificationComponentwhich basically shows the notification, when the app is in foreground.
import { ToastContainer, toast } from "react-toastify";
import "react-toastify/dist/ReactToastify.css";
const ReactNotificationComponent = ({ title, body }) => {
  toast.info(<Display />);
  function Display() {
    return (
      <div>
        <h4>{title}</h4>
        <p>{body}</p>
      </div>
    );
  }
  return (
    <ToastContainer />
  );
};
This basically displays the notification using the library react-toastify. We pass in the parameters, title and body from the App.js

Test the Notification
Start your react project by
npm run start
Inside your firebase console, go to Cloud messaging section of the app

- Click the button Send your first message.
- Enter the notification title and text.
- Select Send test message.
- In the field labeled Add an FCM registration token, enter the registration token you obtained from previous step.
- Click Test
After you click Test, your app should receive the notification in the browser.
If notifications not appearing
There are times, when things don’t work, and hence this section exists. Following are some points which you can check (for macOS), in case notifications don’t work for you:
- Check for the notification permission in the browser. The Notifications should be set to Allow

- Your Do Not Disturb should be turned off

- Go to the chrome settings, and search for notifications, verify if the option Sites can ask to send notifications is selected.

- Open the Spotlight Search and go to SystemPreferences -> Notification Centre Settings. Check if the notifications are turned on for Chrome

- Notifications show twice, for this we will need to remove the React.strictMode from our
index.js. Refer link.
In case it helped :)
Website: https://funwithreact.web.app/


Top comments (0)