According to Statista, around 2.77 billion mobile phone users accessed over-the-top messaging to communicate in 2020, and this figure is poised to reach three billion users in 2022. Of these, WhatsApp was the most popular mobile messenger app worldwide with over 2 billion users, mainly due to its first-mover advantage and user-friendly interface.
However, due to concerns over the recent updates to WhatsApp’s privacy policies, many users and businesses are on the lookout for alternatives. Check out our previous blog post to learn more about the security implications of WhatsApp’s policy updates.
Thanks to Applzozic’s intuitive chat SDKs and platform APIs, it‘s pretty easy to build your own chat alternative to WhatsApp! Before we delve into the code, let’s discuss the framework that we’ll use to implement our chat messenger app.
Why Flutter?
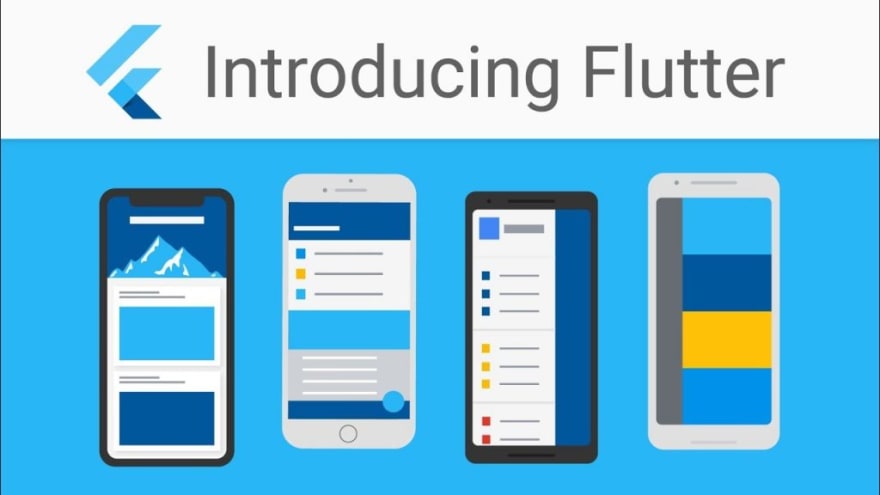
Launched by Google in 2018, Flutter is a free and open-source SDK for developing high-performing mobile, web, and desktop applications from a single codebase.
An exciting feature of Flutter is its layered structure that enables developers to build highly customizable and attractive apps with much lower time and effort, without compromising on performance. Moreover, experimenting new features and debugging errors is much faster in Flutter due to its hot reload feature that reflects instant changes in the codebase within milliseconds
Even though Flutter is a relatively new cross-platform app development framework compared to established contemporaries like React Native, many companies have started to migrate to Flutter due to its higher performance and flexible UI.
Do note that we’ll only be delving into the code implementation of the app’s chat functionality using Applozic Flutter SDK in this article - here’s a simple tutorial on creating a UI for the app using Flutter.
Creating a new application and setting up dependencies
flutter.dev has a comprehensive starter tutorial on creating your first application using Flutter. Once you are ready to integrate using the Applozic SDK, follow these steps:
I. Installation
- Add the following dependency in your pubspec.yaml file:
dependencies:
  # other dependencies
applozic_flutter: ^0.0.4
2. Install the package as shown below:
flutter pub get3. Import the applozic_flutter in your .dart file to use the methods from Applozic:
import 'package:applozic_flutter/applozic_flutter.dart';II. Authentication
Login
Create an Applozic user object, and pass it to the login() function as shown below:
dynamic user = {
      'applicationId': "<APPLICATION_ID>",   //Mandatory
      'userId': userId.text,                 //Mandatory
      'displayName': displayName.text,
      'password': password.text,
      'authenticationTypeId': 1              //Mandatory
  };

ApplozicFlutter.login(user).then((response) {
      print("Login success : " + response)
    }).catchError((error, stack) =>
      print("Error while logging in : " + error.toString()));
Please keep in mind that once the user is logged in, a new login is permitted only after the user logs out. Use this code to check if the user is already logged in:
ApplozicFlutter.isLoggedIn().then((isLoggedIn) {
        if (isLoggedIn) {
          //The user is logged in
         } esle {
          //The user is not logged in
         }
     });
Update logged in user details
You can update the logged in user details as given below:
  dynamic user = {
                    'displayName': '<New name>'
                    'imageLink': '<New Image URL>'
                  }

  ApplozicFlutter.updateUserDetail(user)
                        .then(
                            (value) => print("User details updated : " + value))
                        .catchError((e, s) => print(
                            "Unable to update user details : " + e.toString()));
Get logged in userID
You can get the userID of the logged in user as given below:
  ApplozicFlutter.getLoggedInUserId().then((userId) {
      print("Logged in userId : " + userId);
    }).catchError((error, stack) {
      print("User get error : " + error);
   });
Continue this Tutorial on Applozic Blog!
We have the detailed tutorial with code snippets available on our blog for you to continue with your integration!
Click here to learn how to:
- Set up push notifications in your application
- Launch the Conversation screen and start messaging!
Please leave your feedback and doubts in the comments below.


Top comments (0)