
After you've built your app, you might want to change your app's icon from that old Android default icon to a new more customized one. Your app's icon isn't just the face of your app, it is also the face of the brand of your app. Doesn't matter if you're not a startup, any good app idea can be scaled later when it works & having a great icon is undoubtedly an important & necessary marketing strategy.
Choose your App Icon
Here are some Tips on picking or designing your new app icon image.
-
IS RELATED to your App Idea
Try to pick an image that conveys what your app is about. It would definitely not tell "everything" about the app, but it should be related. So, if you made a brainy game app of building houses, you won't put an image of a sandwich on the icon, right? You get my point.
-
Pick a SIMPLE & UNIQUE Design.
The simpler the app icon, the more sense it'd make on one glance. App icons containing too much details are really difficult to comprehend & don't look neat & well-designed.
You'll want the design to be unique so that your users remember it & are intrigued when they see it on the Play Store.
Think of the most legendary & remembered app icons & notice how simple, yet catchy they are.

-
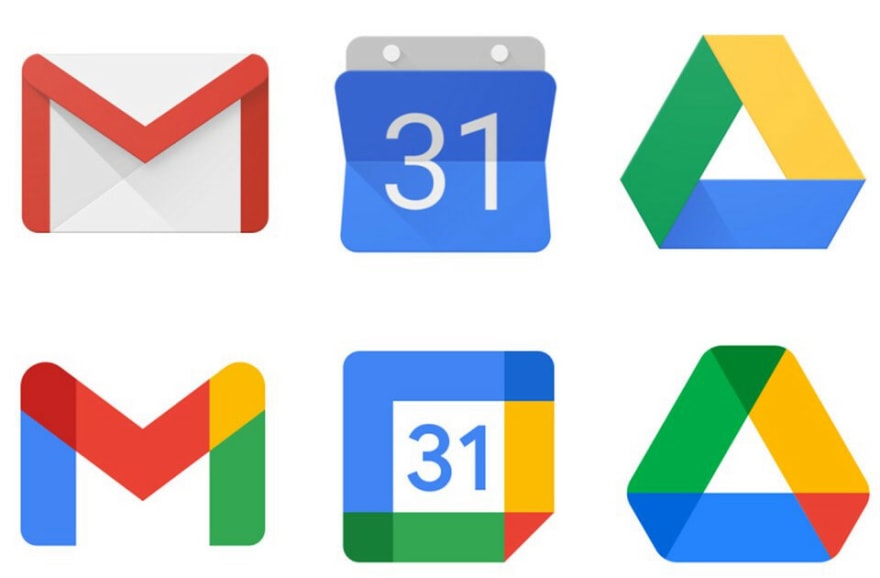
Keep it BRIGHT & HIGHLIGHTED
Your app icon should shine (both literally & metaphorically). The way you can make it shine is by picking bright colors.
Refer to the icons in the image above. Do they use dull faded shades or bright ones? Most legendary app icons use primary colors. Or a color very near to these colors. This is because as humans, we're designed to notice the primary colors more.
Who better to give an example of than Google's own apps. Google had sort of branded these primary colors as their own.
-
A/B Testing
So, you've picked up a handsome app icon. You think it's the best for your app. Or maybe you're stuck on half a dozen different images & you can't decide which one to pick. I either case, don't just rest on your own intuition & the suggestions of friends , family & your dog. Go test your design!
A/B Testing not only helps you pick a design that looks good, it also decides which of your designs would get you the most downloads on the Play store. Cool, isn't it? Make sure the next time you change your app's icon, you first test the new one.
Here's a link to an article I found on the internet on the best mobile A/B testing tools.
Change your App Icon
Here are the steps you need to follow to change your app's icon properly. I say "properly" because you need to keep certain things in mind like the size of the image, its name etc., so that you don't run into any problems both, while making the change & after making it.
Also, your project size may differ. You might be working on a big project with lots of apps, & making a wrong move might break down the entire project & take hours to fix.
Open your app in Android Studio. Go to the Project directory from the top-left drop-down.
-
Resize the new image
More often than not, you'll find that the image you've decided to use as the app icon is too large. It is definitely a good idea to resize your image to the standard size before using it in your app.
Use this Online Image Resizer to resize the new app icon that you've decide to use. Set the width
& height to a value between 300-400 pixels. Also, make sure the width & height are equal since you'll be using this image as an app icon, which appears as a circle or square. -
Change the app logo in the drawable
If you're working on a big project with many apps, first go to the src folder, & select the app you're working on (say, Xyz folder).
After you've selected the app, the steps are the same for both small & large projects. Move to the res folder. Inside it, right click on the drawable folder. Now choose Open in Explorer. This would open a new window.
Inside the new window, open the drawable folder. Delete the old image & paste the new (resized) image here.
Make sure to rename the image you're pasting to the name of the old image (app_logo.png works best). -
Delete all the mipmap folders (6, most probably).
Now, go to the Android directory from the top-left drop-down.
-
Add a new Image Asset
Go to the mipmap folder, right clicking on it, selecting New & then selecting Image Asset.
Make sure to check that the right path (of the image you just added app_logo.png) is selected in the path label. Click Next.
Now, make sure the res label has your current app folder name (Xyz, in our case). Click Finish.
That's it. You've now changed your old app icon to a new (hopefully) better one!
Any feedbacks/suggestions are welcome. :D

Top comments (0)