This article originally appeared on my personal dev blog: Byte High, No Limit.
Next week, I'm going to look at running non-Apple Intel binaries on M1 Macs. But today, I'll go over some options for running ARM Linux on M1 Macs. Specifically, I'm going to cover Ubuntu because it's the most straightforward install. Why would you want to do this? Well, as good as homebrew is, I've found that there are quite a lot of missing packages and my experience of building from source on the latest macOS has not been a particularly pleasant one.
For the VM host you can use UTM, VMware Fusion or Parallels. As of time of writing, there are networking issues with QEMU, so I would recommend using one of the other non-free solutions. VMware is currently a tech demo, or you can get a trial version of Parallels.
- Download Ubuntu Server for ARM. There is no desktop edition.
- Install on the VM host. There are plenty of online guides available, so I won't cover that here.
- Install the desktop environment:
sudo apt install ubuntu-gnome-desktopand reboot the machine.
You may want to install Chrome. However, Google doesn't offer an ARM build. You can install Chromium, but Google has removed the APIs that enable you to sync: sudo apt install chromium-browser. Click Show Applications and search for default applications to change the default browser in Settings.
If you want VScode, that's much easier. Go to the downloads page and select the ARM64 .deb package. Then from the Downloads folder: sudo apt install ./code_<version>_arm64.deb. This also adds the repository and signing key to enable auto-updating using the system's package manager.
When using the VMware Tech Preview, no guest tools are included by default. So I thought I'd have a go at building them myself. You can grab the latest stable release from the open-vm-tools repository on GitHub.
Then I needed to install some things to build it:
sudo apt install gcc, g++, make, libmspack-dev, libglib2.0-dev, libpam0g-dev, libssl-dev, libxml2-dev, libxmlsec1-dev, libcunit1-dev, libx11-dev, libxext-dev, libxinerama-dev, libxi-dev, libxrandr-dev, libxtst-dev, libgdk-pixbuf2.0-dev, libgtk-3-dev, libgtkmm-3.0-dev
Then I could finally do: sudo make install. Then reboot. I was somewhat surprised to find it worked. However, you can't resize the screen or have shared folders out of the box. I suspect it's possible with some manual configuration, but I didn't investigate further.
Up until this week, I had been using UTM. However, after upgrading to the latest build, networking is broken. And rolling back to an earlier version didn't fix it. Even when it was working, it was prone to freezes and crashes. It's really not production ready.
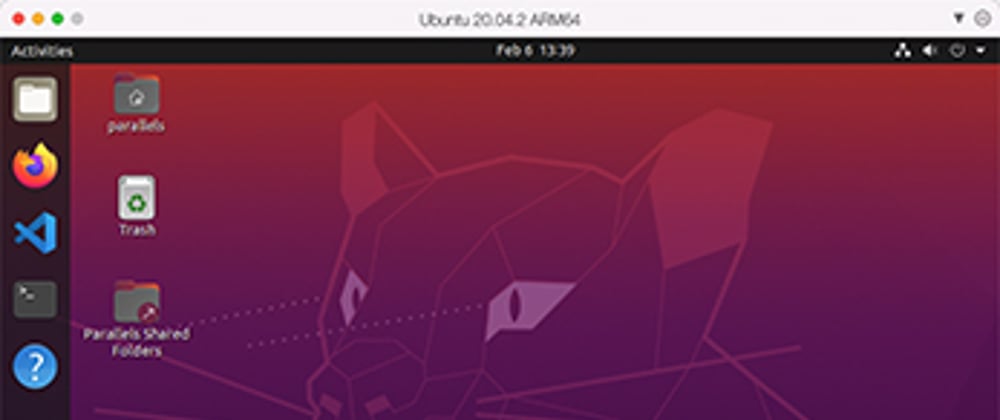
So I went and installed the Parallels Desktop 17 trial and everything just worked. There's an option to install Ubuntu directly from the app. It deals with the entire install process, including creating a user, setting up the desktop and installing the guest tool. Screen resizing works. Shared folders are configured automatically.
I used to use Parallels back in the day to run Windows software on Intel Macs. I still have licenses for version 7, 8 and 10. As such, I was able to get the current version for the upgrade price of $49.99 (plus $10 local taxes).
I would recommend it for running ARM OSes. Next time, I'll take the plunge and give Windows 11 a go.
As a follow-up note, I had an issue with a kernel update where Ubuntu would freeze on boot. I was able to roll back to the previous kernel. I waited for the next update, and this time I made sure to reinstall Parallels Tools after the update. This seemed to resolve it.


Top comments (0)