Kubernetes Cluster Creation on DigitalOcean
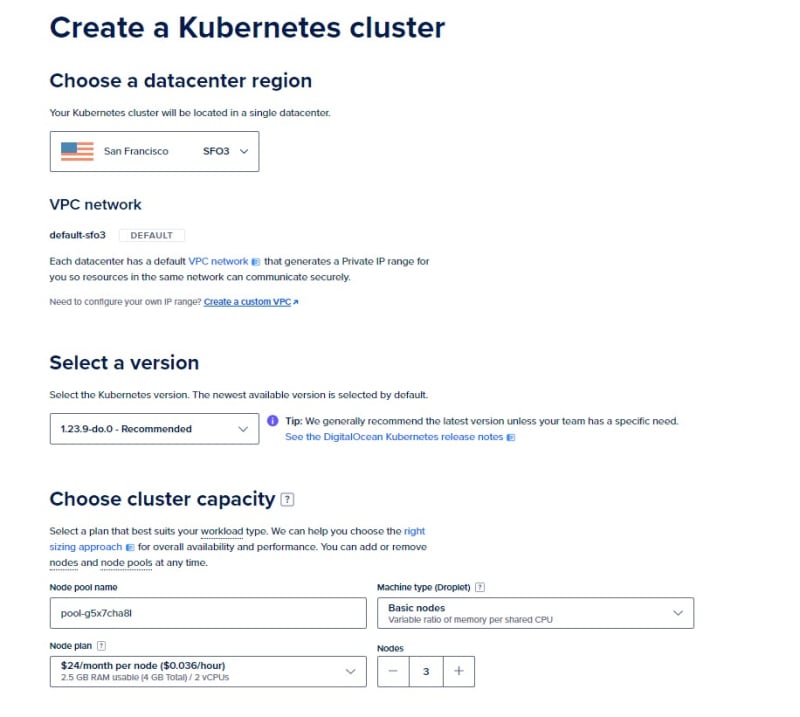
To create a Kubernetes cluster:
- From the Create menu in the control panel, click Kubernetes.
- Select a Kubernetes version. The latest version is selected by default and is the best choice if you have no specific need for an earlier version.
- Choose a data center region.
- Customize the default node pool, choose the node pool names, and add additional node pools.
- Name the cluster, select the project you want the cluster to belong to, and optionally add a tag. Any tags you choose will be applied to the cluster and its worker nodes.
- Click Create Cluster. Provisioning the cluster takes several minutes.
Verify the Cluster was created
Download the cluster configuration file by clicking Actions, then Download the Config from the cluster home page.
run the following kubectl command to check nodes:
kubectl –kubeconfig={CONFIG FILE PATH} get nodes
You should get nodes as in the following image:
Deploying An Application on Kubernetes
After this point, you have a running Kubernetes Cluster and it is time to use it!
Now it's time to deploy an application on the Kubernetes cluster. As a suggestion, you can use Ant Media Server an Ultra-low latency WebRTC live streaming engine.
Simply follow the documentation here


Top comments (0)