If you are like me and have the odd mobile phone laying around from previous contracts or even the dreaded 'I dropped my new phone, so I have to use my old backup' phone, then maybe this is a project you would be interested in!
There is a few ways to get node-red running on android but my favourite is with Termux. Using Termux means we get access to the devices sensors as well as any node-red modules we want to install! It's a little bit of a fiddle to get up and running, but shouldn't take too long!
🏃♂️ Lets get running!
First off, some prerequisites!
- An android phone or tablet (Sorry Apple fans)
- Termux installed on the device - Use the great node-red guide here follow all of this guide including the Device Access part!
- Some additional Termux setup which can be found below
Ok, so now we have Termux setup, including the device access part (This part is important, we do't get access to our sensors without these steps). We are now about ready to go! Because of androids permissions we need to make sure we have allowed Termux access to the sensors we want to work with.
For example, if we want to take a picture with node-red we need to remember we are running on Termux. Which means we need to give Termux permission to access both our camera and our storage.
To allow access to our storage we do this by running termux-setup-storage in the Termux app, this creates a syslink in Termux to our android storage. Then to allow access to our camera, in the Termux app input termux-camera-photo 1.jpg this should prompt android to request access to the photo.

Now that we have the above setup we can run something like termux-camera-photo ~/storage/dcim/1.jpg and this should store a photo in our DCIM folder (The usual place camera photos are stored) and we can find it using a folder app. If this doesn't work then you have likely missed something above!
Once all the above is done we can start our node-red service! Lets get the device IP so we know where to connect to. Make sure you are connected to your local Wifi and then type ifconfig in Termux, thats "if" not "ip". You should see a inet IP that's something like 192.168.0.1. Once we know the IP we are ready to start node-red. Input node-red in the Termux app and wait for [info] - Started flows this means node-red is running.

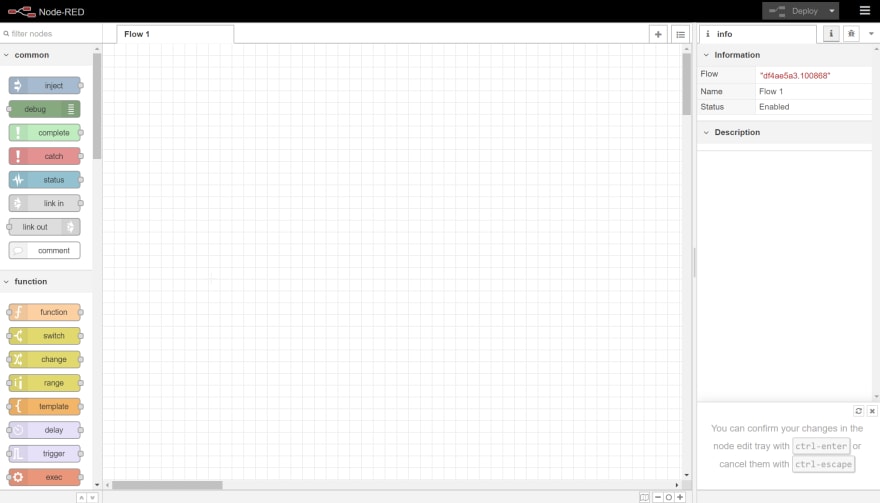
Once that's done you are free to navigate to your devices IP address on port 1880 e.g. http://192.168.0.1:1880 and get access to node red!
💣 Boom!
👨💻 So now what?
So now that we are up and running what exactly can we do with node-red that is running on android? Well hopefully over the coming weeks I'll have a few little project tutorials for you all. One of the more unique abilities of having node-red on android is you instantly have access to an array of sensors you wouldn't normally have access too, such as gravity sensors, light sensors, cameras and even location sensors. Couple that with the absolute ease of which node-red is to develop various different services means we have a really interesting tool set at our disposal!
🔐 Security note
It's worth pointing out that this isn't the most secure setup in the world and anyone on your network has access to the device. There are multiple ways to lock node-red down which I won't cover in this post but can be found in node-reds security documentation


Top comments (0)