Over the years, developers have realized the power of Headless CMS.
Using a solid CMS with frameworks like Next.js can make a lot of difference if you're managing a lot of content.
While big names dominate the space, today we will explore BCMS and how to use it with Next.js. Plus, some starter templates to get you started.
Let's jump in.
What is covered?
In a nutshell, we are covering these topics in detail.
- What is BCMS and why should you use it?
- A step-by-step guide on how to get started with BCMS and Next.js.
- Starter templates you can use.
If you want to explore yourself, please read the docs.
1. What is BCMS and why should you use it?
BCMS is one of the underrated options as a headless CMS for building Next.js projects. It even provides flexible content modeling for other tech stacks including Astro, Gatsby.js, Nuxt.js and Svelte.
You also get:
✅ Option for Global CDN.
✅ Component based content modeling.
✅ Flexible content for multilingual sites.
✅ 10+ input options with detailed permissions.
You can do all sorts of stuff like handling forms, HR tools, sending e-mails, custom reporting, all through BCMS using webhooks, functions and cron jobs.
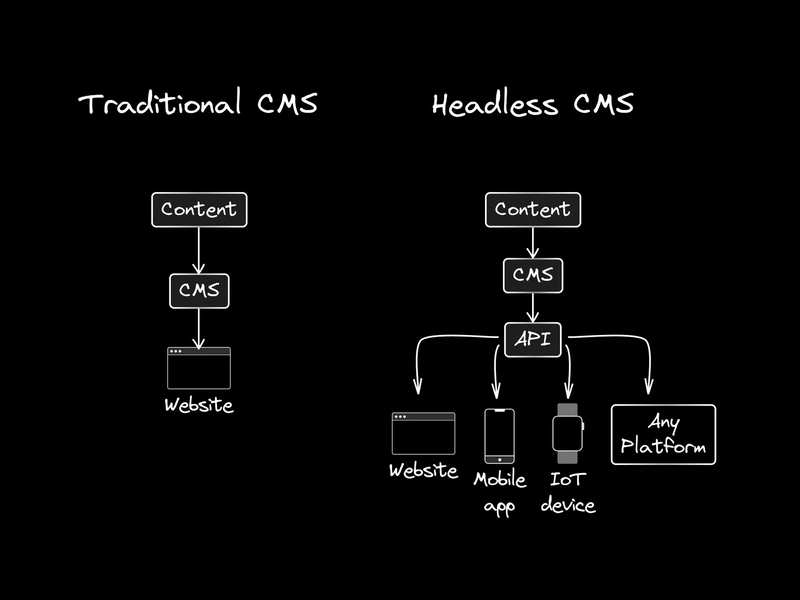
🎯 Before we proceed, let's understand what Headless CMS means.
A headless CMS simply allows you to manage content in one place and deploy it on any digital channel.
In short, it's just any backend application, which is 100% built upon APIs. Headless means frontend less body which can be attached to any frontend or Head.
If you're interested to know more, you can check the article by StoryBlok and The Ultimate Guide to Headless CMS by the Builder.io team. It has visual diagrams, use cases, merits and a lot more.
Why should you use BCMS?
There are many useful features that make BCMS worth it. Let's explore some of them.
✅ BCMS lets you store content in flexible inputs like dropdowns, files, numbers and rich text, all built to work smoothly with Next.js applications.
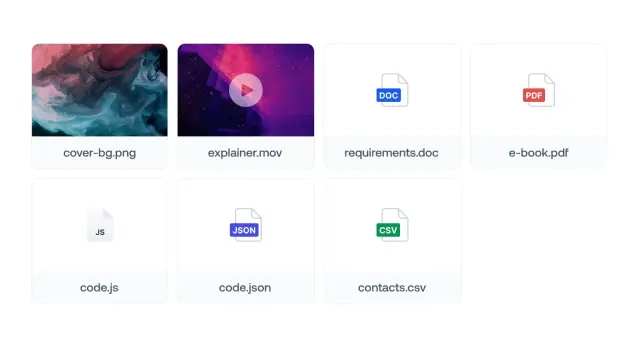
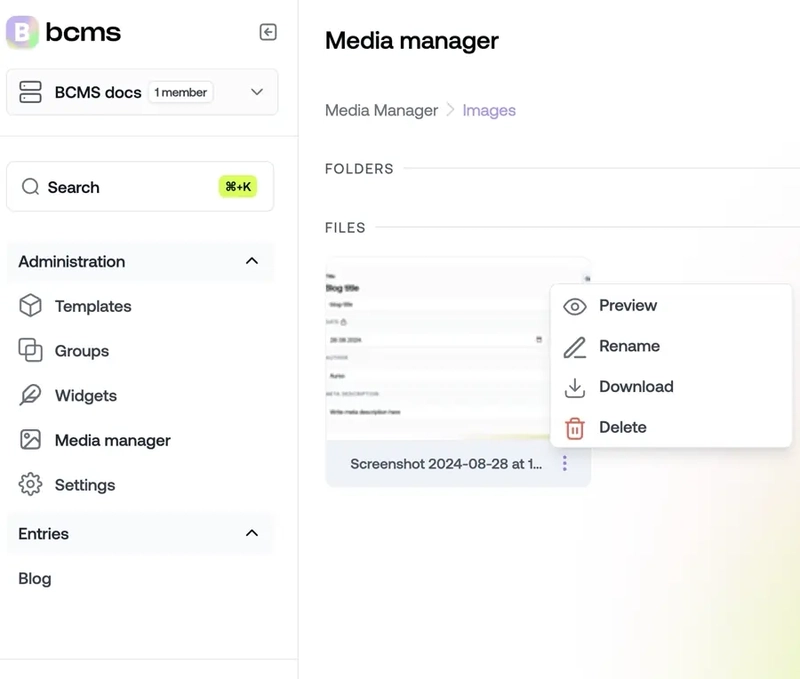
✅ You can easily upload and manage any media in your Next.js project using BCMS's organized folder system (much better than the others). Read the docs.
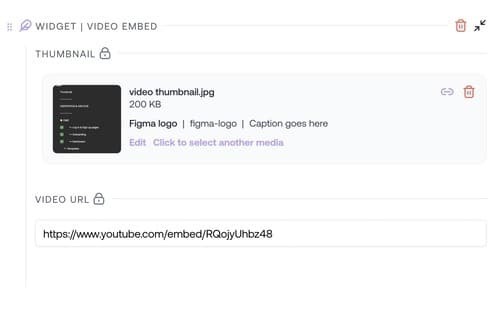
✅ You also get dynamic components for your blog or e-commerce site. They are called Widgets in BCMS which are reusable building blocks that are used inside of the entry's content area. Read the docs.
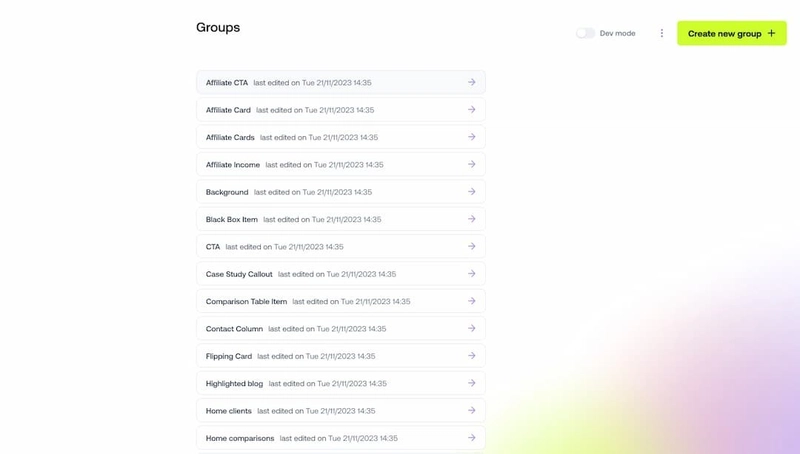
✅ There is also the concept of Groups which helps you to define reusable content structures, like author profiles or addresses, to be easily queried in your Next.js application.
You can use them in templates, widgets or even inside other groups. Read the docs.
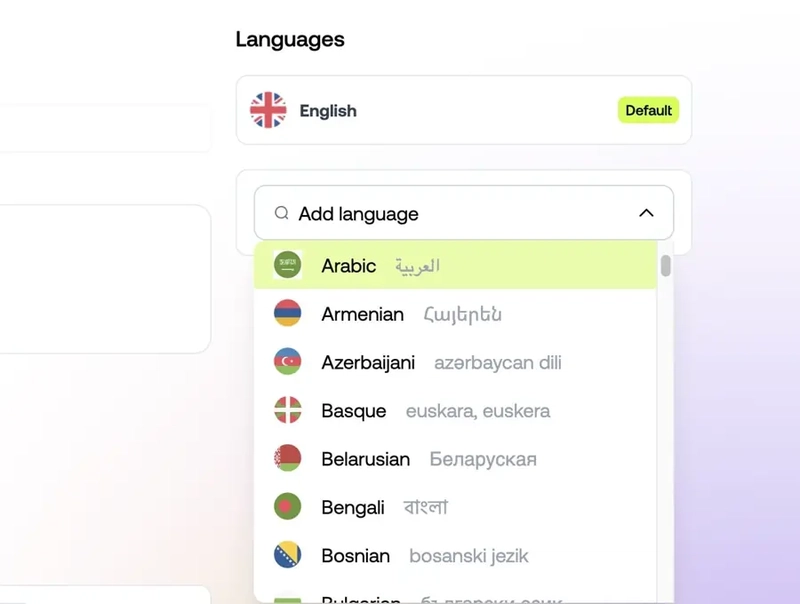
✅ To write multilingual content in BCMS, all you need to do is just click add and choose from nearly 100 languages.
English is the default and can’t be deleted, but other languages can be removed which will also remove all associated data with that language.
✅ There is also the concept of entry which is like a single document or item created from a predefined template.
The template decides what details each entry should have. These details, called properties, appear in a section called meta. Every entry also has a content area where you can write text and add interactive elements.
For example, if you create a Blog template, you can set properties like author, category, tags, and publish date. Then, whenever you add a new blog post (entry), these fields will be ready to fill.
You can duplicate the entry, delete it and even set the entry status to indicate when a blog post is ready for publishing. Read the docs to know more.

You can read about all the features on thebcms.com/nextjs-cms.
By the way, BCMS is open source with with hundreds of stars on GitHub. You can find jobs, plugins and more from the readme.
Now that we have understood the unique concepts of BCMS, it's time to integrate BCMS with Next.js in the next section.
2. A step-by-step guide on how to get started with BCMS and Next.js.
We will keep it simple and easy to understand even if you know nothing about the concepts. You can read the docs if you're interested in following everything from scratch.
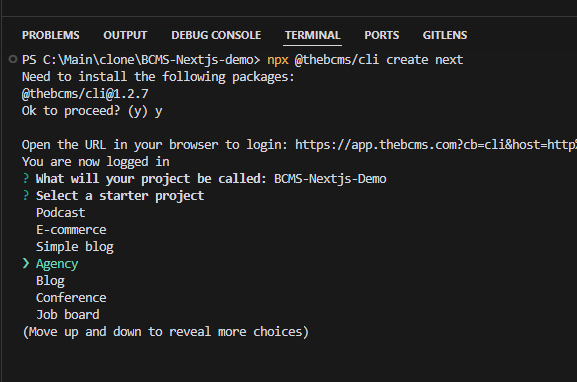
The first thing you need to install is the BCMS CLI, by running the following command.
npx @thebcms/cli create next
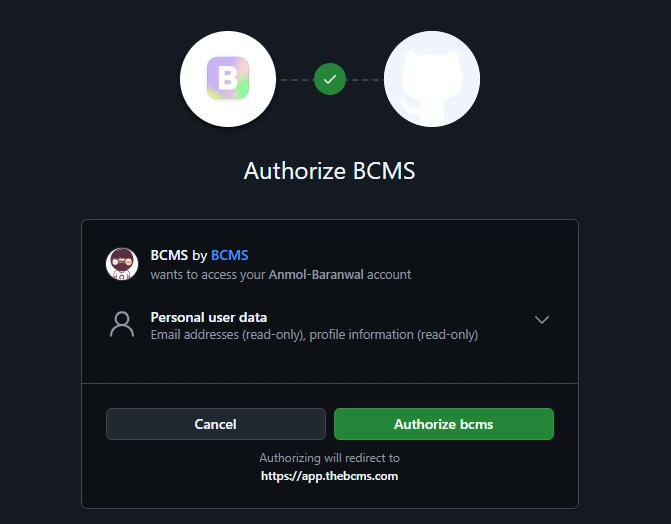
You will get the option to install the package and authenticate with BCMS in case you are not.
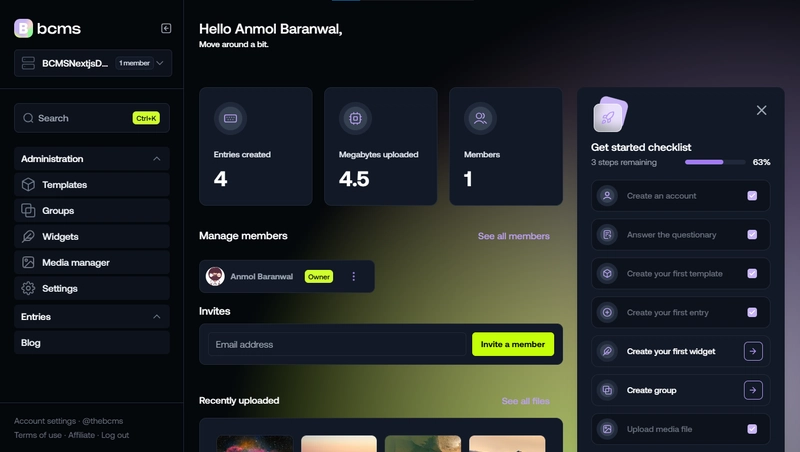
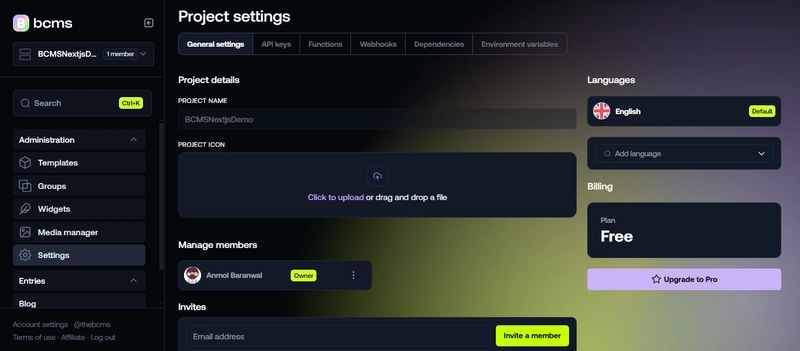
Once you log in, this is how the dashboard looks. It's available at app.thebcms.com/.
This sets up a new Next.js project and lets you pick a starter template based on your needs. You can also start from scratch, but to keep things simple, I will go with the blog starter.
This will set up a new nextjs project and it will give you options to select a starter project (based on your use case). There is also the option to start from scratch but for the sake of easiness, I'm selecting the blog starter.
This is how the directory structure looks.
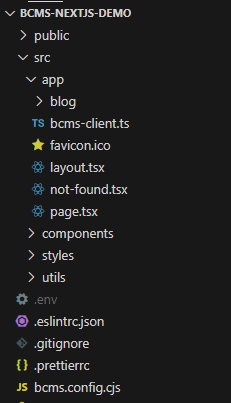
In the root of your project, you will find bcms.config.cjs which is the main configuration file.
/**
* @type {import('@thebcms/cli/config').BCMSConfig}
*/

module.exports = {
    client: {
        orgId: process.env.BCMS_ORG_ID,
        instanceId: process.env.BCMS_INSTANCE_ID,
        apiKey: {
            id: process.env.BCMS_API_KEY_ID,
            secret: process.env.BCMS_API_KEY_SECRET,
        },
    },
};
You will see the codebase pre-filled with some content, a .env file, and the necessary BCMS config.
In the dashboard, you can explore settings if you want to adjust functions, webhooks, dependencies or environment variables.
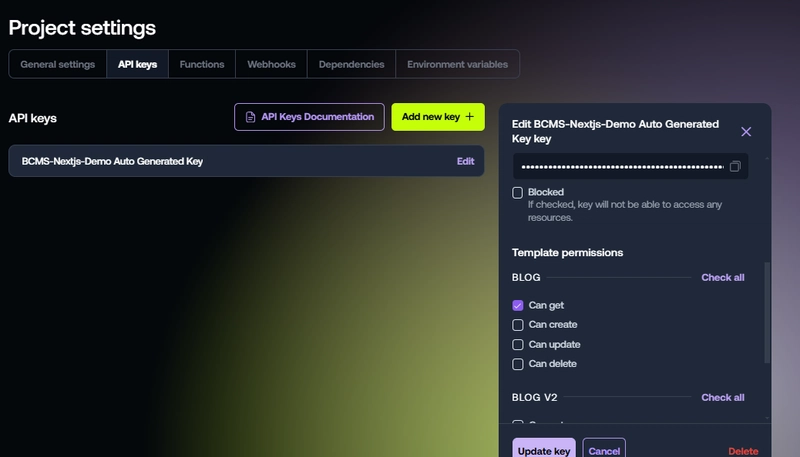
If you skip the starter template, you will need to create a new API Key under settings. You will get the option to allow necessary permissions once you create entries in the template. Don't worry if this sounds confusing, we will go over it soon.
You just need to install the dependencies and run the server using the following commands.
npm i
npm run dev
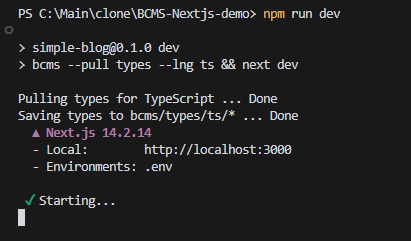
The bcms --pull types --lng ts command starts the BCMS CLI and pulls types from BCMS, saving them in /bcms/types/. These types work for both JavaScript and TypeScript.
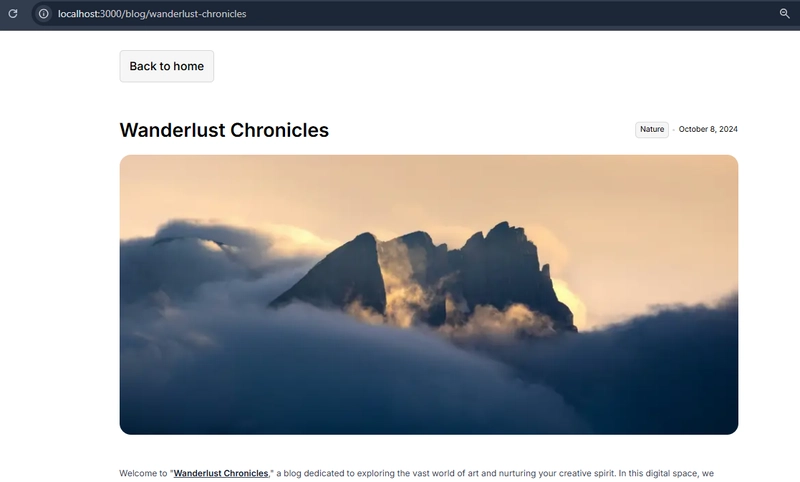
Then, go to http://localhost:3000 to view the locally hosted version. Here's how it looks.
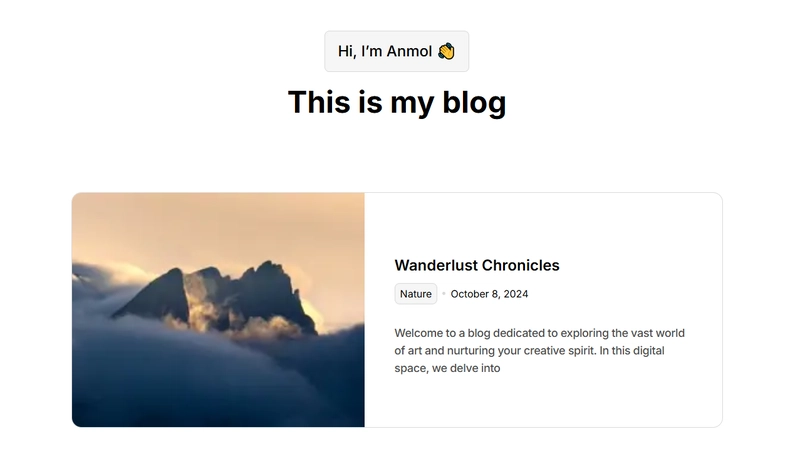
Congrats! 🎉
You have just integrated BCMS with Next.js, it's that simple!
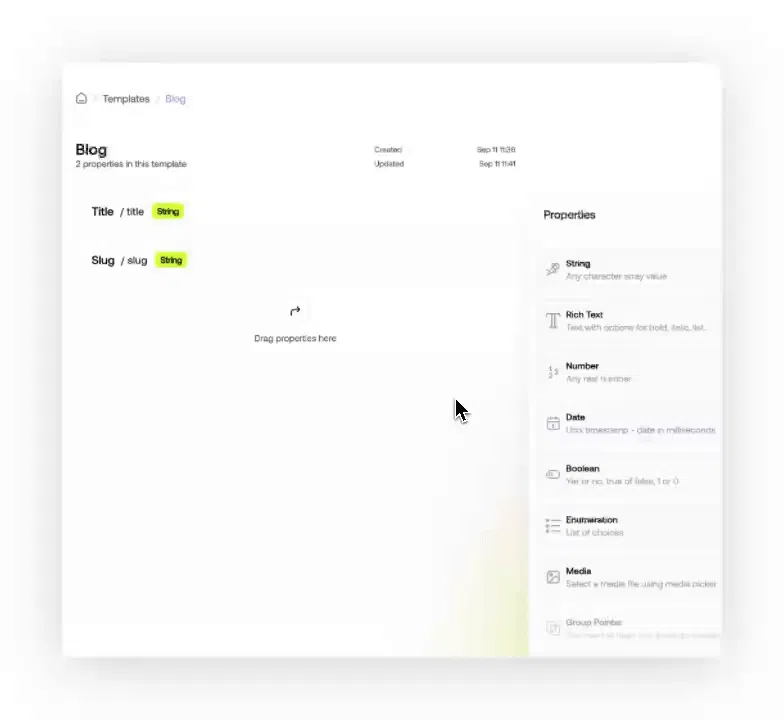
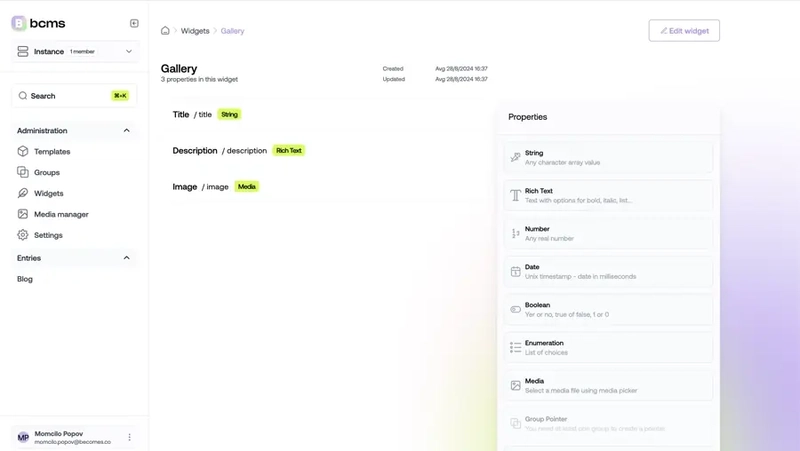
Let's study more about what is involved. Head over to the BCMS dashboard and look for the Templates option in the sidebar.
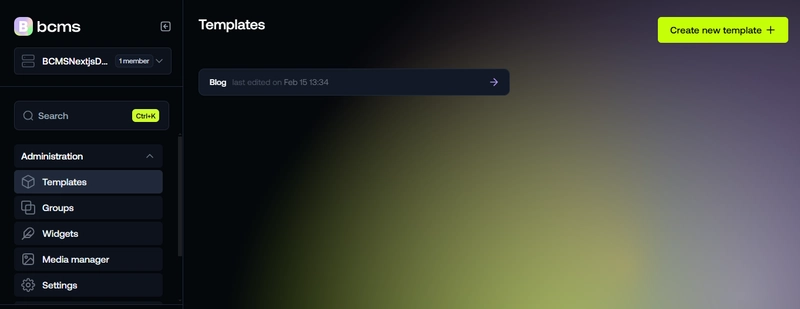
You'll find a Blog template already created, with six properties: title, slug, date, description, cover_image, and category. Each property type is displayed as a badge (media, string, date).
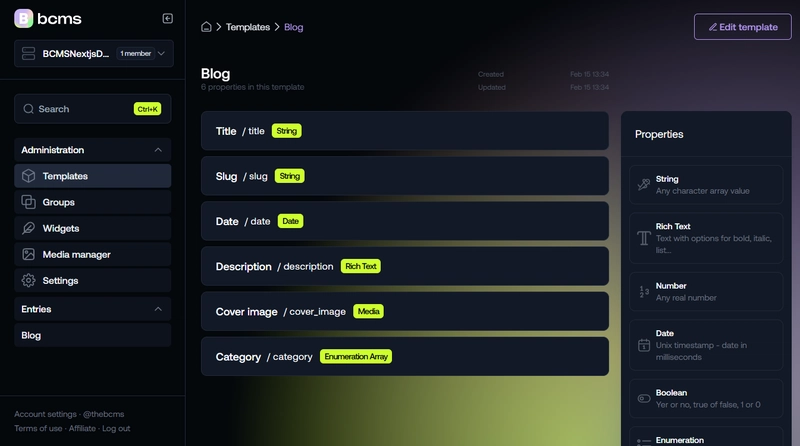
You can easily update any properties based on your use case.

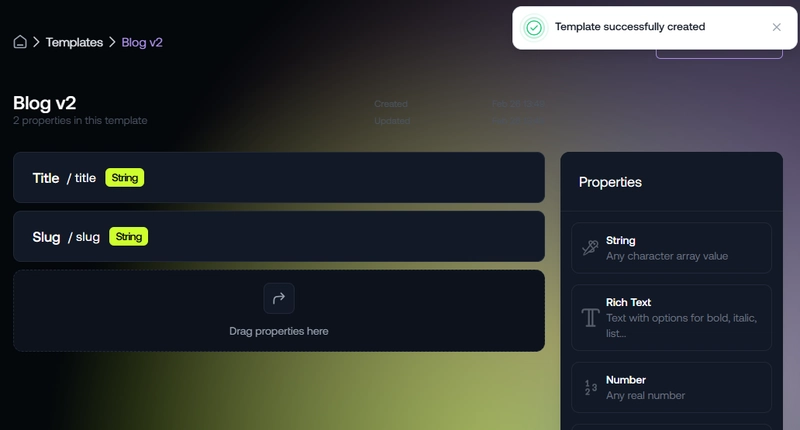
You can also create a template from scratch as shown.

Once your template is ready, you will need to create entries for it. In this case, the Blog template already has four entries.
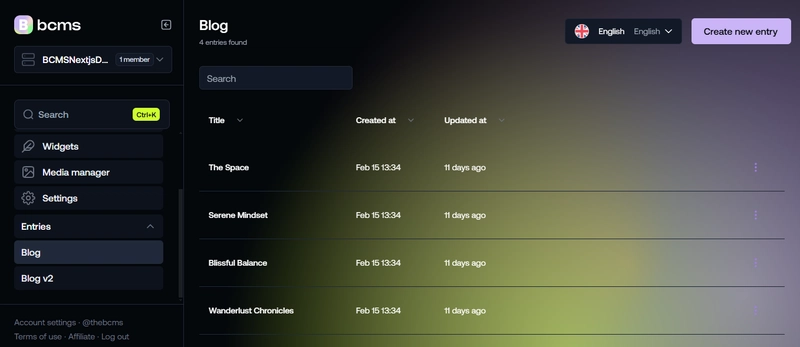
Each entry contains all the necessary details.
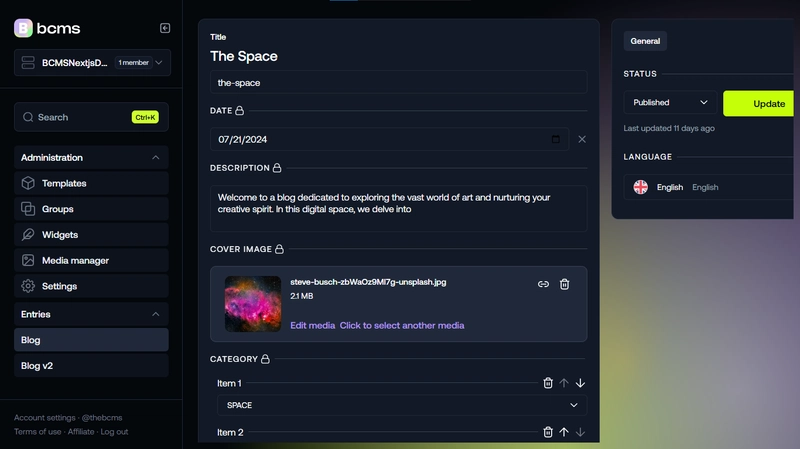
When creating a new entry, it will automatically include the required fields based on your template properties.
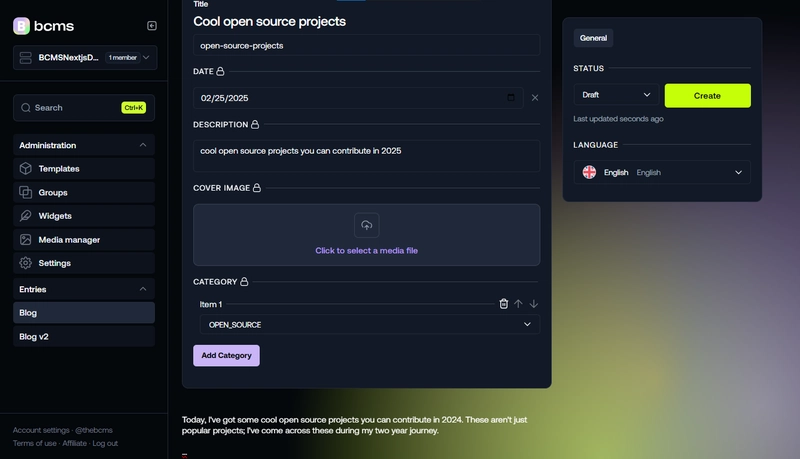
Similarly, for the cover image, just upload and select it accordingly.

Once you refresh your local setup, the updates will appear.
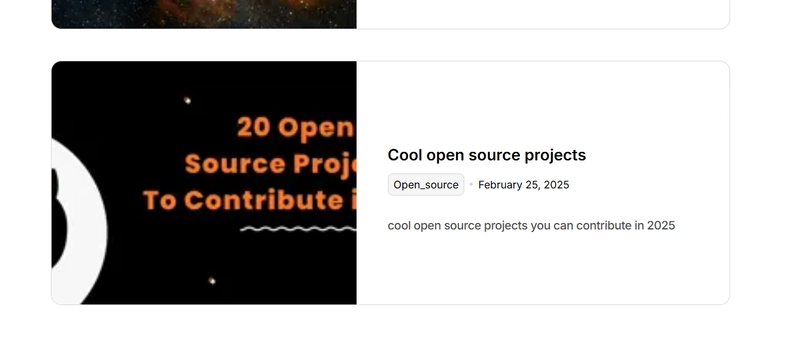
The entry will be accessible at the route based on the slug URL you set in the dashboard.
Let's talk about the codebase.
First, the BCMS Client is initialized by creating bcms.ts inside the /src directory.
The main logic for fetching and displaying data from BCMS is in /src/app/page.tsx.
import React from 'react';
import { bcms } from './bcms-client';
import { BlogEntry, BlogEntryMetaItem } from '../../bcms/types/ts';
import { Metadata } from 'next';
import BlogCard from '@/components/blog/Card';
import Tag from '@/components/Tag';

const pageTitle = 'Blogs - Simple Blog';
export const metadata: Metadata = {
    title: pageTitle,
    openGraph: {
        title: pageTitle,
    },
    twitter: {
        title: pageTitle,
    },
};

const HomePage: React.FC = async () => {
    const blogs = (await bcms.entry.getAll('blog')) as BlogEntry[];

    const items = blogs.map((blog) => {
        return blog.meta.en as BlogEntryMetaItem;
    });
    return (
        <div className="py-24 md:py-32">
            <div className="container">
                <div className="flex flex-col gap-6 items-center text-center mb-20 md:mb-[120px]">
                    <Tag size="lg">Hi, I’m Anmol 👋</Tag>
                    <h1 className="text-4xl font-bold leading-none md:text-5xl">
                        This is my blog
                    </h1>
                </div>
                <div>
                    <div className="grid grid-cols-1 gap-12 max-w-[1040px] mx-auto">
                        {items.map((item, index) => {
                            return <BlogCard key={index} blog={item} />;
                        })}
                    </div>
                </div>
            </div>
        </div>
    );
};

export default HomePage;
The BlogPage route is defined in src/app/blog/[slug]/page.tsx.
Core components like ContentManager and Tag are inside the src/app/components directory.
It's simple to understand if you're aware of Next.js concepts.
3. Starter templates you can use.
Learning the concepts is great, but having everything pre-built for different use cases is amazing. Here are some starter templates that might save you time and effort.

This is one of the most decent portfolio templates I've come across. It’s clean, unique and well-structured, with some really good sections.
Built with Next.js and BCMS, this template offers a great starting point for developers. Read this tutorial if you want to explore everything that is involved.
You can check the GitHub Repository and live demo.

This is a next.js e-commerce template that comes with analytics, multilingual support and more.
If you want a detailed breakdown including templates, groups, elements involved and the step-by-step process to make this, read this guide.
You can check the GitHub Repository and live demo.

If you're planning to launch a podcast or audio-focused platform, this template is a great choice.
The official tutorial is for Gatsby, but the GitHub repository provides a Next.js version as well.
You can check the GitHub Repository and live demo.

This is for people looking to build a job board or a career page for an organization.
The official tutorial is for Nuxt but you can find the GitHub repository that includes a Next.js version as well.
You can check the GitHub Repository and live demo.
BCMS provides 10+ templates across different frameworks like Astro, Gatsby, Next and Nuxt. You can find all the samples on the official BCMS repository and the official website at thebcms.com/starters.
Other available templates include an agency website, job board, conference starter, recipe website and more. Each of these websites is really unique which makes things a lot better.
If you're exploring other options, you can check Sanity, Contentful, Payload and Strapi.
I'm aware that there are other decent options out there but BCMS has its own perks.
Underrated tools can sometimes be the best fit for your workflow.
Let me know if you have any other ideas or if you have used any Headless CMS options.
Have a great day! Until next time :)
| You can check my work at anmolbaranwal.com. Thank you for reading! 🥰 |
|
|---|


Top comments (5)
This seems really helpful. Gotta try it out soon.
Thank you for this amazing article.
Thanks for reading Divya! 🔥 BCMS is definitely powerful but you can also check out Payload which is next.js native and widely popular in this domain.
Thank you for sharing this one as well. I gotta check out both of them.
wow
thanks man. time for you to code :)