Picture by Vadim Sherbakov via Unsplash
WebAssembly is a new technology, it is (up to) 1000 times faster than JavaScript. At the beginning, WebAssembly was only intented to run on the browser, but as for now people are working to make WebAssembly to run outside of the browser. One of the program that allows us to run WebAssembly outside of the browser is Second State Virtual Machine.
The Second State VM (SSVM) is a high-performance WebAssembly runtime optimized for server-side applications. This project provides support for accessing SSVM as a Node.js addon. It allows Node.js applications to call WebAssembly functions written in Rust or other high-performance languages. Why do you want to run WebAssembly on the server-side? The SSVM addon could interact with the WebAssembly files generated by the ssvmup compiler tool.
Goal
Why do we want to use WebAssembly? Isn't JavaScript is able to handle everything in the browser? Well, I can say yes and no. JavaScript may be able to do most of the things in web page, however there are some advantages of WebAssembly over JavaScript for creating a web apps:
- Smaller program size, because the program are compiled to a binary
- Garbage collector are optional (Only when you're using a garbagely collected language like Go)
- Closer to machine code, which makes it fast to be compile and does not require any re-optimization anymore
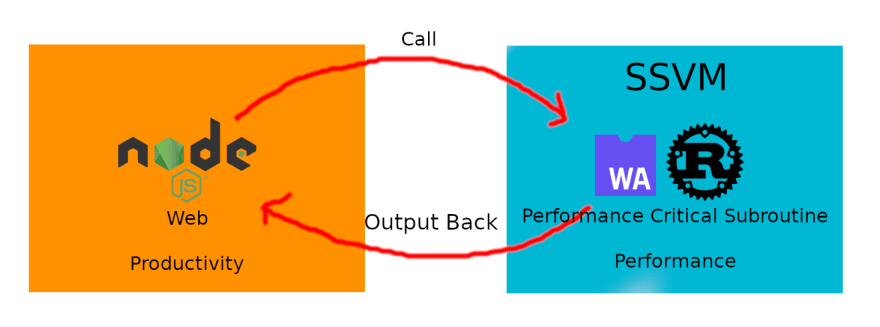
In short, what we are going to do is just running a function in a WebAssembly supported language from JavaScript (You can use Node or Deno for the runtime).
In this tutorial I will be using Rust language (You can also use C, C++, or Go) because it is easier to setup and has been shipped by the starter template.
So we are expecting to gain these 3 benefits:
- Rust's performance
- Correctness & maintainability
- WebAssembly's safety & portability (Compile once, run anywhere)
I will explain you in an agnostic manner, so you are not tied off to my personal choice.
Starting Up
So, SSVM has provide us the basic starter template which you can clone and try to make a project out from it. So just clone or download-and-paste it in your project.
After that, you can install the SSVM in your machine.
npm i -g ssvmup
npm i ssvm
For this project, I'm going to brings my Rust Anime4k project to become a web service. I'm expecting to not rewrite much of Rust code as the project has been done.
So the user will be able to upload an image, then the image uploaded will be passed and processed in Rust, and the processed image will be returned back to JavaScript web server.
Writing Rust Code
You only have to write Rust code inside the Rust source directory src/ and do not forget to make the function public (pub) and gives #[wasm_bindgen] attribute.
Below is the summary of my code
src/lib.rs
#[wasm_bindgen]
pub fn anime4k(buf : &[u8]) -> Vec<u8> {
    // Yadayada my long code
    ...
    let mut out = Vec::<u8>::new();
    image::png::PNGEncoder::new(&mut out)
        .encode(&bytes[..], img_width, img_height, image::ColorType::Rgba8)
        .unwrap();
    out
}
Using the starter project, I only able to manage to use wasm-bindgen version 0.2.61 which only supports Integer, String, or Vec<u8> as it's function parameter type and return type (Perhaps it was caused by the SSVM itself). So be careful with this limitation, if you are using a specific data type, you have to convert it into a bytes (Vec<u8>) and decode it afterwards.
This is what I got from trying to return a Vec<i32>
Caused by:
    Type of `return value` is Vector(I32), only Integer, String or Vector<u8> are supported now
So it quite simple. I don't have to rewrite it really much, I only have to adjust the input and output data, also the function parameter and return type.
Writing the JavaScript Code
For the web server, I will use ExpressJs because I have been familiar with it. So, I will just need to install it using the command below
npm install express
npm install express-fileupload # Needed to handle file upload
And below is the complete code of my web
node/app.js
// Import the function you have create in Rust
// anime4k is the function that I will create
const { anime4k } = require('../pkg/ssvm_nodejs_starter_lib.js');
const express = require('express');
const fileUpload = require('express-fileupload');

// In Heroku, the port number was provided from environment
// variable.
const PORT = process.env.PORT || 3000;

const app = express();

app.use(fileUpload());
app.use(express.static(__dirname + '/public'));

// Accept an uploaded image and pass it to
// the `anime4k` function and return the result
app.post('/upload', (req, res) => {
  // The image had to be converted to a bytes
  const buf = Uint8Array.from(req.files.image.data);
  res.set('Content-Type', 'text/png');
  res.end(Buffer.from(anime4k(buf)));
});

app.listen(PORT, () => {
  console.log(`Server running at http://127.0.0.1:${PORT}/`);
});
Running the Application
Before you run the application, you have to build the Rust library. To build the Rust library, you have to type the command below
ssvmup build
Then you can run the JavaScript application
node node/app.js
Deploying
After you have create the code, you can now deploy it to the web.
Below is the Dockerfile file content that I have modified
FROM ubuntu:20.04
ARG DEBIAN_FRONTEND=noninteractive
ENV RUSTUP_HOME=/usr/local/rustup \
    CARGO_HOME=/usr/local/cargo \
    PATH=/usr/local/cargo/bin:$PATH
RUN apt-get update \
    && apt-get install -y tzdata \
    && apt-get -y upgrade && apt-get install -y build-essential curl wget git vim libboost-all-dev
RUN curl -sL https://deb.nodesource.com/setup_14.x |  bash \
    && apt-get install -y nodejs \
    && npm install -y -g ssvmup --unsafe-perm \
    && npm install -y ssvm \
    && npm install express express-fileupload # You can change it with any library you use
RUN curl --proto '=https' --tlsv1.2 -sSf https://sh.rustup.rs | sh -s -- -y
ADD . ./
RUN ssvmup build
CMD node node/app.js
It just install all of the required application like Node, SSVM, and some Node package; copy the projects code; build the Rust project; then run the webserver by executing node node/app.js command.
Deploying to Heroku
Its very easy to deploy to Heroku.
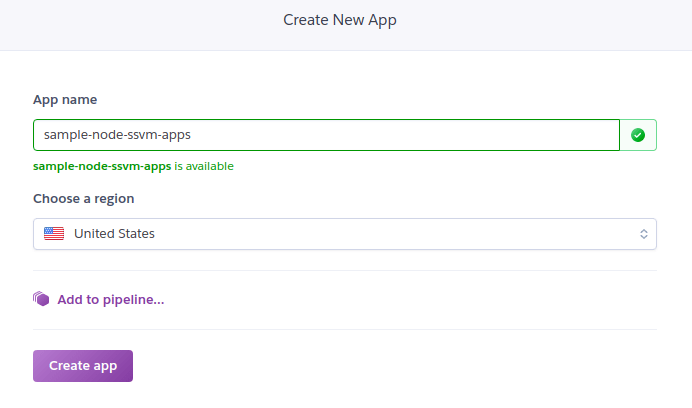
You only have to create an application or use the existsting one.
After that, you have to change your project stack to use container because we are going to use Docker. You can change the project stack by running the command below
heroku stack:set container -a APPLICATION_NAME
After that, you can use any deployment method, but I prefer to connect my GitHub repositories to Heroku.
Then, press the Deploy button to deploy the project and wait until it successfully deployed.
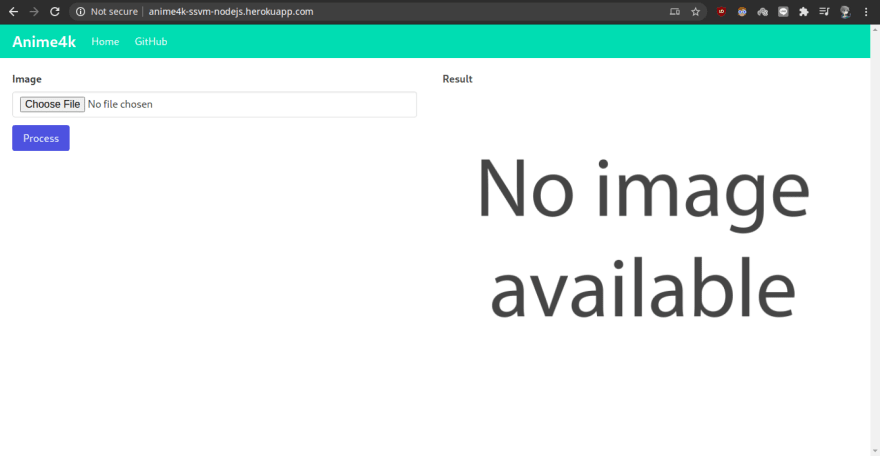
Here is the preview of the web.
Verdict
JavaScript may be quite powerful to use in web apps, but it has it's own limitation. To overcome those limitation, we move out the performance critical subroutine code from JavaScript into Rust, compile the Rust code to WebAssembly and integrate the WebAssembly with JavaScript.
If you have any further question, let me know in the comments below.
The projects source code are available for public https://github.com/andraantariksa/Anime4k-ssvm-nodejs and also the live demo http://anime4k-ssvm-nodejs.herokuapp.com/
Reference
- https://hacks.mozilla.org/2017/02/what-makes-webassembly-fast/
- https://www.secondstate.io/
- https://devcenter.heroku.com/articles/build-docker-images-heroku-yml
This post was originally posted in my blogs https://andraaa.my.id/blog/run-webassembly-outside-browser-using-second-state-vm/


Top comments (0)