This post is part of the E2E Testing Series. If you haven't already, I suggest going back and reading previous posts before continuing.
Process Overview
We're going to walk through a sample process for how to write E2E tests and touch on some best practices along the way. Here's an overview of the general process I tend to follow:
- Create a test file and add pending tests for all the feature requirements.
- Write the minimum code needed to get each test to pass.
- With the test runner in watch mode, go back and refactor and clean up code as needed.
If you're familiar with Test-Driven Development (TDD), the above might look familiar. I've found that writing E2E tests is a great opportunity to put TDD into practice.
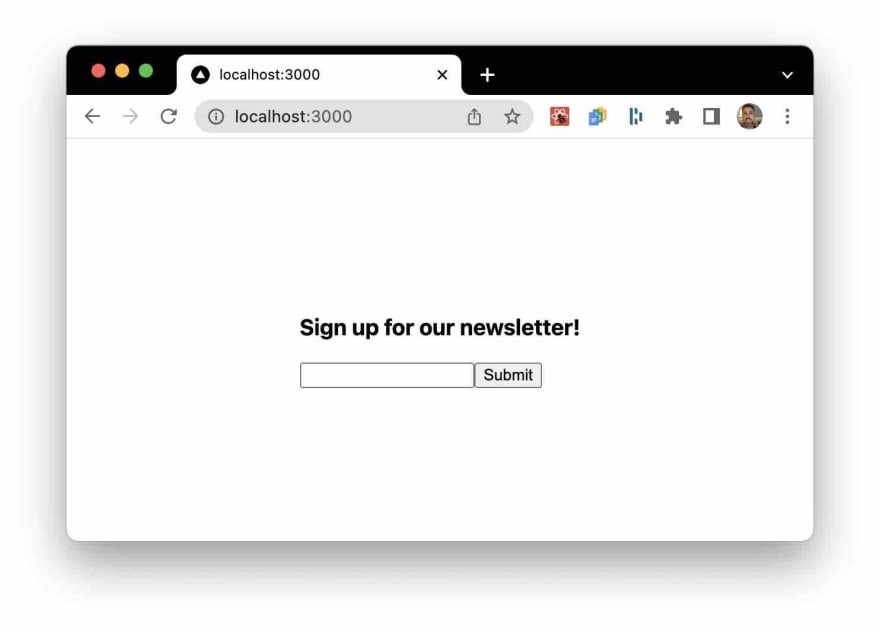
As our sample feature, we'll be walking through writing the tests for the Newsletter signup form I discussed in the series intro.
I picked it because it's a small but still complete feature, so a great basis for conveying the E2E test-writing process.
To get started, we'll create our main test file.
Create the test file and add pending tests
If possible, I suggest collecting all tests for each feature in the same test file, and then match the name of file to the test title. Let's do that now.
(I'm assuming you've already set up your local environment.)
Create a new file at cypress/e2e/newsletterSignup.cy.ts.
Note that in version 10 of Cypress E2E test files are placed in the directory cypress/e2e and use the .cy extension in the file name, which replaces the previous .spec extension for E2E tests.
Add the following code to this file:
// cypress/e2e/newsletterSignup.cy.ts

describe("Newsletter signup", () => {  // ** 1 **
  beforeEach(() => {  // ** 2 **
    cy.visit("/newsletter");
  });

  it("displays a message explaining the form's purpose");  // ** 3 **

  it("allows for completing a newsletter signup");

  it("allows for submitting the form by using the enter key");

  it("displays an error message if input value is not a valid email address");

  it("displays an error message if the input field is empty");

  it("clears the email input if signup is successful");

  it("persists the email input value if there is an error");
});
Code notes
- This is the
describeblock, which is the method used to group test specs. I recommend matching the name of this block (e.g. here the name is "Newsletter signup") to the name of the test file and, if possible, also to what this feature is named elsewhere, eg in a User Story. This is a convention I like to follow to encourage only having one set of feature tests per file and also to create less confusion when trying to locate a test. The value of this will become more apparent when you start to have large numbers of tests. - The
beforeEachblock will run before every test in the describe block. This is a great place to tell the test runner where it should navigate to. Also, when applicable it can be a good place to place the app in desired state, eg using a login command. - This is our list of pending tests. The test descriptions for these tests should together make up the requirements for this feature. If you are working off a User Story, the list of tests should match your acceptance criteria.
Using your E2E tests as your "live" todo list
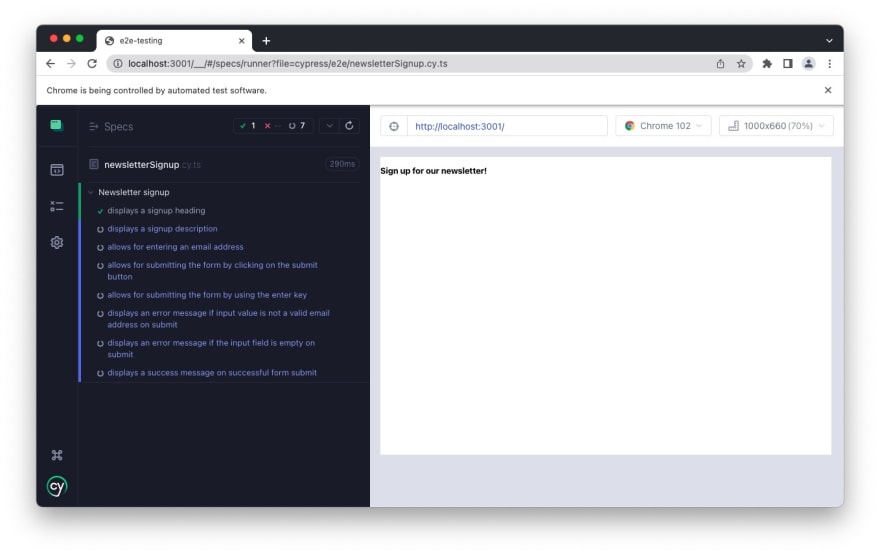
At this point, your Cypress console should look something like this:
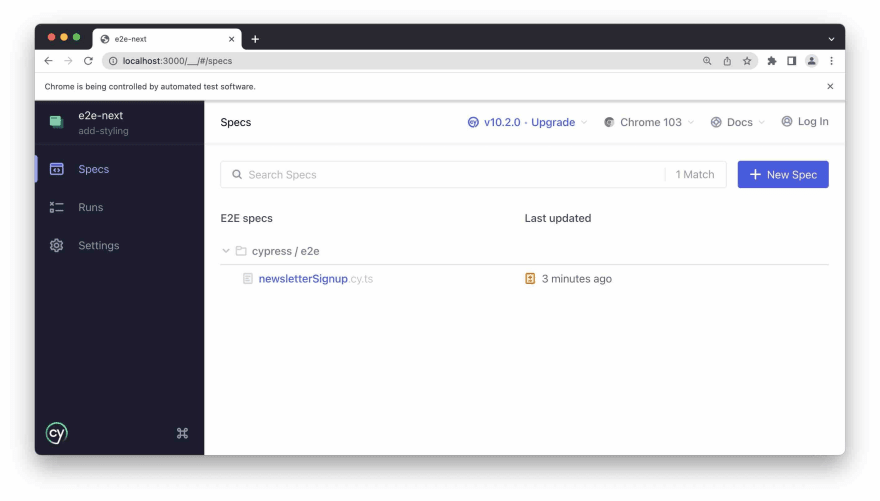
Go ahead and click on "newsletterSignup" and you should now see the test runner with a list of pending tests.
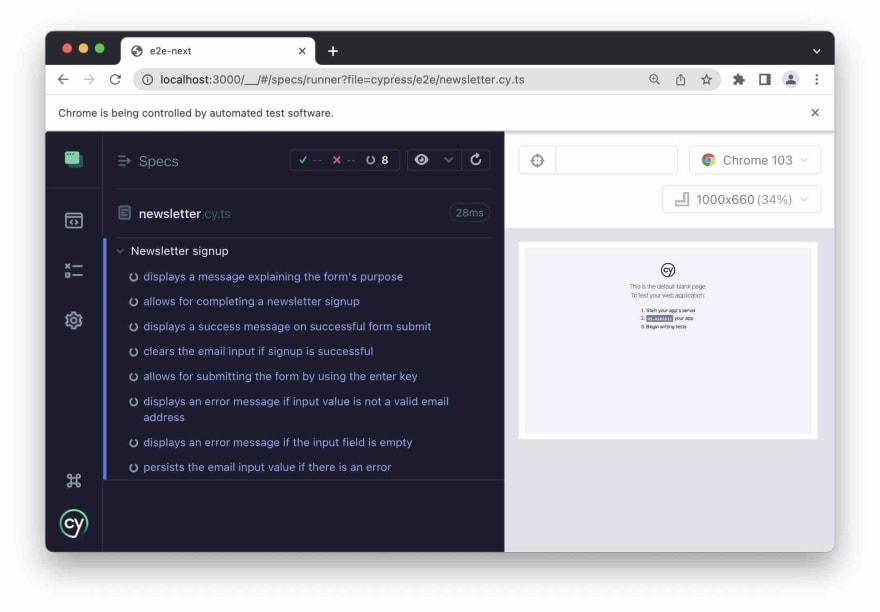
With the test runner now in watch mode, as you update your tests and source code, our tests will re-run automatically and update tests to passing or failing.
I personally find it to be a great approach to have this type of "live" todo list, helping me remain assured that I am fully aligned and building what actually is being requested, and having a clear sense of my progress.
Adding our first test
We're going to start by getting the first pending test to pass, which also happens to be fairly basic.
In cypress/e2e/newsletterSignup.cy.ts, go ahead and replace the first pending test with the following code:
it("displays a message explaining the form's purpose", () => {
  cy.get('[data-test="newsletter"]').contains("Sign up for our newsletter");
});
Cypress tests allow for chaining of methods, which means they often are one-liners like the one above.
The test divides into two parts:
- The
cy.getpart, which is where we select the element we want to test. - The
.containspart which is one of many types of assertions. In this case, we are asserting that we will find a specific text block in the previously selected element.
(At the risk of causing some confusion, .get is also an assertion that an element exists, and .contains can also be used to select an element, for use in other assertions.)
You might have noticed the use of '[data-test="newsletter"]' to identify our newsletter DOM element, which might look a bit odd. We'll talk about that in more detail in a bit, but first let's get the above test to pass.
Getting our first test to pass
If we look at our test runner, we see that the test we added above is failing.
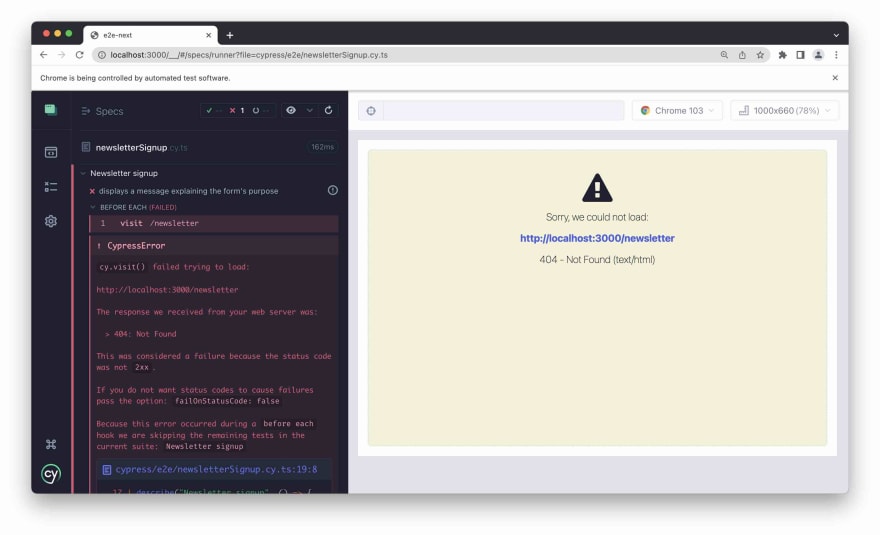
This is expected, since we haven't yet added the code to make it pass. Let's do that now.
Add a new file at src/pages/newsletter.tsx. Since we are placing a file in the special pages directory, NextJS will create the new corresponding route /newsletter.
Add the following code to the new file:
// src/pages/newsletter.tsx

import type { NextPage } from "next";

const Newsletter: NextPage = () => {
  return (
    <form data-test="newsletter">
      <h3>Sign up for our newsletter!</h3>
    </form>
  );
};

export default Newsletter;
If you now go back to the test runner, you should see that there is a green checkmark next to your first test, which means it's passing! :celebrate:
Making tests more resilient with Test IDs
Note the data-test="newsletter" attribute added to the form tag above.
<form data-test="newsletter">
"newsletter" is our "test id" and what we use to select this element in our test with the selector [data-test="newsletter"].
cy.get('[data-test="newsletter"]')...
This is a fairly common pattern in E2E testing, where we make use of a custom data attribute to identify the element(s) we want to test. Note that you can put whatever you want after the data- part, but I prefer using test.
Why would we want to do this?
I think the easiest way to understand the benefits of using test ids, is to look at the alternatives to identifying elements on a page:
- Use a DOM selector, such as maybe adding an ID to the element, eg
<form id="signupForm">. - Using a class name, eg
<form class="signup-form">. - Create a selector based on the current DOM structure, such as
main form h3.
The main issue with these approaches is that they're all fragile.
Every time a developer touches this code, it is possible they might modify any of these due to some implementation need, and unknowingly cause a false negative test failure.
Use of test ID allows us to separate test-specific code and implementation code, making tests more resilient to unrelated code changes.
Adding the main user flow test
Next, let's add a test for the main user flow: completing and submitting the signup form.
This test will be a bit more advanced. Go ahead and update the next pending test to be as follows:
// cypress/e2e/newsletterSignup.cy.ts

it("allows for completing a newsletter signup", () => {
  const testEmail = "test@email.com";

  cy.intercept("POST", "/api/newsletter", (req) => { // ** 1 **

    expect(req.body.email).to.contain(testEmail); // ** 2 **

    req.reply({  // ** 3 **
      statusCode: 200,
      body: {
        success: true,
        message: "Success message",
      },
    });
  });

  cy.get('[data-test="emailInput"]').type(testEmail); // ** 4 **
  cy.get('[data-test="formSubmit"]').click(); // ** 5 **
  cy.get('[data-test="successMessage"]').should("exist"); // ** 6 **
});
The goal of this test is to ensure that a "happy path" newsletter signup flow works as expected.
Code Notes
There's quite a bit going on in this test. Let's walk through it step by step:
-
cy.intercept("POST"...- here, we are telling Cypress to intercept a network request that will happen later in the test. With the intercept feature, Cypress basically masquerades as the given endpoint we defined and returns the response we expect. The intercept feature is truly powerful and I highly recommend reading more about it in their docs. In our case, it allows us to fully test our client side form by actually submitting an email address without having to worry about clogging up some database with fake test email addresses. - This is where we assert that the client side sent the payload we expected to the back-end.
- If the previous assertion passes, we send the expected success response.
-
cy.get('[data-test="emailInput...- this is where we type in the test email address. -
cy.get('[data-test="formSubmit"]').click();- here, we click the form submit button and, which results in an API call, that then is intercepted as per step 1 above. -
cy.get('[data-test="successMessage"]')...- assuming our form submit was successful, we expect a success response from the server.
Getting the main user flow test to pass
Let's add the code needed to get the above test to pass. Update src/pages/newsletter.tsx with the following:
import type { NextPage } from "next";
import { useState } from "react";
import { ServerResponse } from "../pages/api/newsletter";

const Newsletter: NextPage = () => {
  const [emailInput, setEmailInput] = useState("");
  const [confirmMessage, setConfirmMessage] = useState("");

  const handleSubmit = async (e: React.FormEvent<HTMLFormElement>) => {
    setConfirmMessage("");
    e.preventDefault();

    const raw = await fetch("/api/newsletter", {
      method: "POST",
      headers: {
        "Content-Type": "application/json",
      },
      body: JSON.stringify({
        email: emailInput,
      }),
    });

    const response: ServerResponse = await raw.json();

    if (response.success) {
      setConfirmMessage(response.message);
      setEmailInput("");
      return;
    }
  };

  return (
     <form data-test="newsletter" onSubmit={handleSubmit}>
        {confirmMessage && (
          <div data-test="successMessage">{confirmMessage}</div>
        )}
        <h3>Sign up for our newsletter!</h3>
        <input
          type={"email"}
          value={emailInput}
          onChange={(e) => setEmailInput(e.target.value)}
          data-test="emailInput"
          id="emailInput"
          formNoValidate
        />
        <input type={"submit"} data-test="formSubmit" />
    </form>
  );
};

export default Newsletter;
We also need to add an API endpoint for submitting our form data. Create a new file at src/pages/api/newsletter.ts and add the following:
import type { NextApiRequest, NextApiResponse } from "next";

export type ServerResponse = {
  message: string;
  success: boolean;
};

export default function handler(
  req: NextApiRequest,
  res: NextApiResponse<ServerResponse>
) {
  const { email } = req.body;

  res.status(200).json({
    message: \`\"\$\{email\}\" was added to the mailing list. Thanks for signing up!\`,
    success: true,
  });
}
(I won't be going through this code in detail, as this is not a post about TS or React.)
Note that this API endpoint doesn't actually store the submitted email in a data store. However, if this were a real newsletter signup, the place to do it would likely be in the above file.
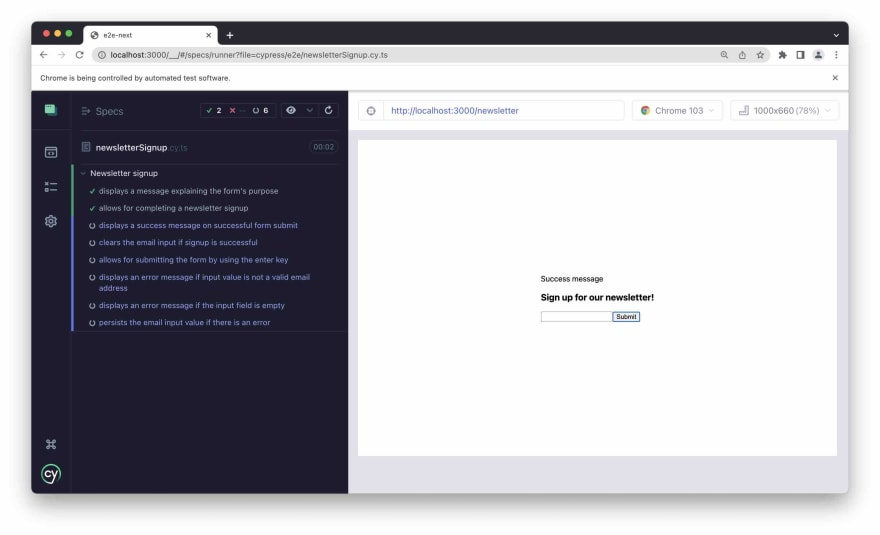
If we now check our test runner, we should see that the main user flow test ("allows for completing a newsletter signup") test is passing.
Getting remaining tests to pass
We've written the minimum code needed to get the current tests to pass. However, there are still several requirements that need to be fulfilled, such as ensuring that emails are validly formed. You'll find the completed tests and the corresponding code to get them to pass in the github repo.
Refactor and clean up your code with confidence
Now that we have passing tests for all the feature requirements, we can reap the benefits of our efforts when refactoring.
For example, we may want to DRY up our code, which, at least in my experience, can often lead to unintentionally breaking things. Additionally, I haven't added much in the way to styling, and that is also something we now can do with far less concern about breaking something.
Next Up: Ensuring tests run automatically on every code push
Now that we've written some tests, let's be sure and put them to work. In the next post, we'll show how to make sure your full test suite runs every time you push new code, and why that matters.

Top comments (0)