
Many websites start by putting an email address on their Contact page. Others still use HTML mailto links. One of the most important reasons to have a contact form on your website is to reduce spam and keep your site secure. When you display your email address on your site, you're more likely to get unwanted emails. This is because robots crawl the internet looking for exposed email addresses. Consumers regularly have queries about a service/product that you offer. In order to make their life easier, displaying the contact details will give them a better user experience.
Today we will be going through the process on how to build a contact form from scratch by using Express, React, Nodemailer, and Bootstrap.
First of all, let's create our new folder in Terminal following those simple few steps:

Once we are into the right root "contact-form" let's start creating our template structure that we will need to develop our form.
We need to create our main folder as a first step, still, from Terminal we can do so by writing that command:

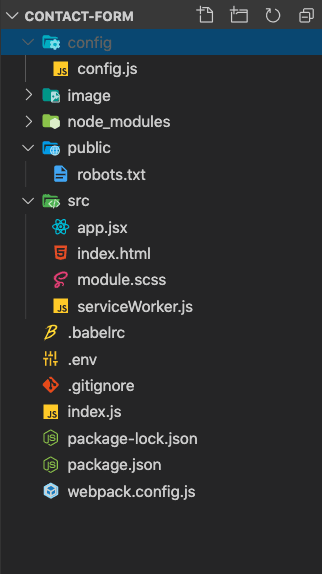
now we need to create all the necessary files and store them into the right folder, here's how from Terminal to your favorite editor the structure should look like:

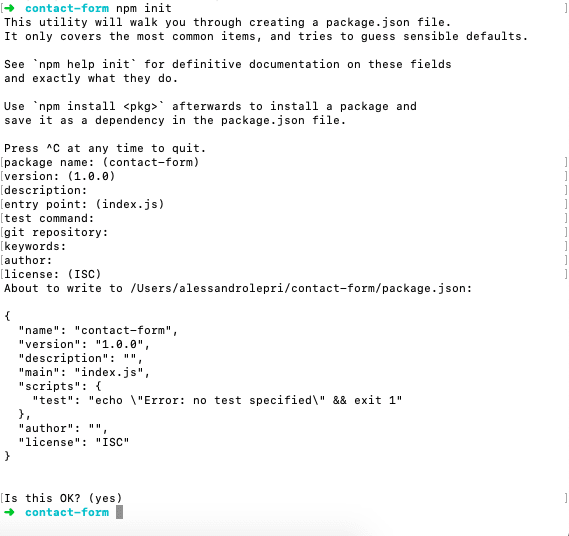
Now, before moving to code it, we need to set up our environment hence first things first run "npm init" on your Terminal to create the package.json and hit enter for every single step in the process. This is just a simple set up that we will be going to change later on based on our need:
By now the server is not set up yet because still missing all the npm packages that allow us to run the app on our browser, so let's go through installed all of them and test it.
Run those command one a the time on your terminal:
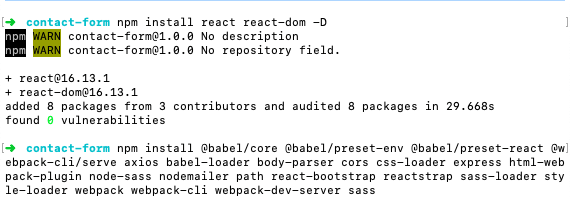
after completing this step you will notice a "node_modules" folder appeared on your code structure. This is containing all the packages installed and it is extremely important not to delete it!!!
OK, set up is nearly done. In the next three steps, we will be going to have a test "Hello World" on our screen and having our localhost up and running by using Express.
1) Now let's config our webpack and this is how should look like:


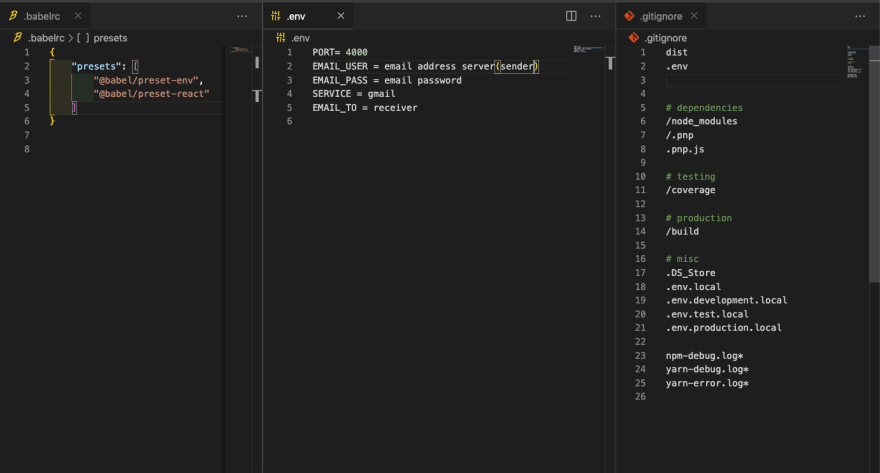
2) Here's the template how .babelrc, index.html and .gitignore must be configured:
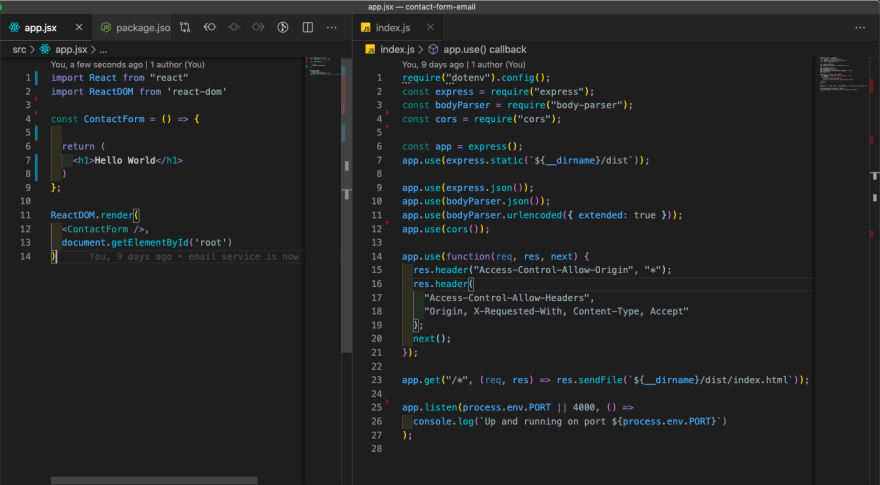
3) Let's create our app.jsx and index.js file:
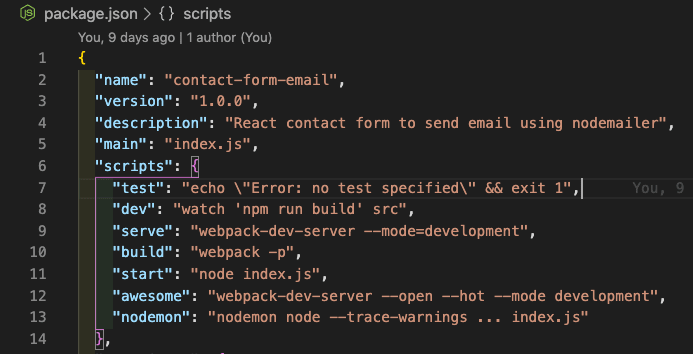
As mentioned earlier, we need now to modify our package.json in order to run our app. What we need do is just implement our script command that will allow to run the server and also build the app to run on our localhost:
You might have noticed "nodemon" in the script, for now, is not important for us but by the time you will add extra packages to our app this could be very useful as it will automatically re-run the server for you, so you will not need to stop and refresh it to have all your new packages installed up and running. Just run "npm install nodemon -D" from your terminal id you would like to have it and then just "nodemon" to run the server
Now that our environment is up and running we can move forward and start building our contact form by using Bootstrap and Nodemailer.
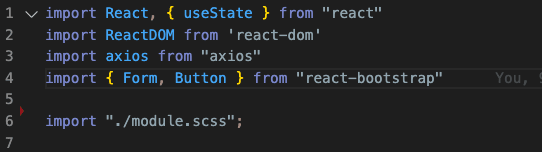
Starting from the visual part let's import Bootstrap and axios into our app.jsx like so:
We will use "Form.Group" to get out template done and then we will define our state to make it works.
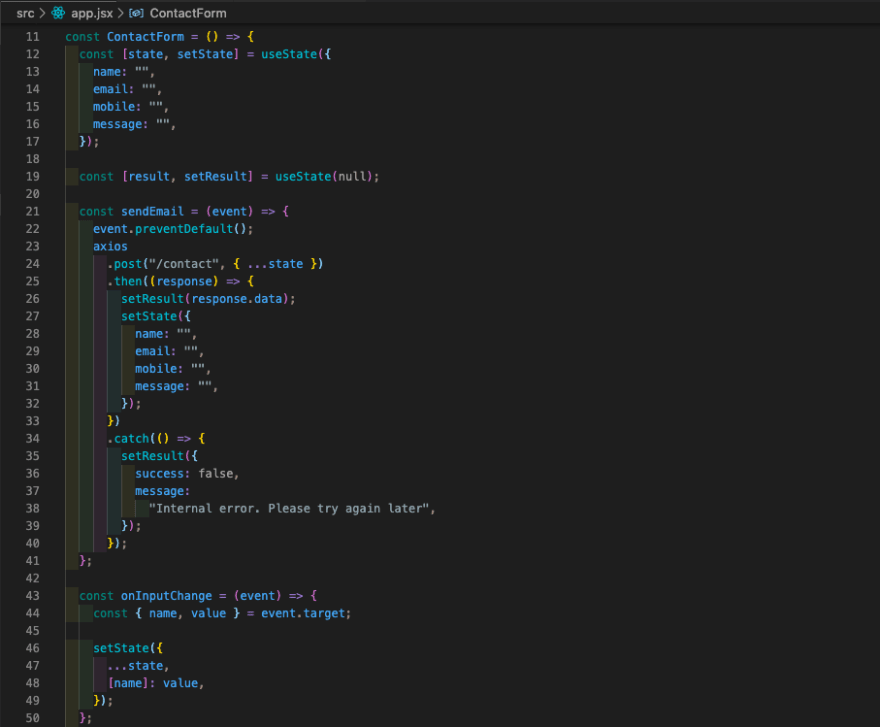
1) Create our state:
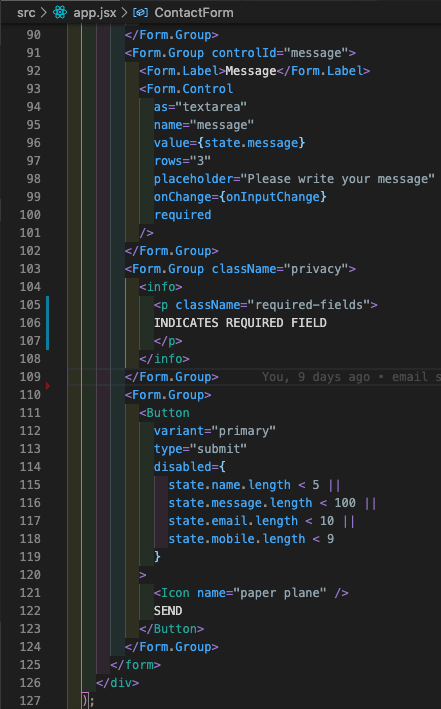
2) Create our Form:

Now that we have the first part completed let's make the magic happen in two simple steps:
1) Go into the config.js file, save our credentials as variables, create our "transporter" to use nodemailer:
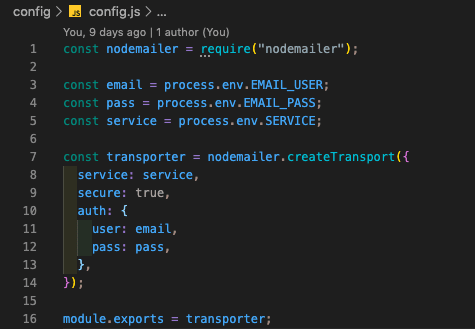
Noticed that all our credentials are stored into the ".env" file that will not be visible to anyone if this is included in the ".gitignore" file. This step is crucial in order to protect your data!!!
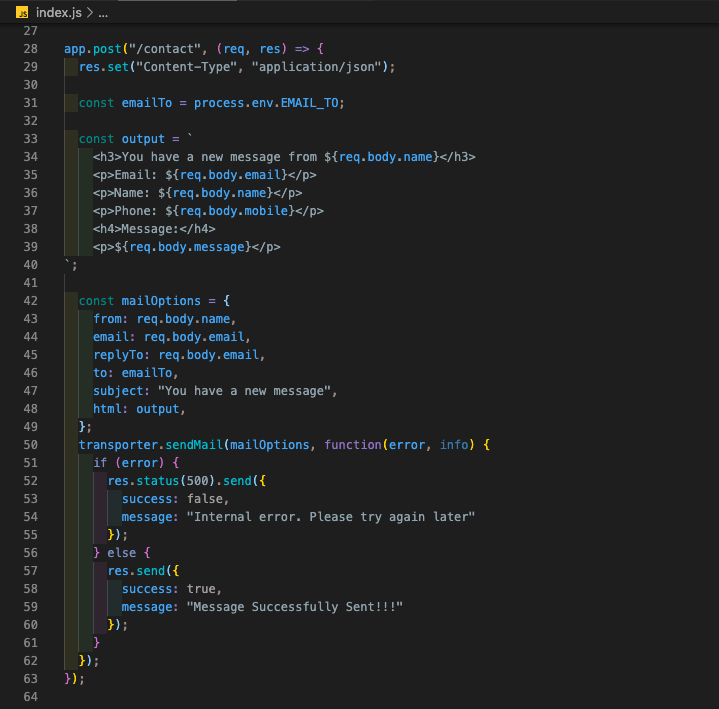
2) Add a "POST" request to the index.js file and our contact form will be finally set up to send email, but do not forget to add this line on top on the file "const transporter = require("./config/config");"
Now your contact form is ready to go, you will need only to change the ".env" file with your data and get the style as you wish.
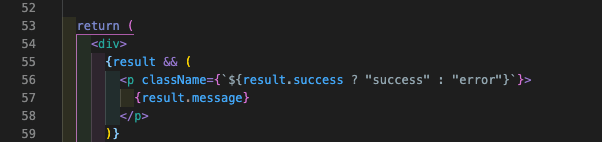
If you like to include a message if successful just add those couple of lines right after return in app.jsx as the file is already configured to make it visible
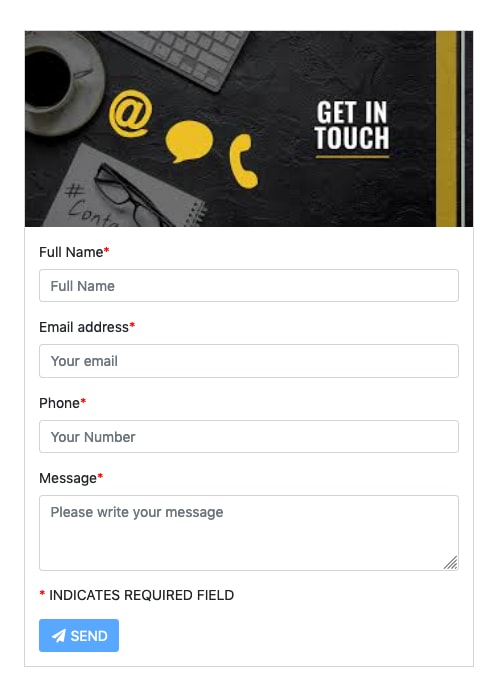
Here is my final design for this contact form. By default "send" button is disabled and it will change its status only if all the fields are populated with a min length assigned for each one.
IMPORTANT: if you are using gmail as service you will need to change to secure setting othrwise it will not work. Go to "https://myaccount.google.com/lesssecureapps" to change the setting to off

Top comments (0)