
Hi!
Recently, I created two project templates for Vue JS + Asp.Net Core, both of them as Visual Studio 2019 extensions. They were shared on Visual Studio marketplace, as you can see at the link below:
Would you like to know how to create your own extension and publish your own template? If yes, the rest of the article is a step by step process on how to do that.
Project creation
The first thing you have to do is to create a project that you want to share as a template. In this article, I’ll demonstrate step by step using the Vue JS + Asp.Net Core project I already published.

Project export
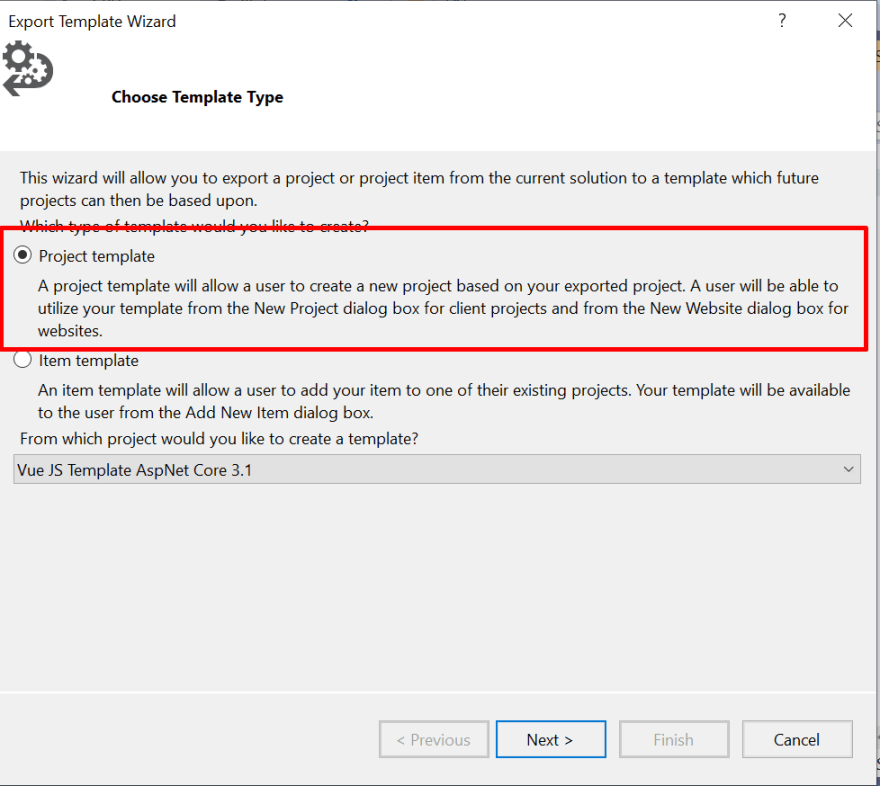
Once the project is created, on Visual Studio 2019 go to Project menu option and choose the option “Export Template”:

There are two types of templates: Project template and Item template. As in our case we are creating a project template, I selected the underlying option:
The next step is to configure the name, description, icon that will be shown to users and the image preview. It is really important to set this information properly, as much as high quality you can, because it will appear to final users who will download and install your template/extension.

And uncheck the option “Automatically import to Visual Studio”. In that way, you’ll be able to install the extension that you are creating.
Finally, the process will generate a compact folder which contains the template itself, but it is not the end of the creation:

Tags definition
When we create a new project on Visual Studio 2019, the templates appear together with some specific tags, that help us to filter the templates:
Since the latest version of Visual Studio 2019, these tags are mandatory for those who want to publish an extension. Without those, the extension will be installed, but the template will never be shown in the list, even if the user searches that.
To create these tags, open the compact folder that was generated with the template in the last step and open the .vstemplate file using a Text Editor:

In the section “Template Data”, add after the tag “ProvideDefaultName” the tag list reference to your template, such as platform, project type, language, etc. In my case, I specified as follows:

The full available tag list can be found at the link below:
https://docs.microsoft.com/en-us/visualstudio/ide/template-tags?view=vs-2019#built-in-tags
Creation of the Extension
With the template already created and the tags set, now it is time to create the install file for the extension.
For that, just create a project of the type VSIX Project:

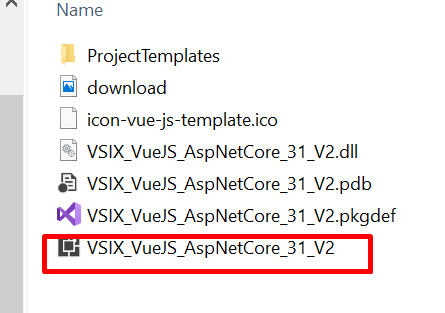
This is the basic structure of the project:
PS: however I created the project name using certain special characters as “+”, just for teaching purposes, please avoid to do that in real scenarios. It is better to create without any empty spaces or special characters, like that: TemplateVueJSAspNetCoreArtigoMedium, instead of the name I put. It will prevent build issues, because of the VS will generate automatically namespaces and classes using that name.
Include in the root the compact folder reference to your template. It is important that the compact folder would contain the .vstemplate file changes with the tags I mentioned before. Don’t forget that.

This project has a manifest file, that will contain the information on the extension e installation instructions.

If you double click in that file, it will be open like a form, which one you can fill in field by field.
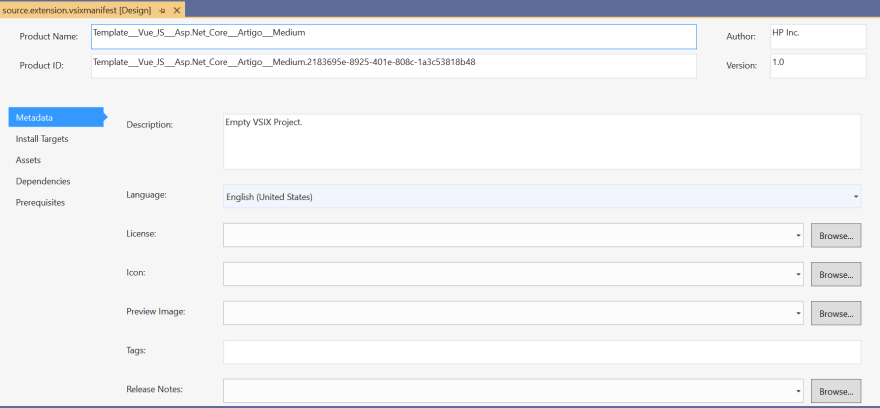
Change carefully all the necessary info with quality, because it will appear to final user in the installation and marketplace as well. Also, it is necessary to specify the field “Author” properly, because it is normally has the LAPTOP name.
After that, click at “Assets”:

Remove the existent assets, in case of there are, and click in “New”:

Choose the options that I put and in the path specify the compact folder that you have added to the project.
Generation
To create the installation file, it is just building the project in release mode. It will generate the .exe file used to install the extension on VS.
Done! Our extension was created. You can test it now, before you publish on the Visual Studio marketplace, to see if everything is working fine.
Visual Studio Market Publish
In case you want to publish your extension to the public, you can do that on Visual Studio Marketplace.
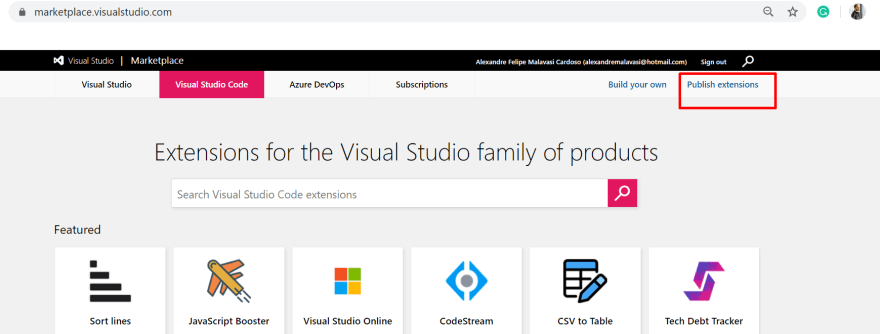
To do that go to marketplace.visualstudio.com and, after log in with your Microsoft account, go to the options below:
Upload the .exe of your extension:

Fill in the form with the template and extension info. As that information will be public, pay attention in detail.

Once the process is finished, just save and wait for the approval process. That could take a few minutes.

Conclusion
I hope this article helped you. Thank you for reading it.

Top comments (0)