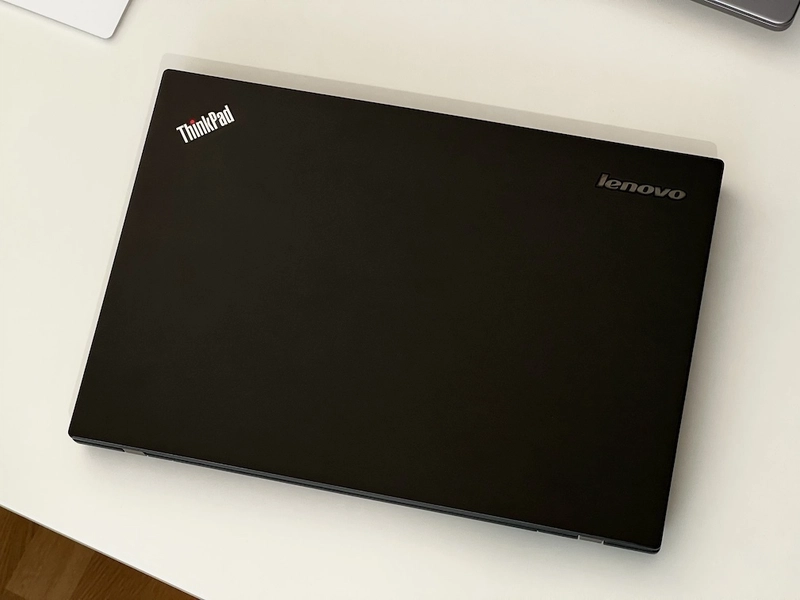
A couple of weeks ago I almost accidentally found in my apartment an old laptop that was only gathering dust: a Lenovo Thinkpad T440s that I bought in 2014.
The specs:
- Intel® Core™ i7
- 8 GB DDR3L-SDRAM
- 256 GB SSD
It looked like a good candidate for an always-available server; a machine that I could connect to at any time and install any kind of server software that I could need when developing apps. In times of Docker containers, configuring a machine to run server software is extremely easy. In this article, I’ll show you how to take advantage of that old laptop by installing Ubuntu Server, Docker, and a MariaDB database with all the configurations needed to have it always available, always on.
Wait, but Why?
Is it worth having an old machine running something like a database server? The answer as always is: it depends. More specifically, it depends on the usage you intend to give to it. There are obvious things for which you cannot repurpose an old laptop. For example, if you want to use it as a storage device for large files or run big data applications or experiments, you might want to use cloud storage, a cloud database, or get a proper device that fits your requirements.
But in general, I think repurposing an old computer is worth it. Especially for things such as experiments or development/test environments, modest hardware is often more than enough. Moreover, you already have the machine! So why not take advantage of it?
Before You Start
Before you start, make sure that you have a backup of any important files that you want to keep. Look for documents, photos, videos, all that kind of stuff. Spend an hour or so just looking for valuable content in the hard drive. Better to be safe than sorry! Use an external drive or a cloud provider like Google Drive or Dropbox to move the files. Or if they are already configured, move the files from the old laptop to a newer one using your local network.
Depending on the usage that you plan to give the laptop, you might want to encrypt its content or safely erase sensitive data using software like File Shredder, Eraser, or CCleaner.
Installing a Server Operating System
Pick an operating system that fits your needs. I recommend a headless operating system since you don’t need a fancy GUI that might waste computing resources.
You have many options. Here are just a few:
Make sure to use one that fits your requirements. For example, check that the software you want to install later in the server is compatible with the operating system.
I went for Ubuntu Server, which in my opinion is probably the easiest to install and use. I won’t go through the details on how to install it. You can find plenty of online resources that explain how to do this in detail. In short, you’ll need a USB flash drive, download the Ubuntu Server ISO image, and use a program like Etcher or Rufus to create a bootable USB drive. You then connect this USB drive to the laptop and boot from it. On my Thinkpad, I had to press the F11 key when the laptop was starting to enter the boot menu and select the USB drive. From there, is as easy as following the steps.
Also, make sure to install an SSH server (Ubuntu Server includes this by default).
Setting a Static IP Address
When configuring the network connection, set a static IP so you can connect to the server from other machines (for example, your software development machine). In Ubuntu Server, you can do this after the installation process by modifying the /etc/netplan/00-installer-config-wifi.yaml file as follows:
network:
  version: 2
  wifis:
    wlp3s0:
      access-points:
        YOUR_WIFI_CONNECTION_NAME:
          password: YOUR_WIFI_PASSWORD
      dhcp4: false
      addresses: [192.168.1.200/24]
      routes:
        - to: default
          via: 192.168.1.1
Use your Wi-fi connection name, password, and gateway. In the example above, I assigned the static IP address 192.168.1.200. You can reload the configuration using:
sudo netplan apply
Disabling Sleeping When the Lid Is Closed
You probably want your server to keep running even when the lid is closed. To disable Ubuntu Server to sleep or go to suspended mode edit the /etc/systemd/logind.conf as follows.
Make sure the following lines are not commented out and that their values are as indicated:
HandleLidSwitch=lock
LidSwitchIgnoreInhibited=no
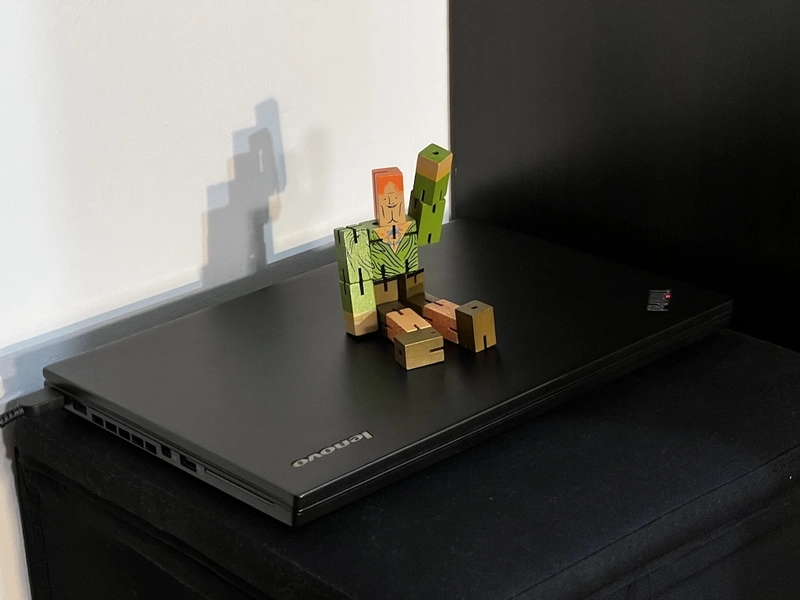
Done! Close the lid and place your server wherever you want in your house. For mine, I just placed it in a corner of my office:
Connecting to the Server Through SSH
Now you can move to your development machine and SSH to the server using something like:
ssh alejandro@192.168.1.200
Of course, specify the user you created when you instilled Ubuntu Server instead of my name.
Even though you can use the IP address to connect to the server, you can configure a hostname in your development machine that maps to the server’s IP address. Just a add an entry in the /etc/hosts file on Linux-like machines or c:\Windows\System32\drivers\etc\hosts on Windows:
192.168.1.200 thinkpad.local
Specify the IP address of your server and use any hostname you want. It’s a good practice to append .local at the end to remember that the hostname is local to your network and that it’s not visible from the outside world. On macOS, you’ll have to add the IPv6 address as well if you want to avoid long DNS lookups that slow down the connection process. For example:
fe80::2ab2:bdff:fea2:17dc thinkpad.local
Now you can connect to the server using something like:
ssh alejandro@thinkpad.local
Notice that if you want to use the hostname to connect to the server from additional machines, you’ll have to configure this in all of them.
Installing Docker
Docker is a virtualization tool that allows you to create isolated environments for your applications. Unlike virtual machines (hypervisors), containers run on top of the operating system without virtualizing the hardware.
If you prefer to have virtual machines instead of containers, a good option is Vagrant. Vagrant allows you to automate the creation and provisioning of virtual machines via VirtualBox or other hypervisors (called providers in Vagrant terminology). I think having virtual machines running on your old laptop is overkill. Running containers provides good isolation, and from a developer’s perspective, they look as if they were virtual machines. For that reason, I suggest using Docker instead.
You could also install any server software (like a database) on bare metal, directly on top of Ubuntu Server; however, using containers gives you the flexibility to experiment with different options without having to uninstall and reinstall the software. You simply run the containers that you want to use and stop or delete them without messing with your base operating system. Moreover, there are many ready-to-use Docker images (an image is like a template to create containers) for all kinds of interesting applications. This simplifies the process of installing databases, web servers, and other tools.
To install Docker, connect to your new server using SSH as described above and run the following command:
sudo apt-get install docker.io
Confirm that the Docker daemon is running:
sudo systemctl status docker
You should see active (running) displayed under Active.
Installing a Database Server
If you Google the name of a database plus "docker image,” you’ll find what you need to install that database using Docker. In this article, I’ll show how to install MariaDB Community Server, an advanced open-source SQL database server. Note that if you have a MariaDB subscription, you can install MariaDB Enterprise Server, an enhanced, hardened, and secured build of the MariaDB Community Server.
Download a MariaDB Community Server image and run it using Docker:
sudo docker run --detach --name mariadb --restart unless-stopped --env MARIADB_ROOT_PASSWORD='password' --publish '3306:3306/tcp' --expose '3306' mariadb:latest
This runs the MariaDB server in a container with the name mariadb. The container starts automatically if you restart the machine unless you manually stop the container as follows:
docker container stop mariadb
Confirm that the container is running by checking that its status is Up:
docker container ls
Copy the IPv4 address of the container from the output of:
docker network inspect bridge
Use that IP address to connect to the MariaDB server from the server (where Docker is running). For example:
mariadb -h 172.17.0.2 -u root -p
Now end the SSH session to disconnect from the server:
exit
From your development machine, connect to the MariaDB database using the hostname (or IP address if you didn’t configure a hostname). For example:
mariadb -h thinkpad.local -u root -p
Try running a SQL query:
Congratulations! Your old laptop is now your new database server.
Securing the Database Server
You might want to set a strong password for the root user (interesting fact: MariaDB Enterprise Server won’t even let you use a weak password):
SET PASSWORD FOR 'root'@'%' = PASSWORD('Password123!');
Maybe you want to create a new “almost root” user as well:
CREATE USER 'user'@'%' IDENTIFIED BY 'Password123!';
GRANT ALL PRIVILEGES ON *.* TO 'user'@'%';
And maybe you want to disable remote access to the database to the root user, in which case later you’ll have to SSH to the server first if you want to connect to the database as root. Here’s how to disable remote access to root:
DELETE FROM mysql.user WHERE User='root' AND Host NOT IN ('localhost', '127.0.0.1', '::1');
What’s Next?
There are many other things you can install on your new server. Continuous Integration servers, web servers, email servers, etc. The Docker Hub is a huge directory of images that you can safely try in isolated Docker containers. You can always run containers and remove them when you are done with your experiments. For example, you can remove the MariaDB container as follows:
docker container stop mariadb
docker rm mariadb
Then try MariaDB with ColumnStore next. ColumnStore is a storage engine for MariaDB databases that improves the performance of ad-hoc analytical queries without having to maintain database indexes. You can install MariaDB with ColumnStore via Docker:
sudo docker run --detach --name mariadb-columnstore --restart unless-stopped --env MARIADB_ROOT_PASSWORD='password' --publish '3306:3306/tcp' --expose '3306' mariadb/columnstore:latest
Now you can create tables that use the ColumnStore engine:
CREATE TABLE some_table(
    ... column definitions here ...
) ENGINE=ColumnStore;
Enjoy your new database server!


Top comments (12)
I have only 1 doubt. How can somebody forgot such a good configuration laptop? I m using my laptop from 2013, that is having core i3, 512 hdd and 4gb DDR3. But still I don't forget.🤔
I happen to have a much newer and powerful laptop. Also, it had a keyboard layout I don’t use anymore. Plus the battery was in really bad shape. I get your point, though, and of course you can use a more modest laptop. I even run MariaDB on Raspberry Pi’s sometimes.
Agreed, FWIW this machine is too good for a utility server
Great article. I saw lots of tips I want to explore.
I use an old Mac Mini to host a MInecraft server and to run an opensim Region on OSGrid. It uses Ubuntu 20.04. Ubuntu server would be a better choice.
A lot of old machines dropped out of service as Windows requirements kept going up and up. They still have a lot to offer and linux with its modest requirements gives them new life.
Good to hear! One more tip:
Install avahi-daemon to make the computer visible by its hostname without having to configure a static IP address if you prefer. This also makes the hostname visible to all other devices in the network without having to add an entry to each /etc/hosts file. Simply run the following in the server:
sudo apt-get install avahi-daemonthat laptop appear to me brand new XDD
I took really good care of it, but it's almost 10 years old. It's still a good machine I think.
Nice tutorial I would like to give this a go.
Go for it!
Always good to find something on dust but yet useful!
Right? Why didn't I do this before?-kind of feeling.
Thanks 🙏