This article was originally published on my website
The Story
Recently, I wanted to install a TeX system on my Ubuntu 20.04 PC. I tried installing MiKTeX after someone recommended it to me (thrice...), but I found myself unable to update TeX packages because of a cryptic SSL peer certificate error. I reported this in an issue to the MiKTeX repo, but was instead told that my system did not support MiKTeX. Great.
Next, I tried to install TeX Live. It seemed simple enough, with a sudo apt install texlive. Can't get any easier than this, right?
So it turns out that the apt package for TeX Live is still the 2019 version. Now unfortunately, this meant that I again could not update packages, since tlmgr, TeX Live's package manager could not verify the signature for a repository. I tried following this post on TeX Stack Exchange, but this didn't work out.
So I decided to ditch APT, and tried following the TeX Live Quick Install docs (which is probably I should have done first). But even in this method, the default mirror which was chosen was too slow, and for some reason, the default, recommended scheme to install TeX Live (called full scheme) installs around 5GB of TeX software - fonts, packages, et cetera. For someone beginning with TeX, this did not sit well with me.
Enough with this rant, let me list down the steps that I followed to install TeX Live on my system. Note that there are most likely better methods/choices that one could use, but these steps worked for me.
What is TeX?
Simply said, TeX is a popular typesetting system, especially in academia, that enables one to write documents that involve a lot of formatting, mathematical equations, tables et cetera. It was made by ACM Turing Awardee Donald Knuth (who is a legend, by the way).
TeX Live Installation
TeX Live is a software distribution for TeX, and includes some programs, macros, packages and fonts. It has a package manager specifically for TeX packages, called tlmgr, that is used to install and update TeX packages.
- Download
install-tl(the latest one, yay!) using this link. In case this gets changed, you can find the link in the docs (Do read the docs once before installing). Extract the contents from the .tar.gz file. Here's how the contents look:

-
Run the
install-tlPerl script as root. Note that the script does not require root permissions, but requires write access to the directory where it's going to install, which by default is/usr/local. You can change the directory by looking at the prompts of the script.Note that you can run the installer in GUI mode by the
-guiflag (which I would recommend if you're doing this for the first time, but it requires Tcl to be installed).The
--repositoryoption specifies an explicit mirror to use. Try specifying some other mirrors if the default mirror seems too slow. In my case, the mirror provided by NUS (and I stay in Mumbai) was much better than the default one.
sudo perl install-tl [-gui] [--repository <URL>]I came across the following error when I tried using an explicit mirror:
install-tl: TLPDB::from_file could not initialize from: https://mirrors.dotsrc.org/ctan/tlpkg/texlive.tlpdb
install-tl: Maybe the repository setting should be changed.
install-tl: More info: https://tug.org/texlive/acquire.html
Try appending
systems/texlive/tlnetto the mirror URL when running theinstall-tlscript. For example,
sudo perl install-tl --repository https://download.nus.edu.sg/mirror/ctan/systems/texlive/tlnet After a few seconds, something similar to the following will be visible:
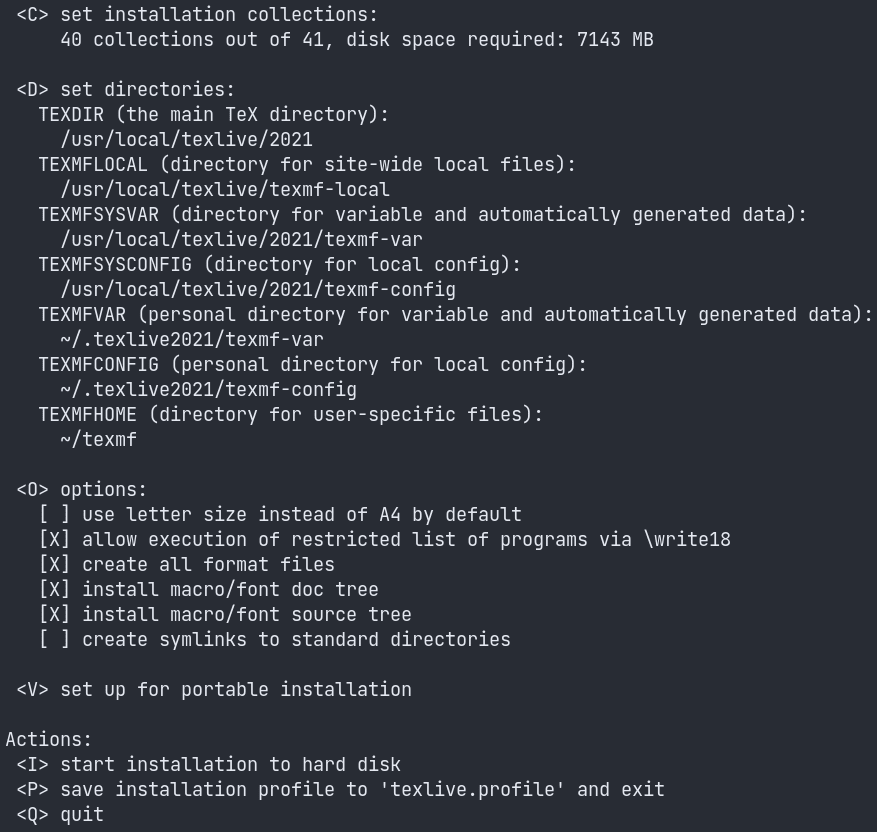
If you scroll up, you can see the scheme selected by default for installation:
<S> set installation scheme: scheme-full. Below that, you can see the number of collections and the space they'll take:
 <C> set installation collections:
     40 collections out of 41, disk space required: 7143 MB
7GB by default, not cool.
-
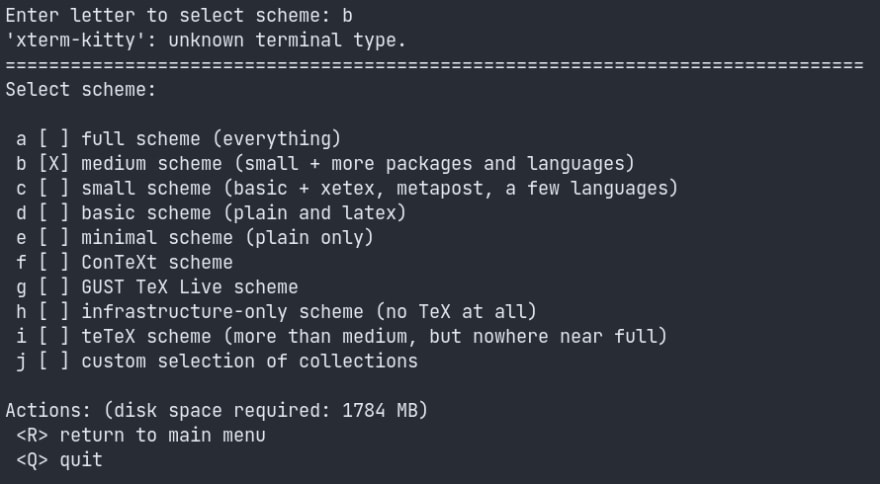
Enter "S" as the command (upper or lower case), and then you can select the scheme you want. I selected the "medium scheme", which takes around 1.7 GB, obviously at the cost of lesser functionality. But you can install packages as you like later on, using
tlmgr.After you've selected the scheme you want, enter "R" to return to the main menu, as the prompt will tell you. Then enter "I" to begin installation.
-
Depending (a lot!) on the mirror you chose, your installation of TeX Live should finally be complete. For me, it took around 15 minutes.
Next, you need to update your
PATHenvironment variable so that it knows where to find TeX Live binaries. If you went along with the default settings, the path you need to add to yourPATHwould be something like/usr/local/texlive/2021/bin/x86_64-linux. Move around inside/usr/local/texliveto verify this.You can update your
.profile(log out and log in again for changes to take place) or.bashrcor.zshrcor whatever (source the configuration file for changes to take place) by adding this line:
PATH=/usr/local/texlive/2021/bin/x86_64-linux:$PATH
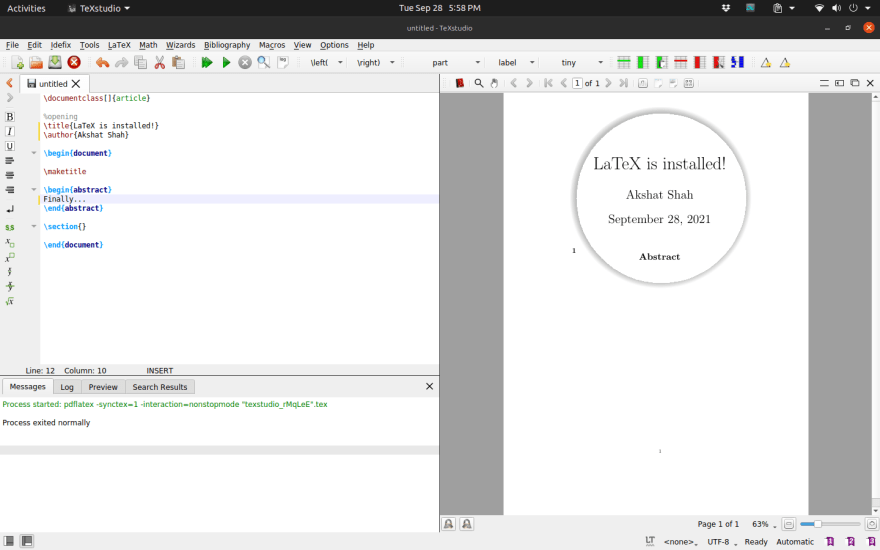
Installing a LaTeX editor
I installed TeXstudio by simply (painlessly) using APT.
sudo apt install texstudio
I'm happy to say that this worked fine! Most TeX editors should be able to configure the backend (TeX Live, in our case) automatically, provided you have set your PATH variable and your shell knows about it.
References
Installing TeX Live over the Internet
For the tlpdb error: An answer in a forum discussing "Problems installing TeXlive in CentOS7"

Oldest comments (0)