
About
This tutorial is about how I styled hanko components while working on a project which I integrated hanko authentication with.

Hanko Auth
Hanko is an open source authentication solution for modern apps.
It also provides beautiful customizable components, SDKs, and APIs to power your login and user management.
Hanko is built for passkeys – a new way to sign in that works completely without passwords. By using the security capabilities of your devices like fingerprint or face recognition, passkeys are more secure and are easier to use than both passwords and all current 2-factor authentication methods.

Custom CSS Variables
To style hanko components, we use the make use of hanko's custom css variables. I'd recommend going through them before continuing this tutorial.
Once you're done integrating hanko with your project(topic for my upcoming tutorial), go to your css file and paste the following:
hanko-auth {
  --color: rgb(255, 255, 255) !important;
  --color-shade-1: #d6d6d6;
  --font-family: 'Montserrat', sans-serif;
  --background-color: #111827;
  --headline1-font-size: 30px;
  --headline1-font-weight: 600;
}

hanko-profile {
  --font-family: 'Montserrat', sans-serif;
  --headline1-font-size: 30px;
  --headline1-font-weight: 600;
}

hanko-auth, hanko-profile::part(button):hover {
  color: black
}
Don't forget to import Montserrat from google font. I chose this font because it is the font I used in the entire project.
@import url('https://fonts.googleapis.com/css2?family=Montserrat:wght@600&display=swap');
You can also customize and change the import to suit your application font.
Make sure your background color is
#d6d6d6so it matches the hanko component you're styling
Once you are done, you should have something like this in your css file:
@import url('https://fonts.googleapis.com/css2?family=Montserrat:wght@600&display=swap');

hanko-auth {
  --color: rgb(255, 255, 255) !important;
  --color-shade-1: #d6d6d6;
  --font-family: 'Montserrat', sans-serif;
  --background-color: #111827;
  --headline1-font-size: 30px;
  --headline1-font-weight: 600;
}

hanko-profile {
  --font-family: 'Montserrat', sans-serif;
  --headline1-font-size: 30px;
  --headline1-font-weight: 600;
}

hanko-auth, hanko-profile::part(button):hover {
  color: black
}
Result
:

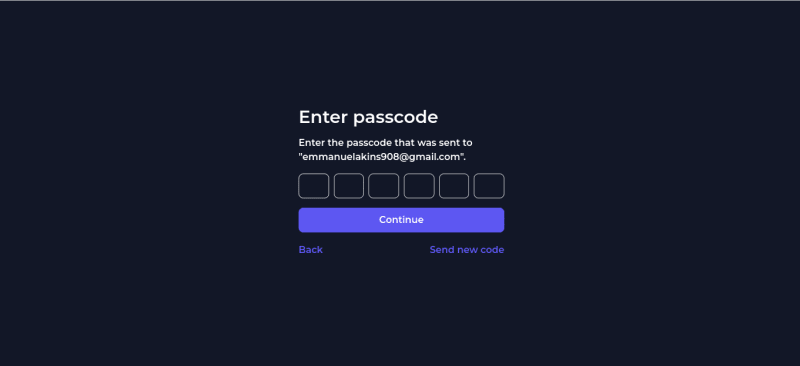

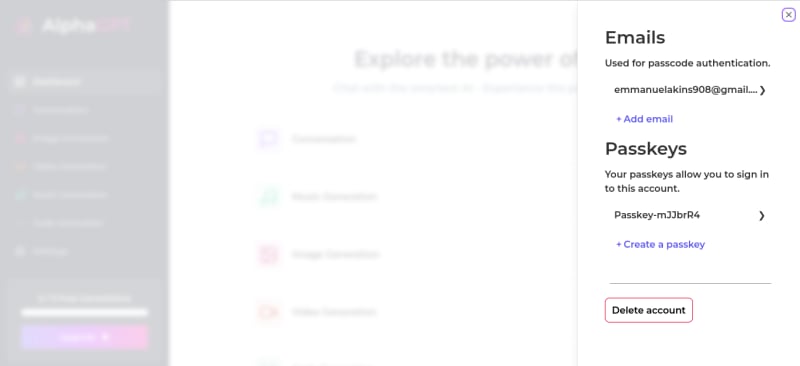
🥳Congratulations on making it to the end of this tutorial 🎉

In my next tutorial, I'll explain how to integrate hanko auth with your Nextjs project. See ya soon🚗


Top comments (0)