Some time ago I heard for the first time about Atomic Design, the name sounded catchy, however I didn't spend too much time on researching about it, months later I joined a Team where was used. Same situation, heard about the concept again, read a little bit and understood the basics.
I'm not going to explain in detail Atomic Design (AD) in this post, however, I recommend you to take a look at this post. It explains in detail how and why AD is a good approach.
If you read the article mentioned above you should recognize the following parts of AD, and you can jump to the Design System section, otherwise, here is a summary of AD concept:
Atoms
The smallest representation of something in your project. For example, a custom anchor <a/>.

Molecules
A set of Atoms, for example: A label and an input tag together.

Organisms
A set of Molecules, for example: A form, which is a set of labels, inputs and buttons
Templates
A set of organisms, molecules and/or atoms, this is the skeleton of our future page, but only as a skeleton, no data should be used here.

Pages
The use of a template but with data, if you are using Redux in can be with data coming from the Redux Store, if you are using GraphQL it can be with data coming from your GraphQL, etc.

Design System
Now that you have a better understanding of AD, let's see how we can use it to create our Design System (DS). We can see a DS as a set of components/framework that we can combine to generate any pages that we need for our application. For example, Bootstrap has a set of components that can be used to create any page. However, we want our DS to be smarter and more scalable than Bootstrap.
Our DS doesn't need to be ready before we start creating our React + Redux application. It can have the basic components and be growing as it needs, of course you need to have all the elements of the page that you want to create. :)
Let's say we are going to create a Twitter App. I'm going to put some samples of each of them so the post doesn't get too big.
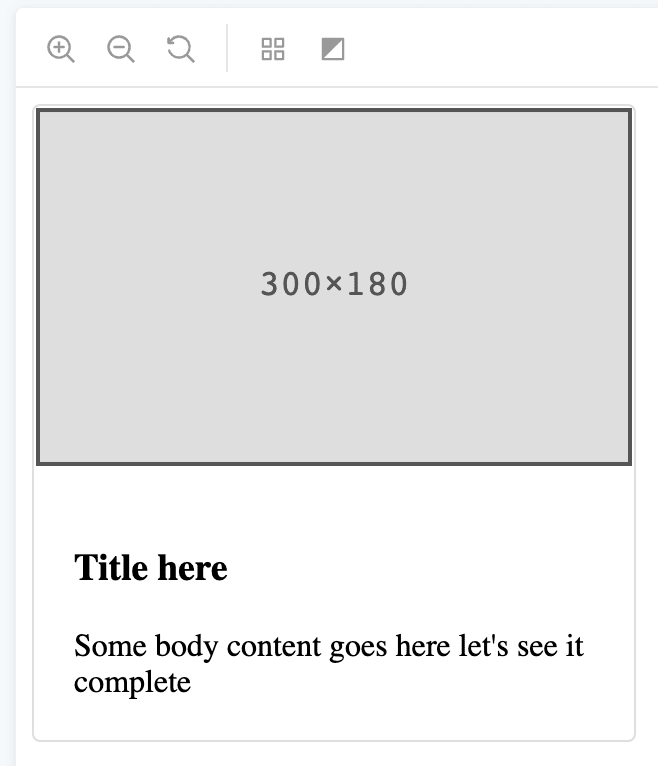
Atoms:
- Text
- Button
Molecules:
- Icon + Text
- Set of Buttons
Organisms:
- Tweet (composed by Text, Icon + Text, Image, Link, IconButton)
- Trending List
Template:
Taking as an example the template for the list of posts in a Profile Page in Twitter.

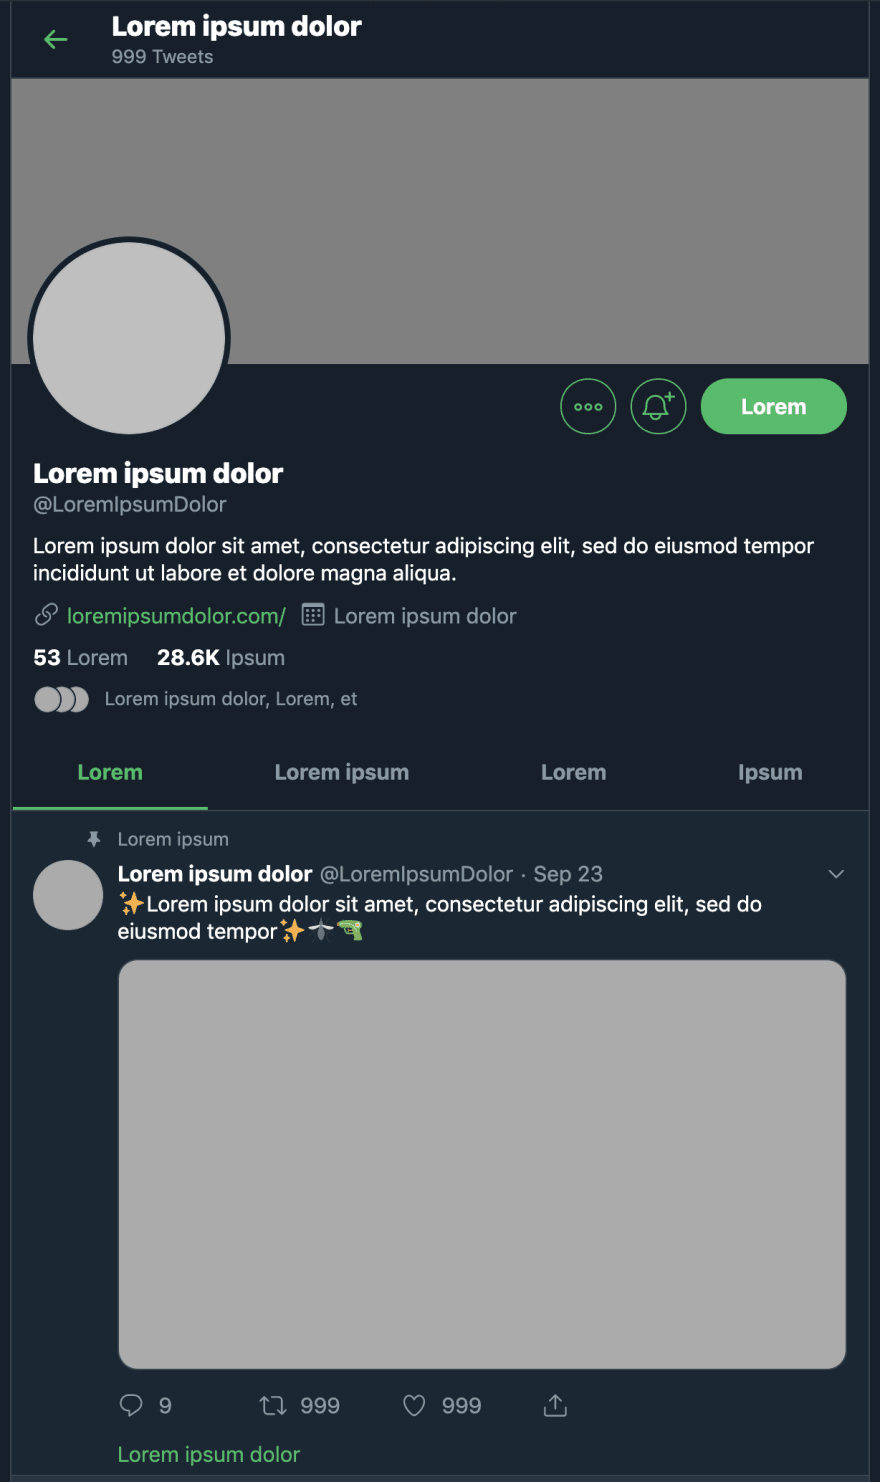
Page:
The Template with data filled.

But, how this looks in code?
Our folder structure will be like:
(This is in our DS so we can re-use it in different projects and keep the same look and feel)
- Atoms
- Molecules
- Organisms
This is our project implementation
- Templates
- Pages
Templates are defined as a set of Atoms, Molecules and Organisms, mainly dumb components, however there are some cases where the Organisms need to have some state (internal state), as selected in the case of a Checkbox set, shown in the case of a Modal, but the state that they handle is not specific for its implementation.
// Template example
import React from 'react'

// We import from our Design System package the A-M-O elements that we need for our Template
import { ProfileHeader, LinkList } from 'my-design-system'

// We import from our local project the connected components to be used in this specific project
import { ConnectedPost } from './containers/ConnectedPost'

// This is our ProfileTemplate component definition, has nothing more than the skeleton
const ProfileTemplate = props => (
    < {...props} >
      <ProfileHeader {...profileHeaderProps}/>
      <LinkList {...linkListProps}>
      <ConnectedPost {...postProps}>
    </>
)

export default ProfileTemplate
Pages are Templates with data, this means we connect the Redux Store to them (in this use case), we can have connected components inside of the Templates so they can handle its own internal state and update accordingly.
// Page example

import React from 'react'
import { connect } from 'react-redux'

import ProfileTemplate from './Templates/ProfileTemplate'

const ProfilePage = props => (
    <ProfileTemplate {...props}/>
)

const mapStateToProps = {
    // our state to props implementation
}

const mapDispatchToProps = {
    // our dispatch to props implementation
}

export default connect(mapStateToProps, mapDispatchToProps)(ProfilePage)
The big advantage of using AD is that you can make your Apps look and feel the same, and that every change that you make in a component will be spread across your other projects, not needing to update them independently and having to maintain them, if it works in one project it should work in all of them, however, if it's broken it'll be broken in all the pages, luckily we have Unit Testing, E2E and CI/CD as tools to ensure all of this is working before deploying a new version.
Thanks for reading!


Top comments (1)
Hi,
props dont work on React Fragments.