Intro
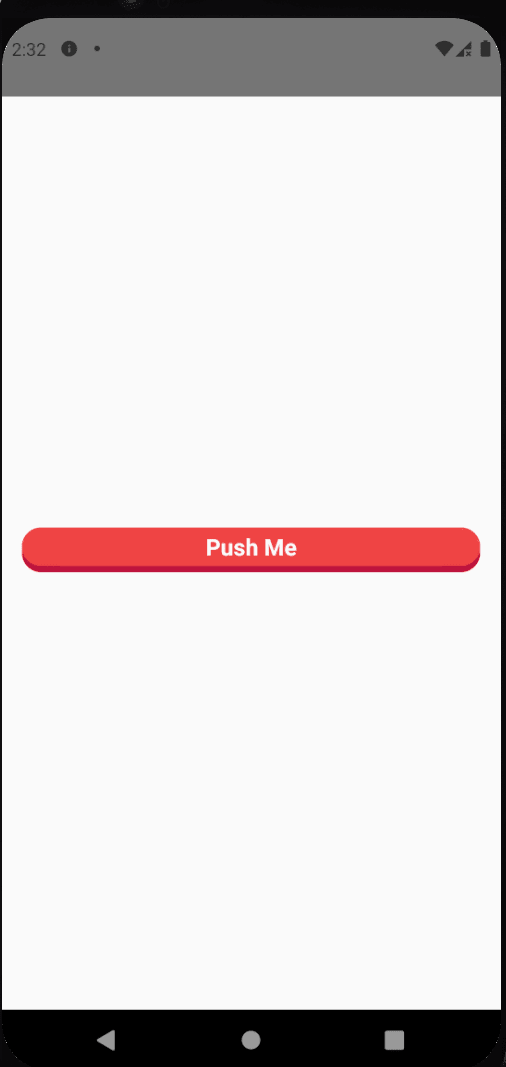
In this tutorial, you will learn how to build a basic 3dimensional looking button in react native. We will be utilizing the Animated module that is readily available in react native.
Lets get started
CODE
import React, { useRef } from 'react';
import { Text, TouchableWithoutFeedback, Animated } from 'react-native';
import { tailwind } from '../utils/tailwind';

interface Props {
  text?: string;
  onPress?: () => void;
}

const Button: React.FC<Props> = ({ text, onPress }) => {
  const animation = useRef(new Animated.Value(0)).current;

  const handlePress = () => {
    Animated.timing(animation, {
      toValue: 1,
      duration: 50,
      useNativeDriver: true,
    }).start();
  };

  const handleButtonOut = () => {
    Animated.timing(animation, {
      toValue: 0,
      duration: 50,
      useNativeDriver: true,
    }).start();

    if (onPress) {
      onPress();
    }
  };

  return (
    <TouchableWithoutFeedback
      onPressIn={handlePress}
      onPressOut={handleButtonOut}
    >
      <View
        style={tailwind('rounded-full', 'bg-rose-700', 'border-rose-700')}
      >
        <Animated.View
          style={[
            tailwind(
              'rounded-full',
              'items-center',
              'bg-red-500',
              'border',
              'border-red-500',
            ),
            {
              transform: [
                {
                  translateY: animation.interpolate({
                    inputRange: [0, 1],
                    outputRange: [-5, 0],
                  }),
                },
              ],
            },
          ]}
        >
          <Text style={tailwind('font-bold', 'text-white', 'text-lg')}>
            {text}
          </Text>
        </Animated.View>
      </View>
    </TouchableWithoutFeedback>
  );
};

export default Button;
Explanation
Declare a animation variable and assign the value to 0. We need wrap it in the useRef hook to make sure the animation value persists any changes that might happen outside the 3D button component.
const animation = useRef(new Animated.Value(0)).current;
The press animation starts on clicking the button where the interpolate function is invoked changing the value from 0 to 1, this causes the translateY value to change from -5px to 0px
| Value | translateY |
|---|---|
| 0 | -5px |
| 1 | 0px |
The above table shows how the value relates to the pixels changes, you can add more values and customize it.
transform: [{
  translateY:
    animation.interpolate({
    inputRange: [0, 1],
    outputRange: [-5, 0],

})}]
onPressIn triggers the function to change the animation variable value to 1, we can assign a duration value of 50 or any number.
Animated.timing(animation, {
      toValue: 1,
      duration: 50,
      useNativeDriver: true,
    }).start();
onPressOut function is triggered when the user presses out of the TouchableWithoutFeedback where the value goes back to 0
 Animated.timing(animation, {
      toValue: 0,
      duration: 50,
      useNativeDriver: true,
    }).start();
Hope you enjoyed this mini tutorial.
Abdul Wasey


Top comments (0)