Welcome to more web scraping! This post will focus on puppeteer timing and is part of the Learn to Web Scrape series. I would say it’s one of the trickier parts of web scraping, coming just behind avoiding being blocked while web scraping.
The tools and getting started
This section I will include in every post of this series. It’s going to go over the tools that you will need to have installed. I’m going to try and keep it to a minimum so you don’t have to add a bunch of things.
Nodejs – This runs javascript. It’s very well supported and generally installs in about a minute. You’ll want to download the LTS version, which is 12.13.0 at this time. I would recommend just hitting next through everything. You shouldn’t need to check any boxes. You don’t need to do anything further with this at this time.
Visual Studio Code – This is just a text editor. 100% free, developed by Microsoft. It should install very easily and does not come with any bloatware.
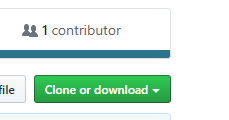
You will also need the demo code referenced at the top and bottom of this article. You will want to hit the “Clone or download” button and download the zip file and unzip it to a preferred location.
Once you have it downloaded and with Nodejs installed, you need to open Visual Studio Code and then go File > Open Folder and select the folder where you downloaded the code.

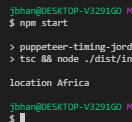
We will also be using the terminal to execute the commands that will run the script. In order the open the terminal in Visual Studio Code you go to the top menu again and go Terminal > New Terminal. The terminal will open at the bottom looking something (but probably not exactly like) this:
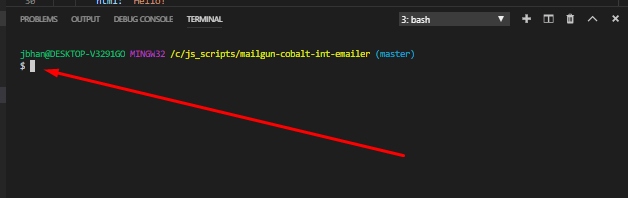
It is important that the terminal is opened to the actual location of the code or it won’t be able to find the scripts when we try to run them. In your side navbar in Visual Studio Code, without any folders expanded, you should see a > src folder. If you don’t see it, you are probably at the wrong location and you need to re-open the folder at the correct location.
After you have the package downloaded and you are at the terminal, your first command will be npm install. This will download all of the necessary libraries required for this project.
The problem

Standard web scraping is simple. You make a request to the page, get all the html, and then parse it. With the modern web, however, a lot of the web pages use javascript for much of the functionality. Page content is loaded after the fact or after certain interaction.
I don’t want to get into too much discussion about whether there are ways to get the data that is loaded with javascript via a standard scraping method. There are a lot of things that make that prohibitive and so while, yes, sometimes it’s possible to do so, for the purpose of this post, I’m going to focus on using puppeteer to fully interact with the page in order to get the data easily and understandably.
To the RCDB!

Alright, we’re heading back to the roller coaster database. We have done a post on scraping the RCDB before and we’re going to go back there because it has a good example of data being loaded after interaction.

In the above picture it shows the RCDB search works. There is a “dropdown” for location. Once selected, it opens the modal with options to select from. Those options aren’t there on page load so we have to take an action after we click that location dropdown.
Here’s our code without doing any timing with puppeteer:
    const browser = await puppeteer.launch({ headless: false });
    const page = await browser.newPage();

    const url = 'https://rcdb.com/os.htm?ot=2';

    await page.goto(url);

    await page.click('.locsel');

    const location = await page.$eval('[data-id="26777"]', element => element.textContent);

    console.log('location', location);

    await browser.close();
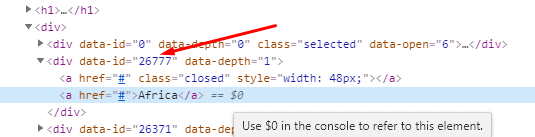
That’s an html attribute selector and here is the html I am using that makes me decide to use it:
And here’s the console error I get:

It’s unable to find the selector since it isn’t on the page right after the location selector is clicked. We have to tell puppeteer to wait until the right time to look for this time.
Puppeteer has a lot of tools for this, including just an easy wait for a set amount of time. The (shortened) code with it looks like this:
    await page.click('.locsel');

    await page.waitFor(1000);

    const location = await page.$eval('[data-id="26777"]', element => element.textContent);

    console.log('location', location);
And voilá. We have the correct location.
Waiting a set amount of time is a very inelegant way to handle this however. We’re guessing how long it takes. Not only does that make our code wait longer than it should whenever it’s faster, if it’s ever slower, our code will break.
Fortunately, puppeteer has other, better options. Check some of the huge list of them you can use from the documentation:
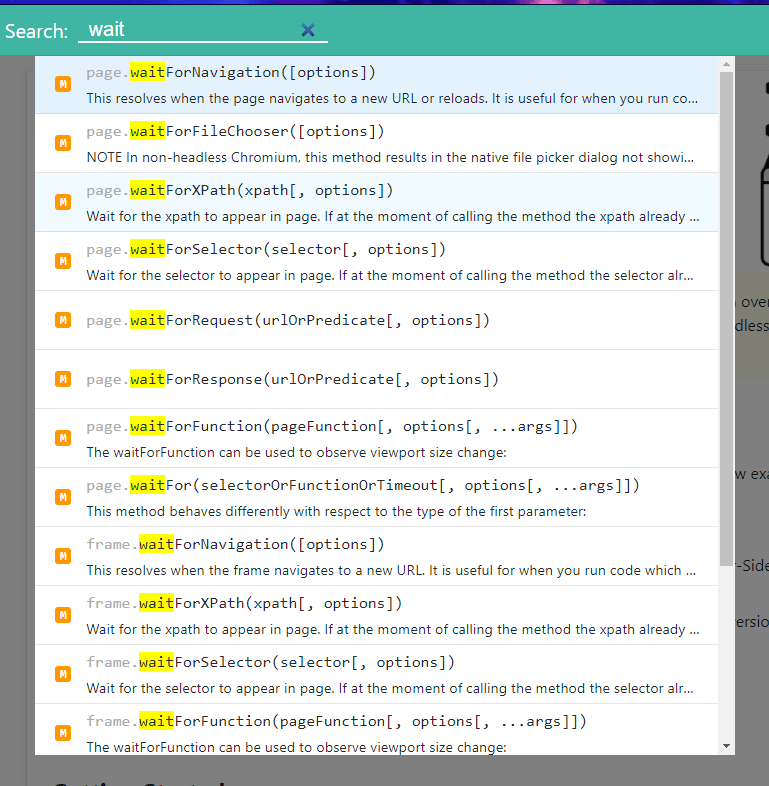
Some of the most common ones I use are waitForSelector and waitForNavigation. I’ll demo these now.
waitForSelectoris incredibly straight forward and works amazingly when are waiting for a new element to appear, as is the case with us now. Using it in this scenario works like a charm. The code:
    await page.click('.locsel');

    await page.waitForSelector('[data-id="26777"]');

    const location = await page.$eval('[data-id="26777"]', element => element.textContent);

    console.log('location', location);

waitForNavigation is something that is great for when you are waiting for some background item to load. There are four different options you can pass to it, with the most common one to use being ‘networkidle2’. This waits until there isn’t anything happening on the network (the network requests have finished) with the exception of two. The reason for this is a lot of websites do regular checking with the backend, called “long-polling”. This allows for there to be two requests that are still active but it will still complete the check.
And that’s it. Puppeteer has a lot of great options to handle timing. Good job, puppeteer.
Looking for business leads?
Using the techniques talked about here at javascriptwebscrapingguy.com, we’ve been able to launch a way to access awesome business leads. Learn more at Cobalt Intelligence!
The post Puppeteer timing. Jordan Teaches Web Scraping appeared first on JavaScript Web Scraping Guy.


Top comments (0)