
Which AWS console user has never run into the age-old problem of managing multiple users on multiple accounts, having to create different IAM users — with complex passwords for each of them — on top of the highly fundamental (but, let’s be honest, decidedly inconvenient) two-factor-authentication?
And on the topic of two-factor-authentication, assuming that you don’t want to use a dedicated hardware token for every single IAM user, the choice is almost totally limited to Google Authenticator, with codes and QR codes that proliferate like mushrooms and that become difficult to safeguard from adverse smartphone-related events (theft, loss, breakage, backup, changing device…).
AWS actually offers a cross-account access service for its management console, which, however, has several limitations, including:
- the maximum limit of 5 manageable AWS accounts [UPDATE: this limit has been removed :)];
- being based on the cookies of the browser used to log into it (if we change browsers or delete the cache, everything gets reset);
- its requirement for at least one “master” IAM user to start with, which requires dedicated login and TFA credentials.
The most appropriate response to the need to centrally manage users and login details, for AWS as well as for the vast majority of applications that need multi-user authentication, is called Single-sign-on (SSO).
Typically, the SSO mechanism is based on an Identity Provider (a centralised repository of all corporate identities with their attributes — username, password, groups, roles, etc…) and a series of Service Providers (applications where users can log in with their corporate identities) that are federated to the Identity Provider with strong trust relationships that are typically based on shared keys, certificates or tokens. This allows users to use a single user profile (and therefore a single password and a single TFA), which is centrally managed, to log into all the applications that have been enabled for them.
Although Service Providers can be the most disparate of applications (Web, desktop, mobile, remote access, CLI, API etc…), Identity Providers are almost always LDAP or Microsoft Active Directory servers. Specifically, MS AD is the de facto standard in most highly-structured companies for corporate identity management, and it is therefore supported by default by all applications that require the option of using SSO.
However, it is not that common to find an MS AD infrastructure implemented (but this also applies partly to LDAP), especially in smaller, younger or more agile businesses, for reasons ranging from cost to complexity of management (especially if they are in need of a highly reliably provided AD service), without ignoring the fact that MS AD is typical of Microsoft-centric companies (almost all the large legacy companies) and is therefore less prevalent where the client base is more varied (Windows+Mac+Linux…).
A very widespread trend in businesses is to use the company Google Apps account (recently renamed to G Suite) — a widely-used service mostly used for its email and collaboration functions — as an Identity Provider. By doing so, you can use SSO on a multitude of applications that already natively support the “login with Google” function, but also on those (as is the case with the AWS console) that support the SAML standard, which G Suite has been providing the service of Identity Provider for for around a year.

So let’s see how to configure our AWS and G Suite accounts to make Single-Sign-On work with SAML.
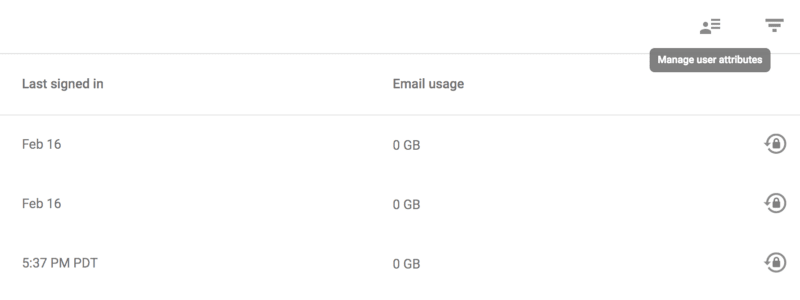
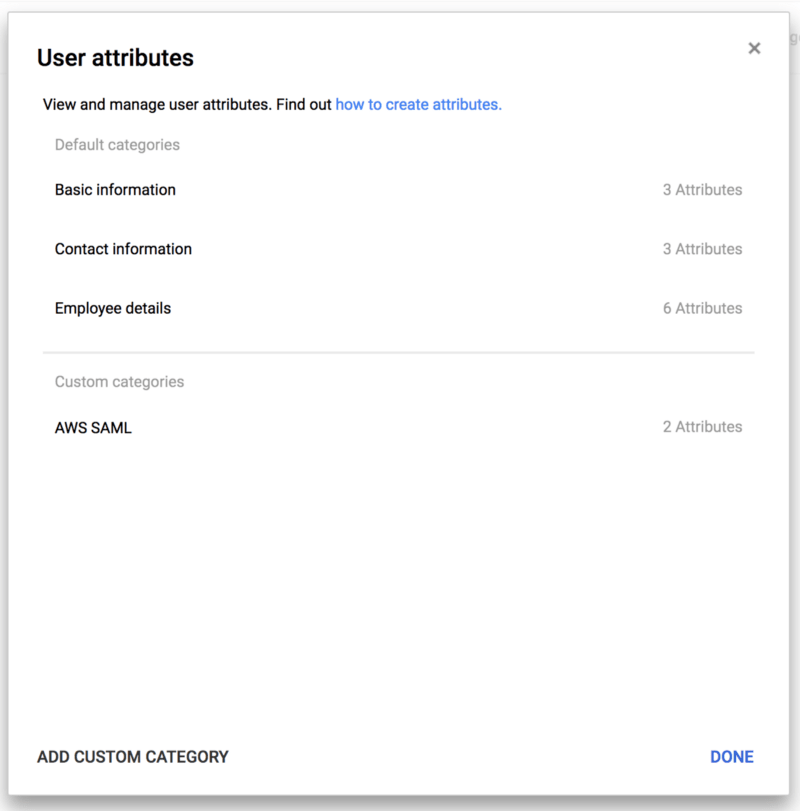
First of all, in the G Suite administration page, we have to add custom attributes to our users, through which our Identity Provider (Google) will communicate the identity of the user logged in, as well as additional information that we will explain later, to the Service Provider (AWS).
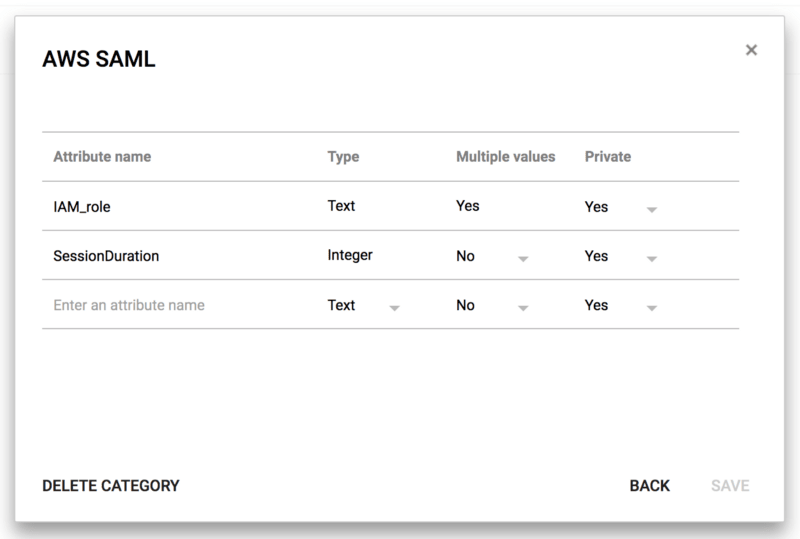
Now create a custom attribute class and call it “AWS SAML” and then create the attributes “IAM Role” and “SessionDuration”. It is important for both attributes to be private (that is, not viewable by all users in your organisation) and for the attribute “IAM Role” to support multiple values.
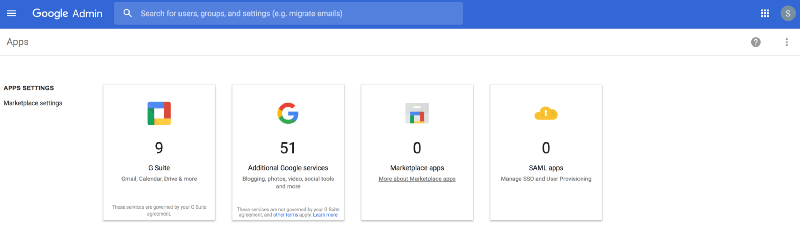
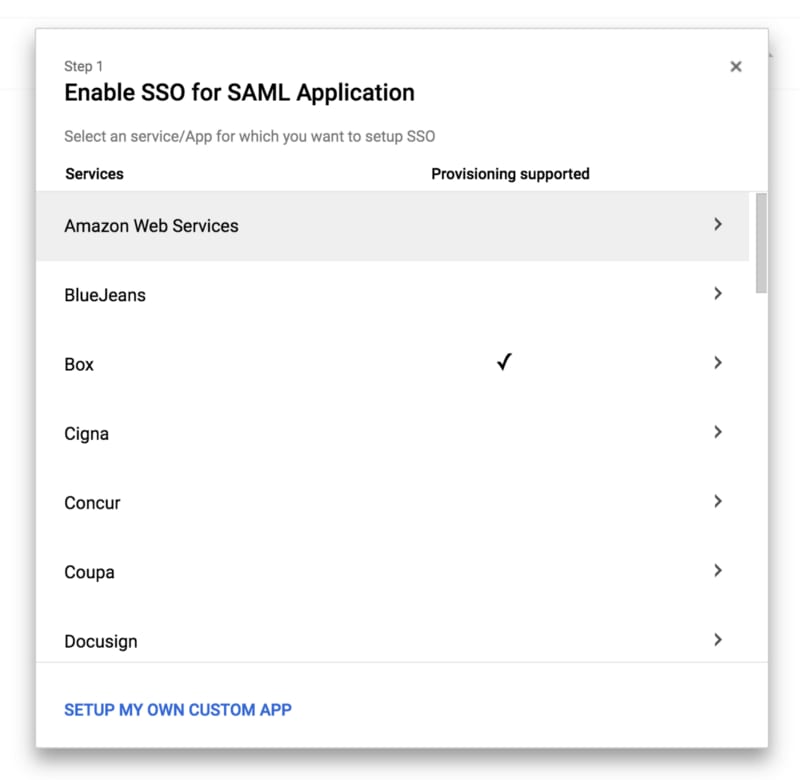
With this done, go into the “Apps” section and add a new SAML application, starting with the preconfigured template for AWS.
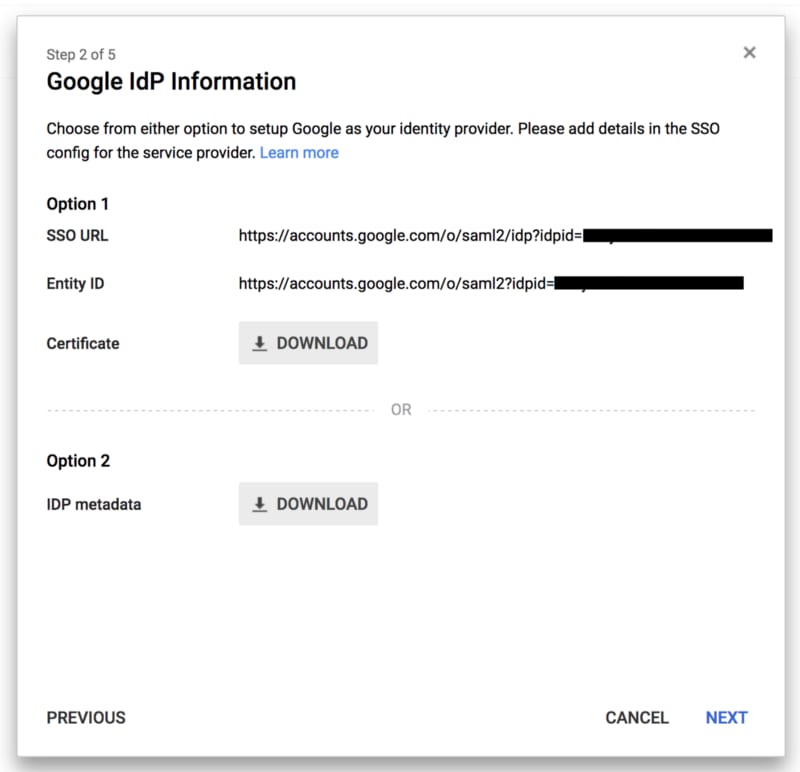
Download (option 2) the IDP Metadata (which is an .xml file that contains some configuration parameters and the X509 certificate that the _trust_relationship between IdP and SP is based on) and set it aside for a later step.
WARNING!!! The contents of this file should not be released for any reason; the security of the entire solution relies on its remaining confidential!
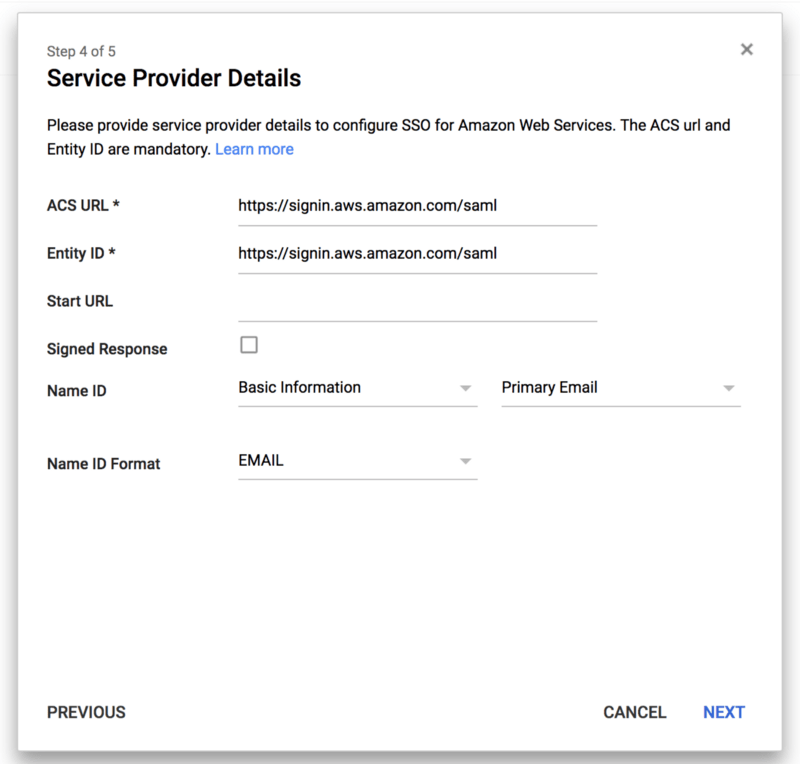
We continue the configuration by mapping the SAML entity known as “Name ID” on “Primary Email” (that is, the user will be presented to the AWS console with their email address as their unique identifier).
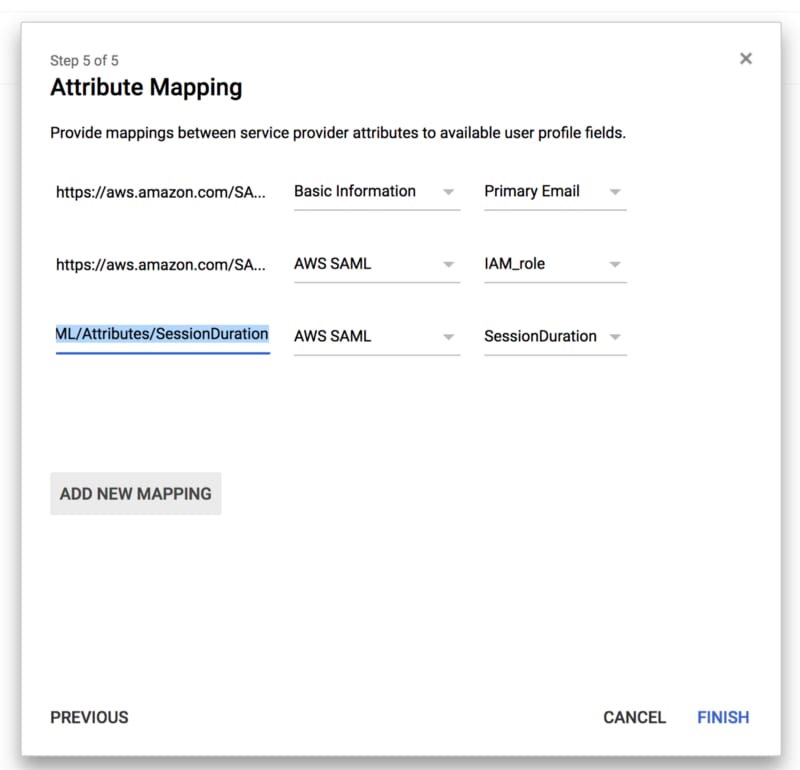
In the next step, we need to configure three additional mappings (be careful, as here the G Suite UI is not very clear, as the URLs in the left column aren’t very legible):
- The attribute https://aws.amazon.com/SAML/Attributes/RoleSessionNameshould be mapped to “Primary Email” again.
- The attribute https://aws.amazon.com/SAML/Attributes/Role should be mapped to the custom attribute “IAM role” that we created earlier. What we are doing with this is telling AWS which roles the user is authorised to take on and on which accounts.
- The attribute https://aws.amazon.com/SAML/Attributes/SessionDurationshould be added, mapped to the custom attribute “SessionDuration” that we created earlier. Here, we are telling AWS how long the session of a particular user should last before they are automatically logged out.
It is very useful to be able to customise this parameter because the default session is 1 hour long, which, for people who work quite a lot on the AWS console, is very short, leading to many inconvenient forced logouts during daily operations. WARNING!!! This “trick” is exclusive to beSharp; it is not documented in the official Google or AWS guides! (nda).
At this point, the configuration of G Suite is finished and we move on to the configuration of AWS.
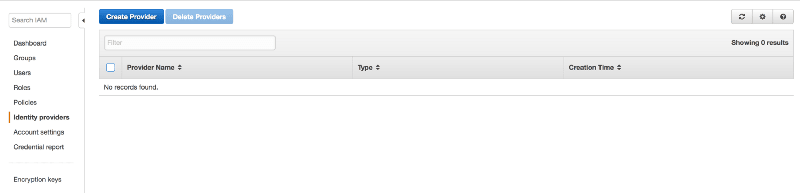
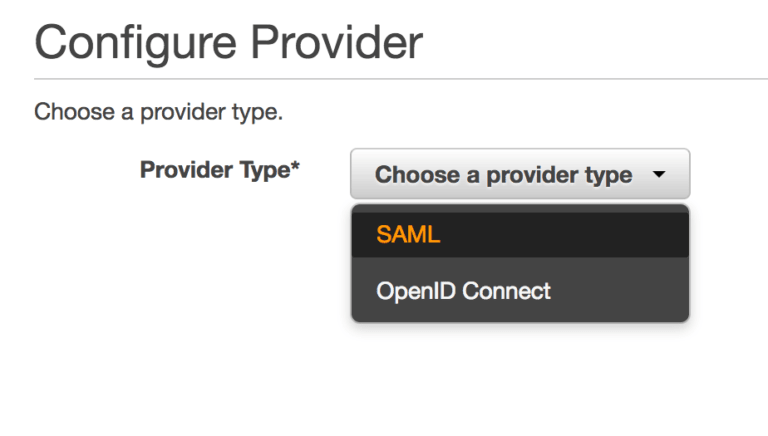
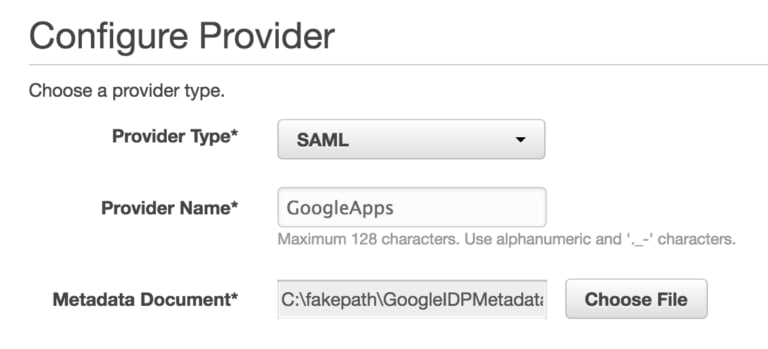
We go into the IAM section –> Identity Providers and create a new one, SAML type, which we will call “GoogleApps”; at this point, we will have to upload the IdP metadata that we downloaded earlier (once the file is uploaded at this point, I suggest deleting it from your computer).
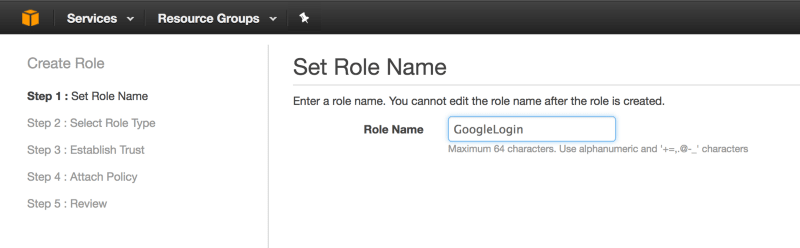
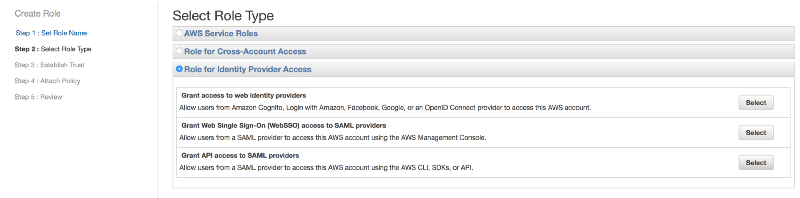
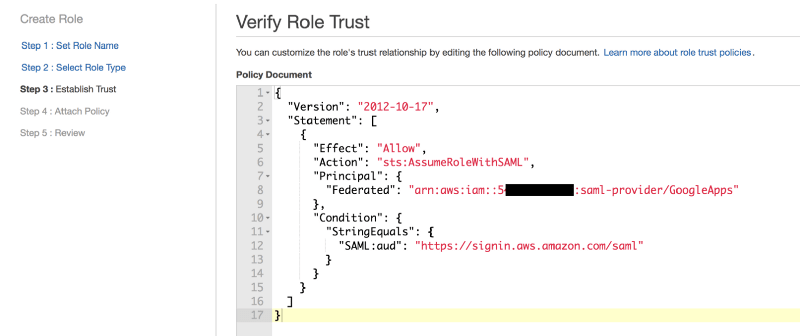
Then we create a new IAM role that we’ll call “GoogleLogin” and as the role type, select “Identity Provider Access” –> “WebSSO” and associate it with the “GoogleApps” Identity Provider we’ve just created.

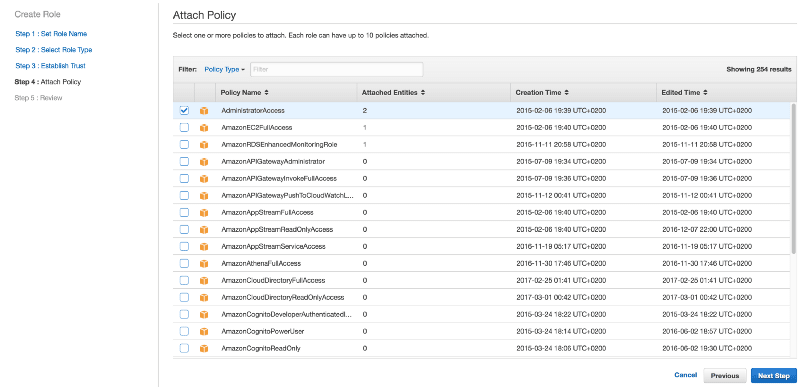
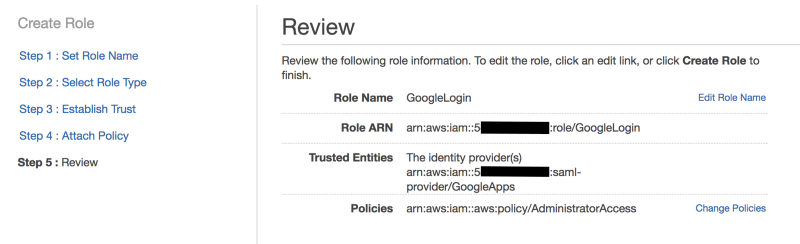
In the next steps of the wizard, we will associate a policy with the IAM role to provide the permissions (in our example we gave admin permissions — DON’T TRY THIS AT HOME!!!:) ) and the configuration on the AWS side is complete.
Now we turn to the administration of G Suite, to assign individual users permissions according to which roles they can take and on which AWS accounts.
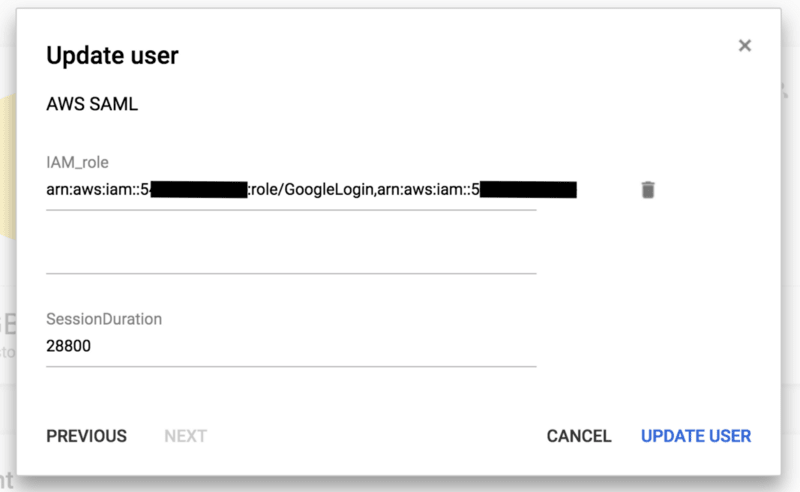
This is the least intuitive part of the configuration: with regard to the roles and accounts that are accessible, AWS expect values like this from Google:
arn:aws:iam::1234567891012:role/GoogleLogin,arn:aws:iam::1234567891012:saml-provider/GoogleApps
As you can see, these are two ARNs separated by a comma. The first is the ARN of the role that that user can assume, the second is the ARN of the identity provider that we created within the AWS account. (The number 1234567891012 is a placeholder that must be replaced with the actual account number of your AWS account). This value must be entered in the custom field “IAM role” that we created earlier. This allows us to specify which role each user can take on and on which AWS account.

If you remember, we made sure that the “IAM role” attribute supported multiple values; indeed, it is possible to specify multiple roles for the same user within the same account, or even on different accounts. Simply add more tuples such as:
arn:aws:iam::112233445566:role/Ruolo1,arn:aws:iam::112233445566:saml-provider/GoogleApps
arn:aws:iam::112233445566:role/Ruolo2,arn:aws:iam::112233445566:saml-provider/GoogleApps
and immediately after logging in we will be asked which role we want to assume on which account.
Of course, for everything to work properly, in our example we should also repeat the SAML federation process (exchanging the IdP metadata) for account 112233445566.
In the custom field “SessionDuration”, you can specify the duration of the login session in seconds for each user. I suggest the value 28800, which corresponds to 8 hours: more or less a typical workday.
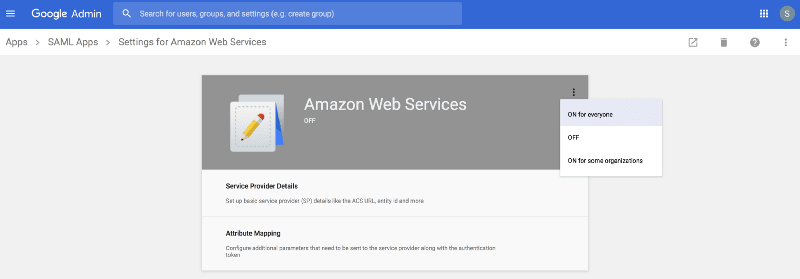
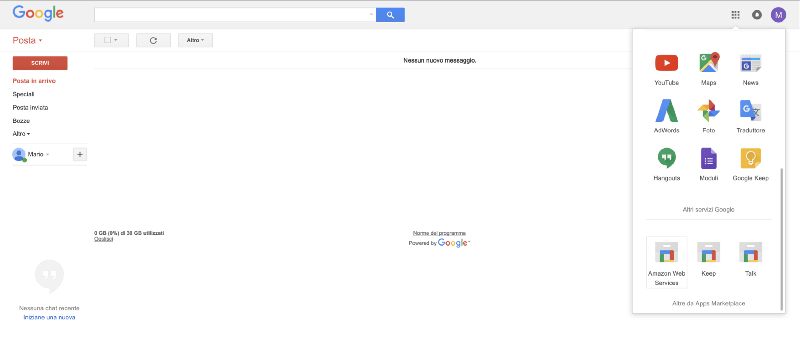
At this point, all we have left to do is enable the SAML application that we created, and all users will find a new icon in their quick access menu for Google Apps.
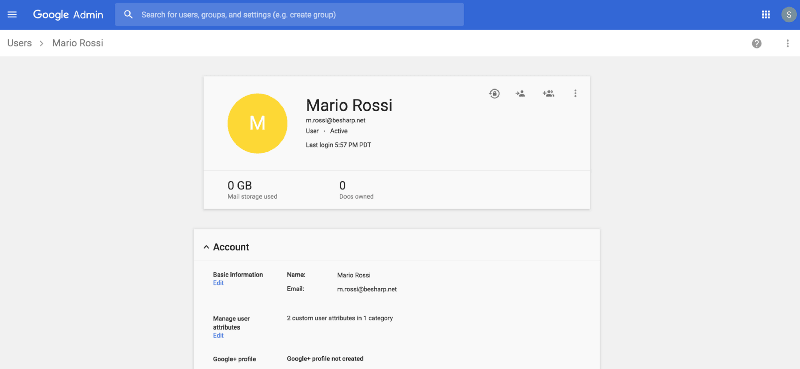
We’ll log in with our test account “Mario Rossi” and, by clicking on the corresponding icon, we will magically be directed to the AWS console where, as you can see, we are logged in with our federated account, m.rossi@besharp.net.
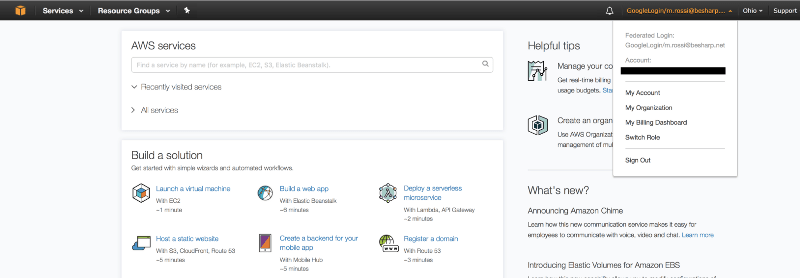
Satisfied?
In the next article, you will see how we used — in a very creative way — the same approach based on G Suite and SSO to use AWS services that require authentication using a key/secret pair, such as AWS CLI, CodeCommit and access to APIs from clients outside the VPC.
In subsequent articles, on the other hand, we will further develop how to use G Suite as an Identity Provider for all the other services that would normally require a federation with Active Directory or LDAP.
[09/09/2019 — UPDATE: You’ve spoken… and we’ve listened! Thanks to your hundreds of emails, tweets, and comments, we’ve understood that our solution could have helped many other developers and DevOps all around the globe. So, we are proud to present you Noovolari LookAuth!
With LookAuth you can easily manage programmatic access via Single Sign-On with G Suite directly to all your Amazon Web Services Cloud accounts. Sign up today for the beta version, it’s FREE!]

Top comments (0)