
INTRODUCTION
In this blog we are going to learn a little bit about git and important git commands that one must know to make their first commit.
Let's get started
To understand Git first let's see what a Version Control System(VCS) is - A VCS or version control system as it sounds is simply a tracker of content(usually code) that tracks changes to code-base and helps developers to simultaneously work on the same project by managing repositories.
So now what is Git?
Git is a distributed version control system(DVCS) which simply means that Git stores code-base on a repository in a Server and simultaneously distribute it to the local repository (usually in Developer's Computer) of each developer. It also helps developers manage their code efficiently by keeping a track record of the changes committed to the code-base by time.
If you are a new or experienced developer, you have to use source control. And good chances are you are using Git to manage your source code.
And to use Git to its full potential, you need to know Git commands. Here you will learn the most helpful Git commands that will take you from one level to another.

Basic Git Commands
1) git config [ options ]
This command helps you set the username and email address to be used with your commits respectively.
usage: git config --global user.name "Ayush Goel"
usage: git config --global user.email "1234.@gmail.com"
2) git init [ repository name ]
This command initializes a repository as git repository. To perform git operations you need to initialize the target repository as a git repository.
usage: git init /home/Documents/git
3) git status
This command is used to see the status of the working tree. It shows you the list of unstaged files and list of files that needs commit. If there is nothing do then it will simply show that the branch is clean.
usage: git status
Note: You need to be in a git repository to know its status.
4) git add [ File Name ]
This command puts the desired file to the staging area for operations to performed on it.
usage: git add index.html
Note: You can add multiple files to the staging area by separating files with a space - git add index.html main.css main.js
5) git commit [ options ]
This command records changes to the git repository by saving a log message together with a commit id of the changes made.
usage: git commit -m "Write your message here"
Alternatively you can use git commit -a to commit changes to the files added using git add without specifying a message
Note: You should always commit with a message.

6) git log
This command is used to show the log of commits made so far to the current branch.
usage: git log
usage: git log --follow John_Doe to see the log of commits made together with renaming of files of the specified file.
Note: You can use git log to see all the commit ids
7) git rm
this command is used to remove a file from the staging area.
usage: git rm--cached[file name]
8) git push [ options ] [ variable name ] [ branch ]
This command is used to push the contents of your local repository to the added remote repository. This sends the committed changes of your master branch to the added remote repository.
usage: git push -u origin master
Note: -u depicts upstream here.
Alternatively you can use -f instead of -u to forcefully push the contents of your repository.
9) git pull [ URL ]
This command is used to fetch and integrate the contents of the remote repository to your local repository.
usage: git pull https://www.github.com/example.git

10) git branch [ options ] [ branch name ]
This command is used to perform operations over the specified branch
usage: git branch -d branch_1 to delete the specified branch.
Note: You can use -D to forcefully delete a branch
usage: git branch -m old_name new_name to rename the branch
usage: git branch -c branch_1 /home/Documents to copy the branch and corresponding reflog
usage: git branch -C branch_1 /home/Documents to forcefully copy the branch
usage: git branch -M branch_1 /home/Documents to forcefully move the branch
usage: git branch --list to list all the branches
11) git checkout [ branch name ]
This command is used to move from one branch to another
usage: git checkout 'branch_1'
12) git checkout [ options ] [ branch name ]
usage: git checkout -b branch_2 is used to create specified branch and is simultaneously switches to it.
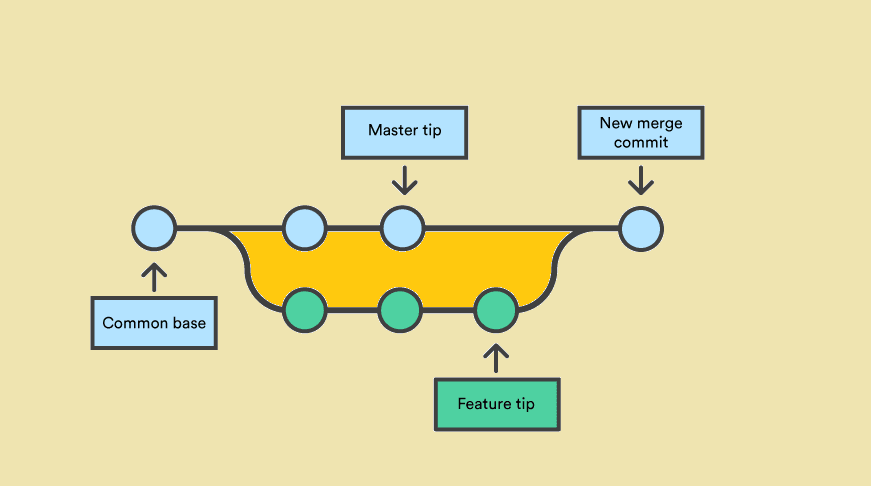
13) git merge [ branch name ]
This command is used to merge the history of the specified branch into the current branch.
usage: git merge branch_3
14) git show[commit id]
This command is used to list the metadata for the specified commit
usage: git show 521747298a3790fde1710f3aa2d03b55020575aa
Note: All the commits have unique ids.
I hope this was useful for you
Thanks For Reading ;)

Top comments (0)