When it comes to building real-time applications, there are many different database options to choose from.
You need a high-performance database that can handle large-scale data. Might I suggest YugabyteDB as an option? It is a Postgres-compatible, distributed SQL database that is easily scalable to handle more data as your application grows. . It also offers high performance for both reads and writes, so your application remains responsive even as data volume increases.
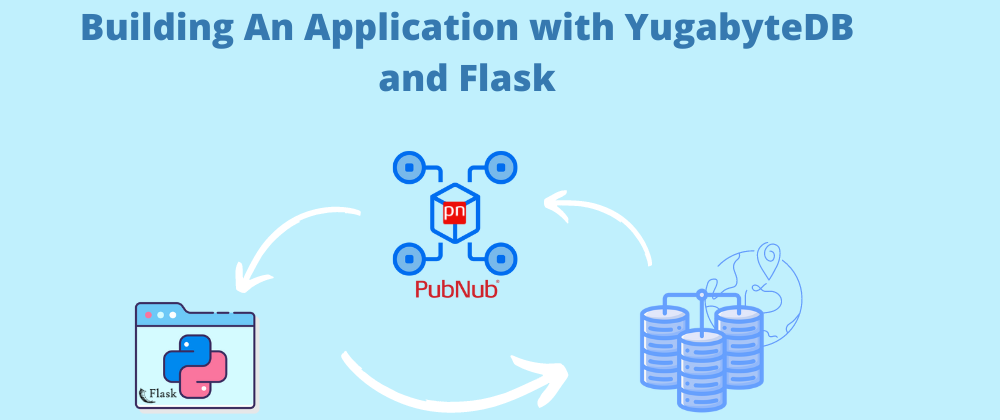
Flask is a microframework for Python that enables you to create web applications in a simple and efficient way. PubNub is a global Data Stream Network (DSN) that provides real-time messaging and streaming APIs. It is the perfect choice when building applications that require real-time data streaming.
In this blog, we will show you how to build an application with YugabyteDB and Flask that subscribes to the PubNub Market Orders Stream, stores trades in YugabyteDB, and displays them in real time.
Running on YugabyteDB Managed
YugabyteDB provides a fully-managed cloud offering that supports AWS and GCP platforms. Here we will use YugabyteDB Managed to create a database cluster.
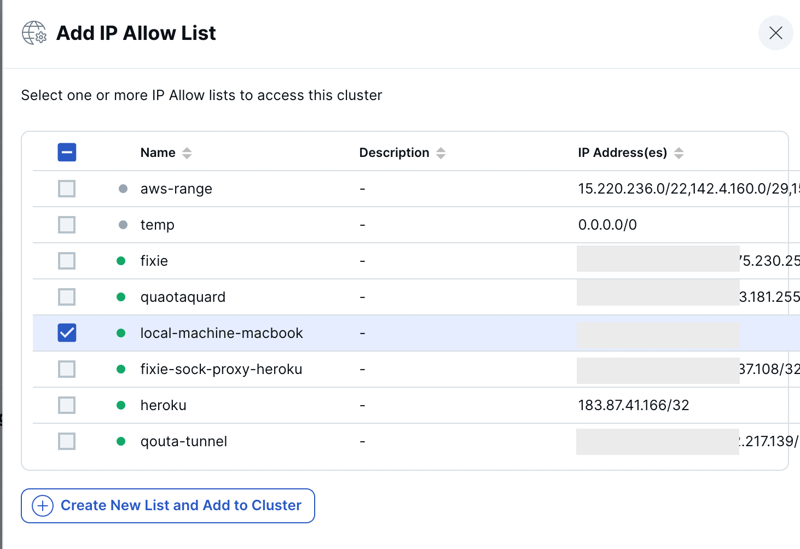
After setting up a YugabyteDB Managed account, you’ll need to create a cluster that you can use to populate your stream trade data. Be sure to set up your IP Allow List, as shown below.
You can also start the cluster locally. Setup instructions are detailed in the project repository.
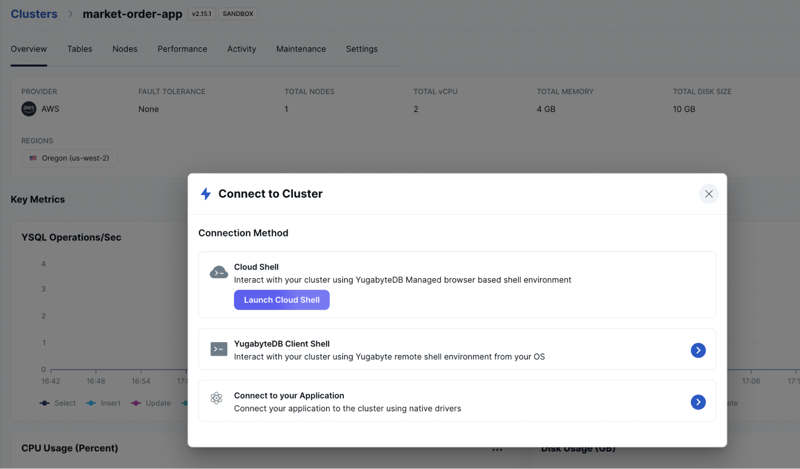
Once we’ve created a cluster, we can connect to it via the ysqlsh CLI or the YugabyteDB Managed Cloud Shell. You can use your favorite DB tools, such as - DBbeaver.
For this application we will use the yugabyte database to store the trade data. yugabyte database is the default database available on your database cluster instance.
Connecting YugabyteDB Managed with the Application:
Now we’re ready to initialize our database. Before connecting the application with the database, make sure you have the project set up with the dependencies. You can follow the setup instructions mentioned in the project repository.
- Configure your environment variables in the .env file (create a .env file if it doesn't exist):
DB_HOST=127.0.0.1
PORT=5433
DB_NAME=yugabyte
USERNAME=username
PASSWORD=password
- Run the following to initialize the database with schema:
$ python db.py
db.py will create tables and relations using schema/default_schema.sql. The default_schema.sql has the script for the initial database schema for the application
- We will seed some initial users as sample data for the
Usertable. Run the following to insert the default user data for the User table:
$ python seed_user_data.py
seed_user_data.py will create 5 users using the faker module and inserts them into the User table.
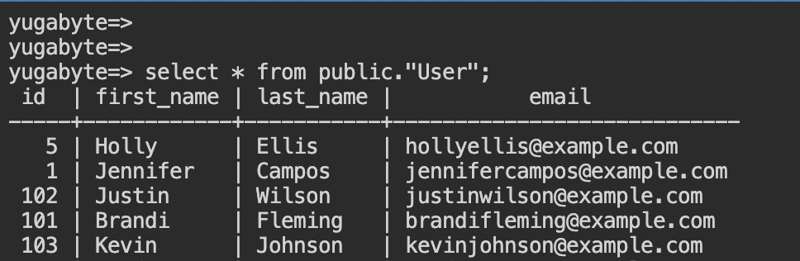
Using the YugabyteDB Managed Cloud Shell, we can verify our database has been properly initialized.
Running the Market Orders Application
Assuming that you have followed the instructions up to this point, you are now ready to run the sample application.
To run the application type the following command inside the app project directory market-orders-app-python/app/
$ python flask_app.py
In your browser, you should now see the application running at http://127.0.0.1:5001

With the Flask app, you can subscribe to the data stream and write the trades to your database table. You can also get the recent trades by querying the endpoints. You can use Postman or cURL to send the requests and test the application. With any front-end client application, these endpoints can be easily integrated to query recent trades.
Following is the list of endpoints for the market order app.
- Subscribe to a channel:
curl --location --request GET 'http://127.0.0.1:5001/subscription/add?channel=pubnub-market-orders'
- Get subscribed channels:
curl --location --request GET 'http://127.0.0.1:5001/subscription/list'
- Start ingesting the market order stream to YugabyteDB:
curl --location --request GET 'http://127.0.0.1:5001/ingeststreamdata'
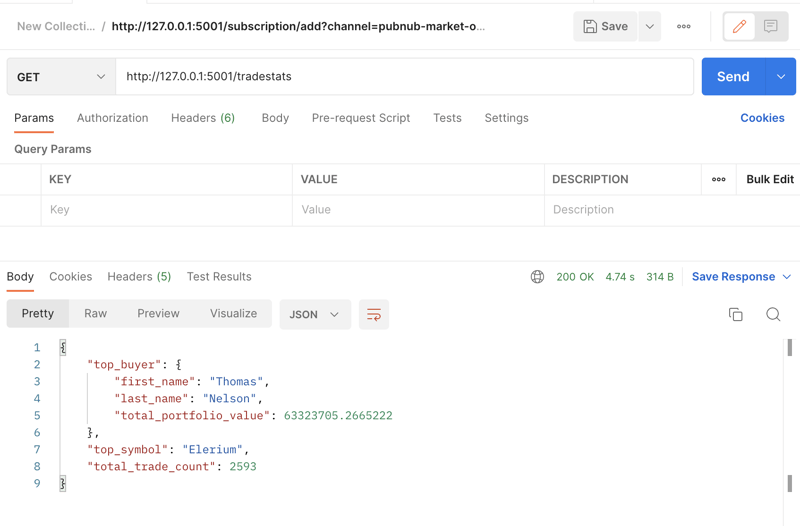
- Get Trade stats:
curl --location --request GET 'http://127.0.0.1:5001/tradestats'`
- Unsubscribe from a channel:
curl --location --request GET 'http://127.0.0.1:5001/subscription/remove?channel=pubnub-market-orders'`
If you unsubscribe from the channel, the app will stop storing the trades in the database.
Here is the screenshot of the response from the API call in Postman.
- Subscribe to a channel:

- Get Trade stats:
As you can see, it’s easy to build this application and read and write real-time data to YugabyteDB using Flask. Now that you've got the hang of it, you can start building your
projects with YugabyteDB!
Reference:
Project repository: https://github.com/YugabyteDB-Samples/market-orders-app-python


Latest comments (0)