
Adding the pagination and the search box feature on the back end will be useful for WordPress users in many cases. Especially in the page / post editor of WordPress, you need to choose details like background image, colors, ... for your Gutenberg blocks sometimes. It doesn't matter if you only have a few options. But when there are dozens of options, you should definitely add the pagination and the search box to find them easily.
This can be done using Meta Box plugin. Stay tuned to see how I do it.
In the WordPress editor, I created options for the background image of the document, and then created the search box and the pagination as follows:
Follow three steps below to do it:
Step 1: Declare the Library
To add the pagination and the search box, I need to declare a third-party library named list.js. Do it by adding the following code to the functions.php:
function justread_add_list_js_library() {

wp_enqueue_script( 'listjs', '//cdnjs.cloudflare.com/ajax/libs/list.js/1.5.0/list.min.js' );

wp_enqueue_script( 'justread-custom-scripts', get_stylesheet_directory_uri() . '/js/scripts.js' );

}

add_filter( 'rwmb_enqueue_scripts', 'justread_add_list_js_library' );
Explanation:
-
'Rwmb_enqueue_scripts'is the hook to declare the script into the Admin Panel. - In the above code, we declared two files which are
list.js- the library file andscripts.js- the file used to perform the search function. -
justreadis the theme I'm using (you can download this theme here, totally free).
Step 2: Create Options and the Search Box
If you're a coder, you can create custom fields yourself to add options for the background and the search box. Also, you can use a custom field plugin to save time and effort.
I use Meta Box plugin to create custom fields (you can download its free core plugin on wordpress.org). Also, I use its premium extension that is Meta Box Builder. This extension provides a UI right on the back end, which makes creating custom fields easier.
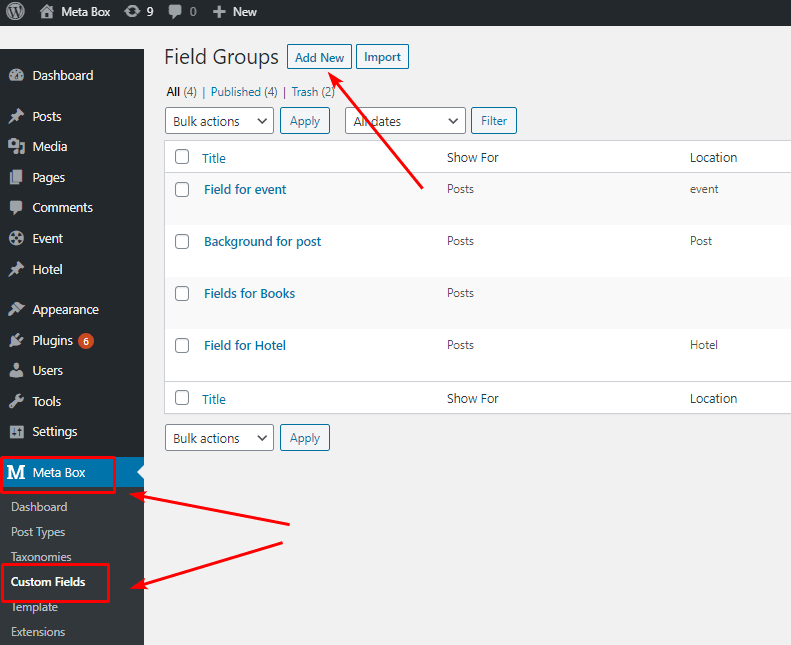
After you finished installing and activating them, go to Meta Box > Custom Field > Add New.
On this screen, I will create a group including two fields which are Search and Image Select. But first, don't forget to give them IDs and remember them. We need to add them to the code in step 3.

Now, I'll create an Image Select field (to add options for the background image section) and then fill the field with the necessary information.

Note that in the Choices section, you need to fill in it with your choices. Below is my example:

Next, choose the Text field for the search box and just fill in this field with basic information that is the name, ID, or customize its display in the Appearance tab.

After you've done with the above two fields, go to the Settings tab. Then, choose the post type in which these fields will display (I choose the post type as post). And don't forget to click Save Changes.

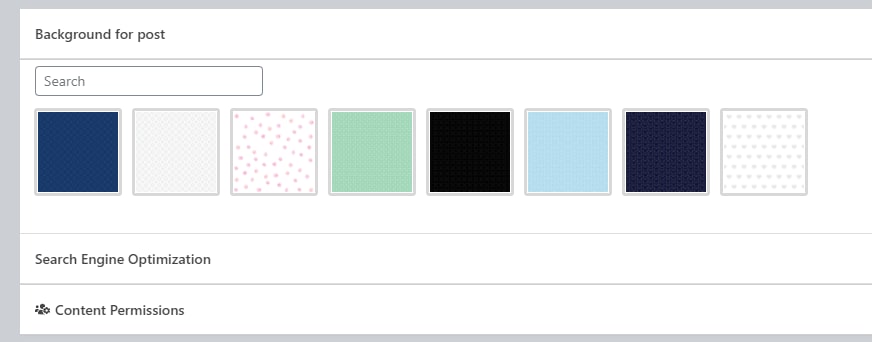
Now, try editing any post. When dragging down, you will see that the options show up as follows:
However, the search box still hasn't worked and you still haven't added pagination. Therefore, move to step 3.
Note: If you don't want to purchase the premium extension Meta Box Builder, you can use the Online Generator tool (totally free) of Meta Box. This tool also has a UI and it will help you automatically generate code. After that, you just need to add this code to the functions.php file to create custom fields. Here is the instruction to use it.
Step 3: Create a Pagination and Handle the Search Function
To do it, you just need to add the following code to the scripts.js file declared in step 1:
jQuery( function( $ ) {

$( document ).ready( function() {

var options = {

valueNames: [

{ attr: 'value', name: 'rwmb-image_select' }

],

pagination: true,

page: 3,

};

var featureList = new List( 'background-for-post', options );

} );

$( '#background-for-post .rwmb-image_select-wrapper' ).find( '.rwmb-input' ).addClass( 'list' );

} );
Explanation:
The var featureList = new List( 'background-for-post', options ) function handles the search function for the field group that you've created above (ID of the field I've created is background-for-post).
The two options pagination and page are used to create the pagination. In this example, I paginated the option into 3 pages.
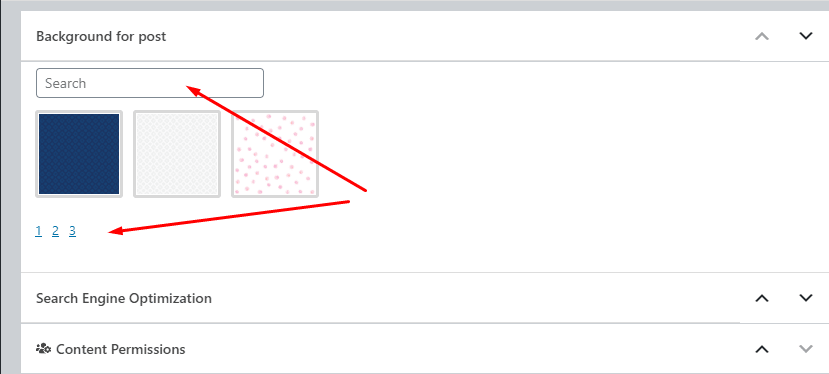
When returning to the post editor, you will see that the pagination shows up with the page numbers that are 1, 2, 3. As for the search box, I made a test and it returned the right results.
Ok, that's all done!
Last Words
Adding the pagination and the search box in the WordPress editor isn't difficult, right? Just by some simple steps and some tools, you can help users work with WordPress more easily and effortlessly. There are many more useful tips that we'll update regularly, follow us to get them all.


Top comments (0)