Hi Everyone 👋, hope you all are doing well. 🚀
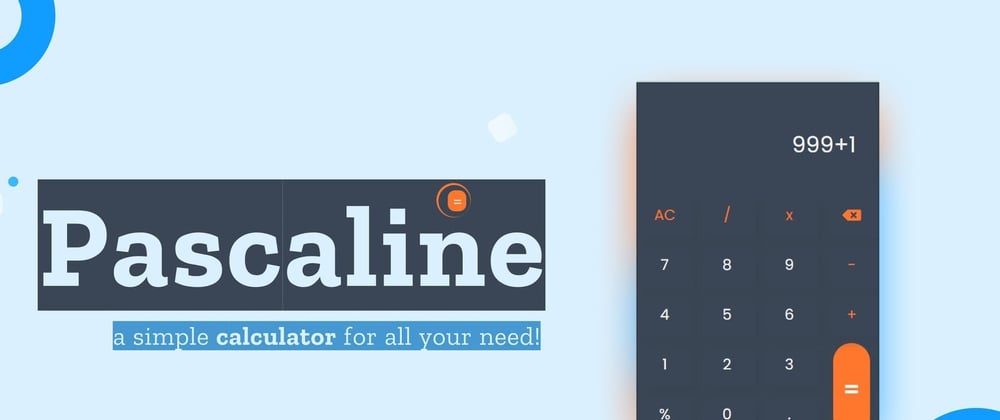
In this article, I'll tell you how the notion of pascaline came to me.
Last week, I took part in the week-long IBD WFH tool building challenge hosted by crio.do.
In this challenge, We were instructed to build useful open-source apps or extensions that would help us work more efficiently and increase productivity.
So I began thinking about what I could build and decided to work on an issue I found a few days ago.
Problem
a while ago while filling out a form and had to answer some questions about my budget, so I think of quickly installed an extension to help me out. As soon as I opened the chrome store and explored some extensions, I found that all of them had a really unpleasant UI, they were working perfectly fine but the experience I found was not that pleasant. After that, I looked into some articles on how to build an extension and found the Chrome documentation & this article to be really informative and useful.
So I decided to build a new one because we all know from personal experience that a good User Interface is important in the sense that it allows everyone to clearly see and use the products. also, It was an excellent opportunity for me to implement the stack that I've recently learned.
“Good design is like a refrigerator—when it works, no one notices, but when it doesn’t, it sure stinks.” –Irene Au
Design
I've been going deeper into the world of UI/UX for a few months now, and I'm loving the procss.
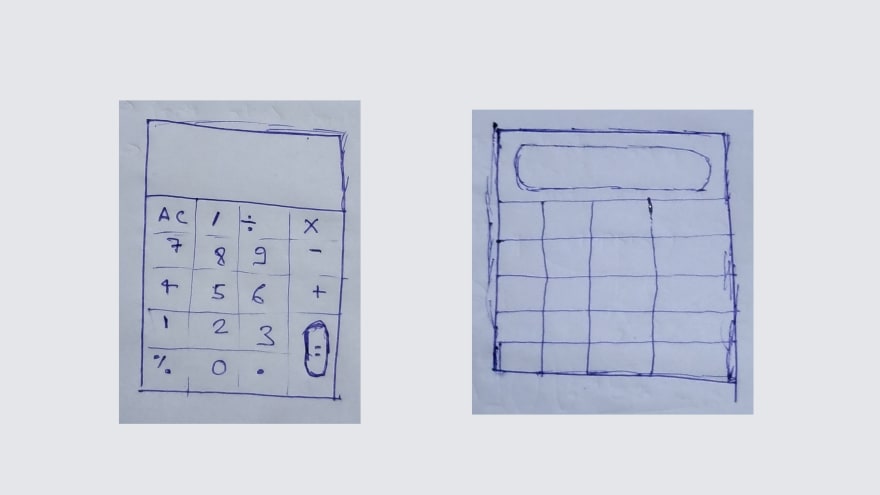
Now, I started with a sketch.
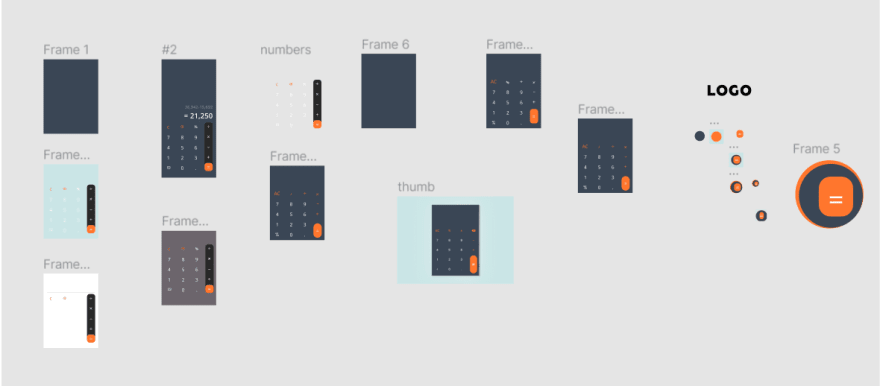
After that, I began creating the Design in FIGMA,
screenshot of my untidy artboard
Development
Basically, Extensions are software programs, built on web technologies that enable users to customize the browsing experience.
First, let's talk about the
Tech Stack I used
- HTML
- CSS
- JavaScript
Library I used
Now, Phases of Development
- Extension Interface
- Manifest File
- Testing
I will explain each phase of development with relevant screenshots and code for better understanding.
1. Extension Interface
To build the extension interface, we should have a fundamental knowledge of HTML, CSS, and JavaScript. HTML (index.html) is used to build the skeleton body of our extension and we style the components and button using CSS (style.css). We use JavaScript (script.js) to giving it life, i.e, make it work to solve the equations.
So let’s dive into the first Part: The structure and design of our calculator.
In the HTML skeleton Inside Body, I’m defining a new div with a class named “button”.
<div class="button"> </div>
I place one more div, inside this div and there will be text that our button should hold is placed between these two tags. Along with the tag, I’ll be giving them an id. This id will help at the time of back-end programming. See example below
<div class="button">
<div class="inner-button">
0
</div>
</div>
&, I’ve coded the same div approx 20 times to make the basic structure of the calculator.
You can find the whole HTML code below
Let’s jump to the CSS section.
I primarily worked on these properties in order to make the calculator look nice.
- background-color
- Padding
- Width
- Text alignment
- Font size
- BORDER RADIUS
- Box- Shadow complete CSS code for this:
Now, We will be coming to the javascript part
Until now the calculator is lifeless. We have to give it life.
So let’s dive into the backend section and make the calculator solve our problems.
Now we have to define a function, that can perform different tasks and for the calculation part I used Math.js i.e an extensive math library for JavaScript, It features real and complex numbers, units, matrices, a large set of mathematical functions, and a flexible expression parser.
Below is the complete script.js :
2. Manifest File
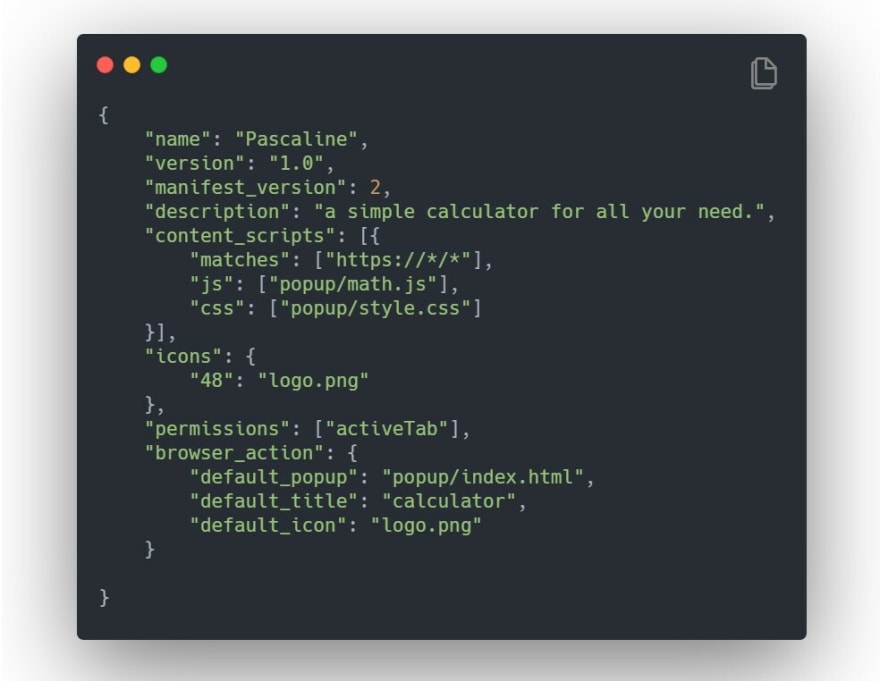
We have now reached the second phase in our extension development and it involves creating a manifest.json file. The manifest.json file is the only file that every extension using WebExtension APIs must contain. Using manifest.json, we specify basic metadata about your extension such as the name and version, and can also specify aspects of your extension's functionality (such as background scripts, content scripts, and browser actions). We also add icons to our extension and test them in the browser to connect everything.
We set our extension name in the name attribute. We define a version number and type out a description which the users can see after loading the extension. We set our background script in place. We use a 128px icon and a default icon to be displayed on the extension bar, both designed in Figma. Whenever the user opens a new tab we want our extension page to be loaded there. This is possible because of chrome_url_overrides which overrides the default new tab layout and loads our extension home index.html. We lastly add manifest version and security policies.
Below is the complete manifest.json code:
3. Testing
Loading and Testing the extension
We open the Chrome web browser. On the top right corner customize button is represented by three vertical dots. Go to More tools -> Extensions.
Enable Developer Mode on the top left after opening the Extensions page. Then Click on Load unpacked and select the parent directory of the built extension.

Fact: While loading an unpacked extension, Chrome always looks for the manifest.json file and loads the extension using that file as a parent. Know we know the importance of manifest.json.
3. Once loaded, on the extension page, we can see our extension with the icon and description as below. Click on Details.
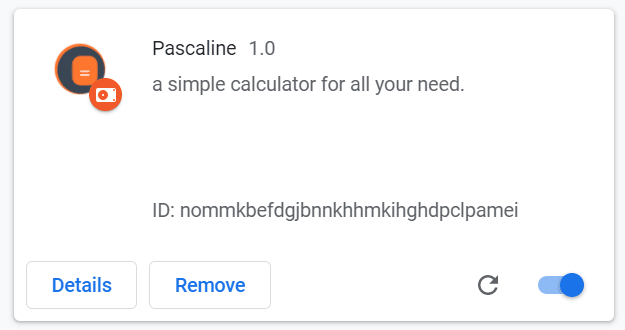
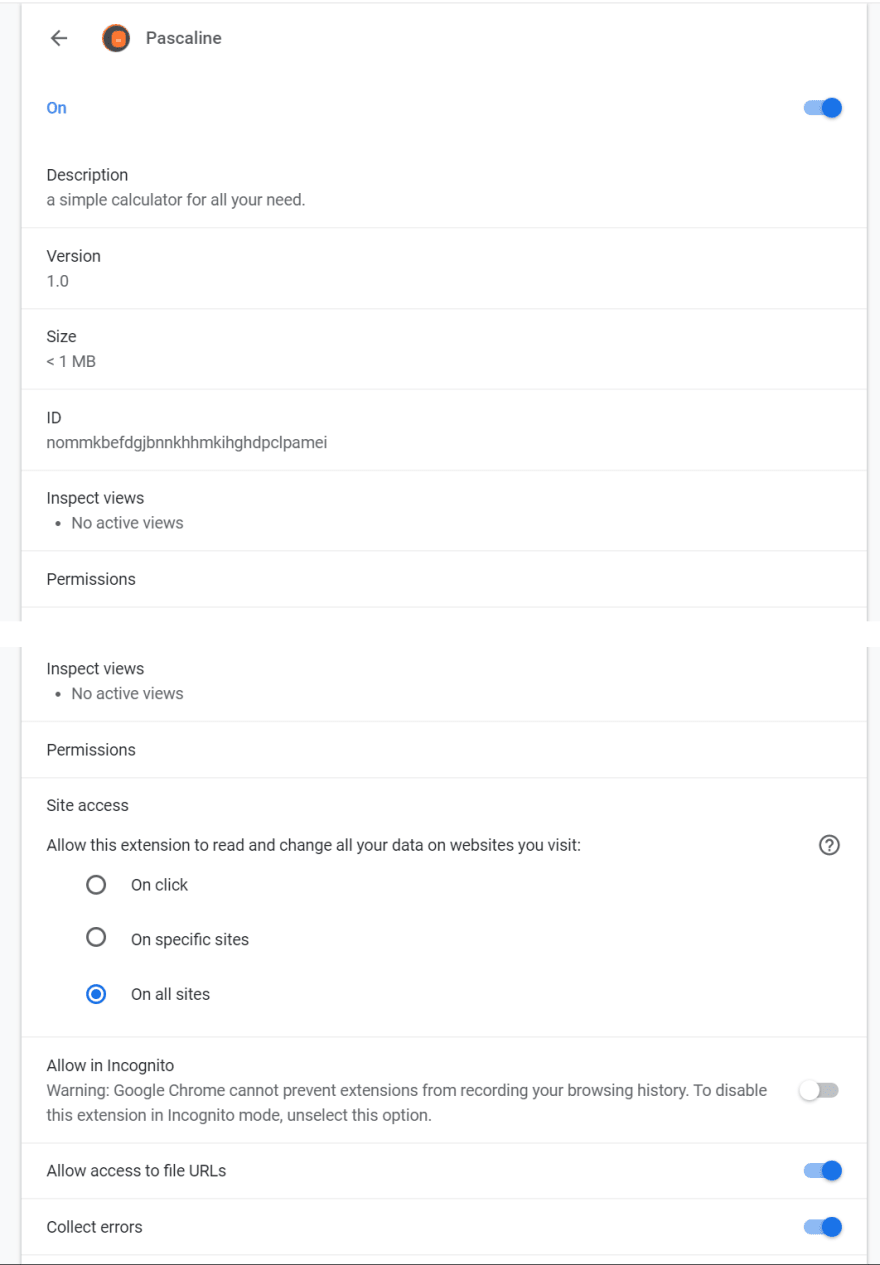
4. Here, we can see each and every detail about our extension which we put in our manifest.json file and the directory from which it was loaded.
5. Enable the extension and open a new tab. Voila! You should be able to see the extension up and running.
You can now see the Pascaline logo in the browser's extension bar on the top right, from which you can also launch the extension.
This brings us to the end of our development, and it was a great learning experience for me because I had never built an extension before.
Feel free to star ⭐️ the project if you found it useful -
https://github.com/wordssaysalot/Pascaline
Thanks for reading!
Let me know your thoughts and feedback in the comments section.


Top comments (3)
Some tips: use always ===; use button element, but not div and no need of child div for it. Also, u can use react, vue or what u like for browser extensions
Thank you @vladi160 , I'll remember these points for the future development.
Thank you, David;
I truly feel that criticism can help us develop and obtain a new perspective, therefore I appreciate it and will work to improve on these topics.