In this tutorial, we will connect the Sigfox Sens'It to the Wia platform.
Components
- Wia Account. You can create one here
- Sigfox Sens'It
- USB to Micro USB Cable
Connect the Sens'It to the Sigfox App
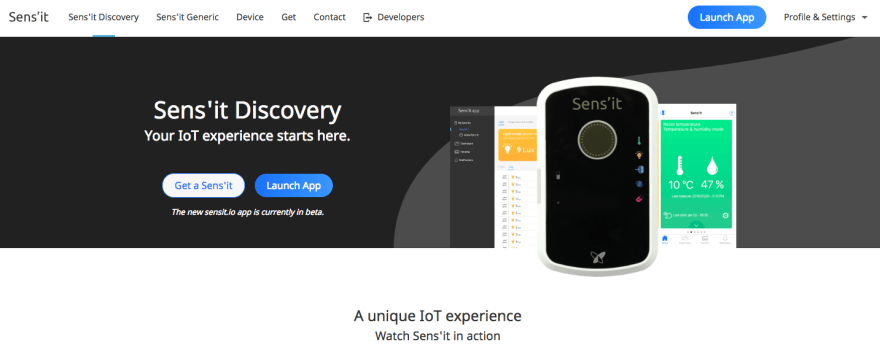
First, plug in your Sens 'It to ensure it stays charged. Then, follow this link to Sigfox's platform for the Sens 'It. In the upper right corner, click Launch App.
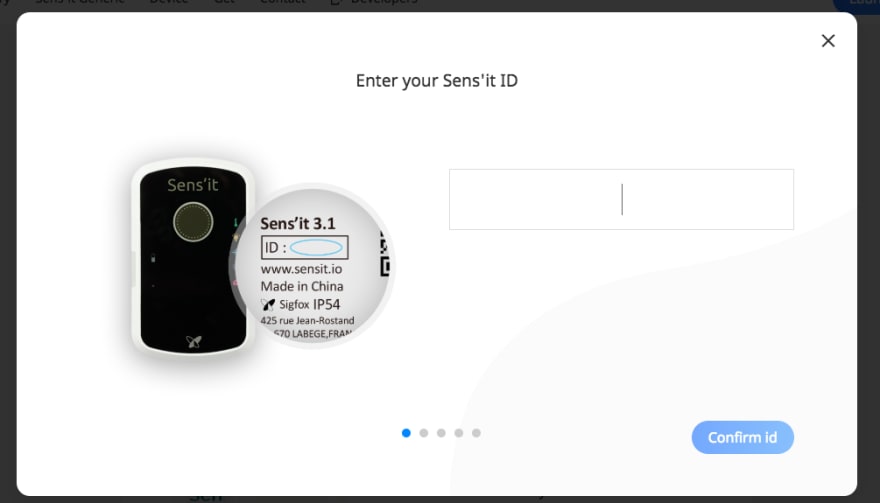
Choose to Activate a Sens'It. The Device ID is written on the back of the Sens'It. Enter the Device ID into the box.

Continue and add your location. Follow the prompts to finish activating the Sens'It.
Get the PAC
Once the Sens'It is activated, launch the app. In the left side menu, select the name of your device. Then, in the upper right corner, select Sens'It details
On the right bottom of the page, click the blue button for Get my PAC. The next display will show your PAC. You will need this later.
Connect the Sens'It to the Sigfox Backend
Follow this link to register your device so you can configure it in the Sigfox backend. Enter your location and click Next.
You will be prompted to enter your Device ID and PAC. The Device ID is the number on the back of the Sens'It. The PAC is the sequence we found in the last step.
Continue to the Account step and create an account. Finish and confirm.
Now, follow this link to the Sigfox backend. Enter your login details for the account you just created.
Send events to Wia
Wia has a Sigfox integration available, so you can connect your sigfox device to the Wia platform.
Create API Keys
- In the Sigfox backend, go to
Group > [Your group name] > API Access > New - Select
DEVICES_MESSAGES [R]

Once checked, an API login and password will be created for you.
Add API Keys to Wia
- Go to the Wia dashboard.
- Open the Space dropdown, by clicking on the Space name in the top left corner, and click Settings. Select Integrations in the sidebar.

- Enter your API Access Login and Password. Note: This is not the one you use to login to the Sigfox backend dashboard, it is the one you just created.
- You should now see your Inbound Key for Sigfox created.

Setup your Sigfox Callback
- Go back to the Sigfox backend
- Select
Device Type, then under name column of the device type list you would like to integrate - On the left, select Callbacks (If there are any Wia callbacks already there, remove them)
- Click New in the top left corner to create a new callback
- Select Custom Callback

Enter the values below in each of the fields:
- Type:
DATAUPLINK - Channel:
URL - Url pattern:
https://api.wia.io/v1/events - Use HTTP method:
POST
Headers

- Content Type:
application/json - Body: Copy and paste the text below.
{
  "integrations":{
    "sigfox":{
      "id":"{device}"
    }
  },
  "name":"sigfoxDataUplink",
  "data":{
    "sigfoxData":"{data}",
    "time":"{time}",
    "duplicate":"{duplicate}",
    "snr":"{snr}",
    "station":"{station}",
    "avgSnr":"{avgSnr}",
    "lat":"{lat}",
    "lng":"{lng}",
    "rssi":"{rssi}",
    "seqNumber":"{seqNumber}"
  }
}
Click OK to save the callback.
Once your device sends an event it will automatically appear in the Wia dashboard.


Latest comments (0)