After going through the basic steps of setting up a bot in Discord's Application Dashboard Building a Discord Bot (Basic Setups) and inviting it to our server.
We went ahead with coding the functionality of the bot
Build a Discord Bot using Nodejs - Project 01 and our bot is all set to be hosted to the cloud.
Well if you want to be a little fancy, you could also host your bot on a raspberry pi or you could host it on your laptop and set it to run 24/7.
But for the sake of simplicity, we will be hosting our bot on Heroku in a free tier account. The hosting procedure will stay the same even if you use a paid tier or free tier. But in the case of the free tier, your bot has a quota limit of 550hours/month. So your bot will only stay online for roughly 22days in a month. Verifying your account with a credit card will add an extra 450hours to your quota.
Or you could choose to go ahead with a hobby tier which costs around 7$ per month.
So set up an account in Heroku, and will host our bot in a free tier.
Before heading over to Heroku, let's first jump into our project folder and get it ready for hosting.
Create a new file named Procfile
Procfile is a file that specifies the commands that are executed by the app on startup. The file is needed by Heroku.
The Procfile is always a simple text file that is named Procfile without a file extension. For example, Procfile.txt is not valid.
Check out the docs to know more
worker: node index.js
Heroku offers two dynos web and worker, the web is suited for hosting web apps and the worker is for hosting scapers and bots. The difference is anything hosted on the web will take a small nap in-betweens, and in our scenario, we can't afford our bot to be sleeping while the user tries to invoke it, so we need to use the worker.
Procfile will let Heroku know which dynos to activate.
Now it is time to push your code to GitHub, make sure you have gitignored .env files or any file that contains secret tokens.
After pushing your project code to GitHub, jump into the Heroku dashboard.

Inside the dashboard, click New and from the dropdown select create new app.

Now type in the app name of your choice, and check if it is available to use. If not available try out different combinations of names. If you want you could also pick and change the hosting region from the United States to Europe. Then click create app.

Now on the app's dashboard page, click the connect to GitHub option.

After selecting Connect to GitHub option, you will be able to pick a GitHub account and a project repository to connect.

Search for your project and click Connect to connect your project to Heroku.

Click on Deploy Branch under manual deploy, you could also use the automatic deploy option.
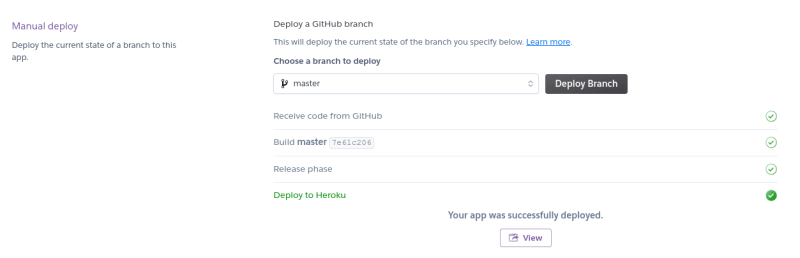
If it is all green ticks, well then things look pretty successful.
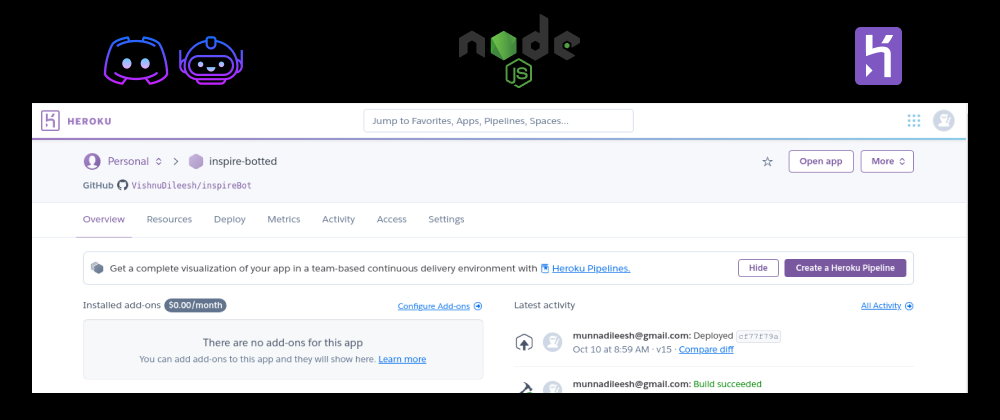
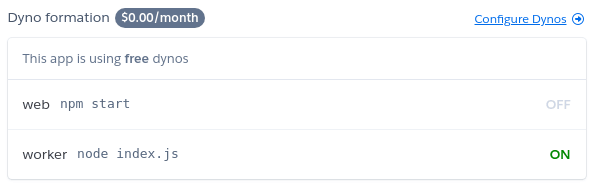
Then navigate to the Overview page. You can see it says Build Successful and Deployed under Latest activity. But if you look to the left, under dyno formation. You can see Heroku has chosen the web as the default dyno. We need to change it to the worker to ensure the bot stays awake all the time under our free quota.

Navigate to the Resources page to change the running dyno.


Click on the edit button on the web dyno, then turn it off and click confirm.


Now time to activate our worker dyno, click on the edit button on the worker dyno, then turn it on and click confirm.

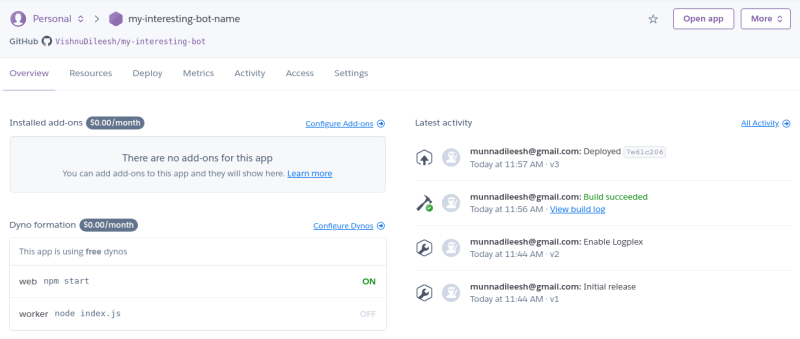
On navigating back to the Overview page, now we can see the worker dyno is running successfully.
And this is the moment, we expect to see our bot coming online in our server. But sadly on checking our discord server, we will see that the bot is still offline. Well, the issue is that the bot running on Heroku is not aware of the secret token needed for logging into our server.
Remember the secret token is never pushed to GitHub so it is not available for the instance running on Heroku. So we need to pass the token to our instance from the dashboard.
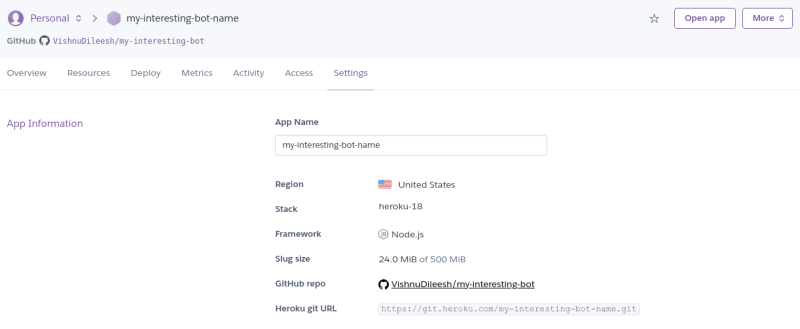
Navigate to the Settings page, here you will see some of the information about our running app.
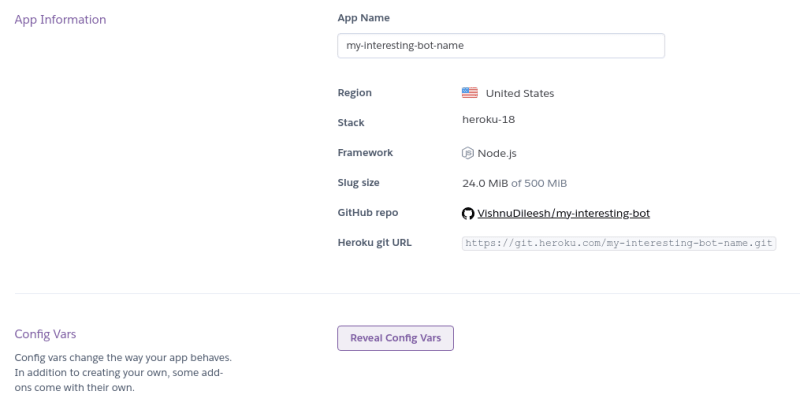
Scroll down to the Config Vars section and click the Reveal Config Var button.

And here it says, There are no config vars for this app yet. Well, it is true, as we have not yet set any. But let's do that part now.
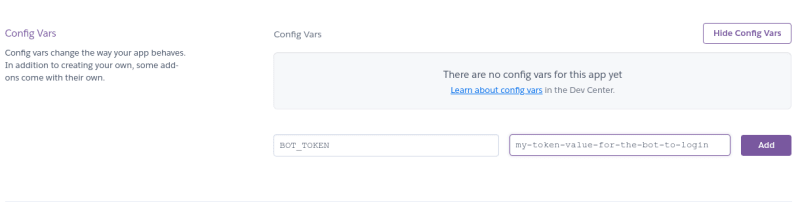
In the place of Key use the one, we used in our .env file. In my case I used BOT_TOKEN and for the token value, you can find it in Discord's Application Dashboard.
And then click Add, and depending on your project, if you are using any other secrets token, also add them in here.

Now navigate back to the Deploy page and click Deploy Branch again to make sure that the newly provided tokens are used by the bot.
And that's it, your bot is live on the cloud, ready to serve your Discord server.
If you are getting errors, no worries, errors are part of the journey. Google is your friend, try some googling and scavaging around StackOverflow.
Still not able to resolve the error and get the bot working?
Well free to connect and let's figure it out.
Connect on LinkedIn
Connect on Instagram
Comment below your thoughts and bugs
Happy Coding
Keep Coding


Top comments (2)
Every 30 minutes the app will sleep
Consider railway.app instead
Is it free? I see 500hrs cap