
Being passionate about Pokemon my entire life I decided to work on a project that would allow me to grade the condition and quality of the cards individuals have instead of sending them out to large companies for several hundreds of dollars. The project is a website that uses Google’s Teachable Machine and SashiDo.io’s backend features to make a site that can grade cards from you just holding the card up to the camera. Later features will allow for uploading pictures but in its beta stage, it will only allow for the use of the webcam to grade cards.
Table of Contents
Teachable Machine
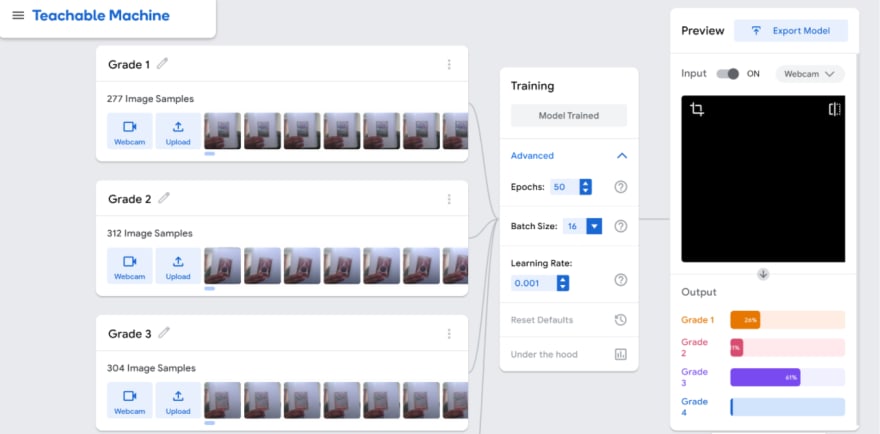
To get started with this project I first used the Teachable Machine to set up 4 grades of card quality. I did this by using cards I already have at home and grading them from 1 being the lowest to 4 being the best. I used several cards of similar grades to set up a relatively accurate image model for the current grading system.
Frontend
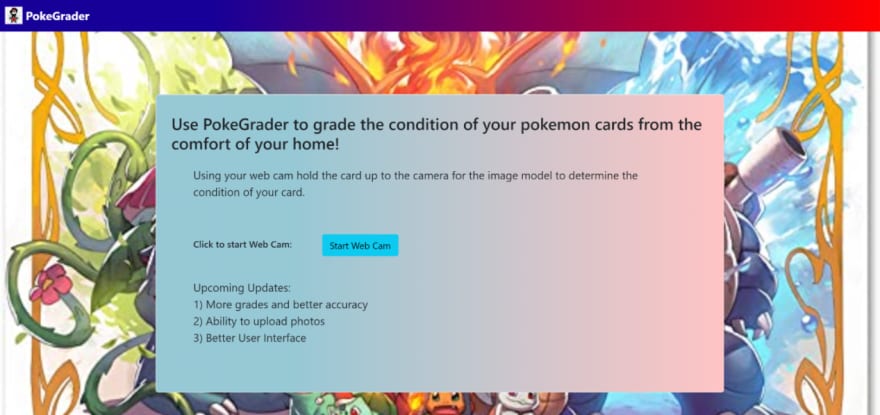
Having the basic idea of what I wanted the site to look like in mind I quickly developed a frontend skeleton using HTML, CSS, and bootstrap which aided in getting clean buttons and alerts. Using bootstrap which has extremely accessible and comprehensible documentation I was able to quickly make the base of what the rest of the app was going to function on.
<label for="webcam" class="ps-5 pt-5 pb-5">Click to start Web Cam:</label>
                        <button id="webcam" type="button" class="btn btn-info ms-5"
                            onclick="useWebcam()">Start Web Cam</button><br />
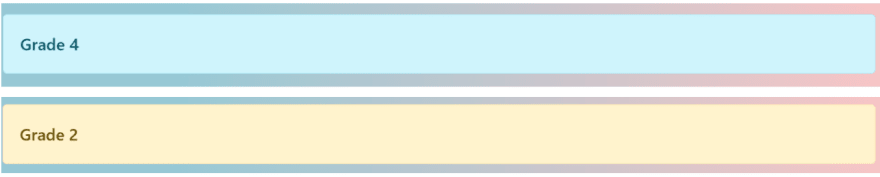
    if (bestClass == "Grade 4" || bestClass == "Grade 3" ) {
        newlabel.className = "alert alert-info";
    }
    else {
        newlabel.className = "alert alert-warning";
    }
SashiDo
Afterward using the well-written documentation of SashiDo I was able to easily connect it to the rest of my site. Although I was using JavaScript, SashiDo's documentation has step-by-step instructions for many languages depending on your use.

Parse.initialize(
    "l0nk4cQ8dQPGMJvXRVbu3QuC8D4QmSqVNJGfRbQP",
    "GQGu6n32obuLduR9QwG5PkYWRNQ5PKpS8CmTbMQf"
  );
  Parse.serverURL = 'https://pg-app-ji0j5566g3pgtzkb4ptq68lts1q3dy.scalabl.cloud/1/';
Exporting The Image Model
Once I had my Database connected my goal was to connect the Image model to the site which I did by exporting the model I had created. After clicking upload my cloud model you are provided a sharable link which you can then use to connect your model to your site.
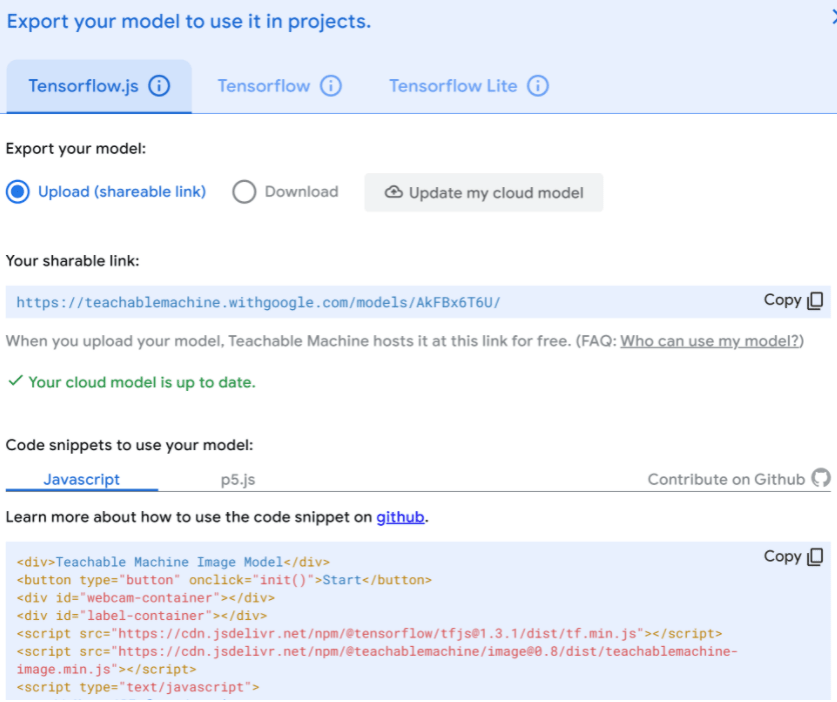
const URL = "https://teachablemachine.withgoogle.com/models/AkFBx6T6U/";
Clean Up
Once all this was done my main goal was cleaning up the dashboard and managing any small errors that appeared. I used some gradients and pictures which I found on the internet to make the site look a bit better and more approachable. After all, this was done I had a project which was able to grade cards from 1-4.
* {
  margin: 0;
  box-sizing: border-box;
  font-weight: 600;
}

.title {
  padding-left: 10px;
}

#brand {
  font-weight: 700;
}

#detect {
  font-weight: 600;
}

body {
  background: url(Images/mat2.jpg) no-repeat center fixed;
  background-size: cover;
}

nav {
  background: rgb(22, 0, 152);
  background: linear-gradient(
    90deg,
    rgba(22, 0, 152, 1) 24%,
    rgba(255, 0, 0, 1) 100%
  );
}

.card-body {
  background: rgb(0, 121, 152);
  background: linear-gradient(
    90deg,
    rgba(0, 121, 152, 0.4096989137451855) 24%,
    rgba(255, 0, 0, 0.23322832550989148) 100%
  );
}
Next Steps/Conclusion
In the future, I plan to make a much nicer UI that is both cleaner and more professional. Alongside this, I plan on getting more inputs towards the collection of cards being graded which will allow for more accuracy and an overall better grading system. Overall this was a fun little project which I hope to continue and slowly develop into an accurate system to grade trading cards. From overcoming challenges such as getting the webcam connected to developing the frontend there were many portions of this project that could have gone smoother. Although now looking back it was from those challenges and little difficulities which made this learning experience that much bettter as I was constantly able to learn and improve from my mistakes. Hopefully with this tutorial, readers will have an easier time with the project and feel free to talk about your experiences in the comments.
Resources
SashiDo Tutorial - https://blog.sashido.io/sashidos-getting-started-guide/
https://blog.sashido.io/sashidos-getting-started-guide-part-2/
Teachable Machine - https://teachablemachine.withgoogle.com/
Teachable Machine library - https://github.com/googlecreativelab/teachablemachine-community/tree/master/libraries/image
BootStrap - https://getbootstrap.com/docs/4.0/components/buttons/
Github - https://github.com/VishnudevP/Pokemon-Card-Grader


Top comments (0)