
I recently came across this lego loading animation and wanted to see if this can be created using SwiftUI. Let’s get started.
Breakdown
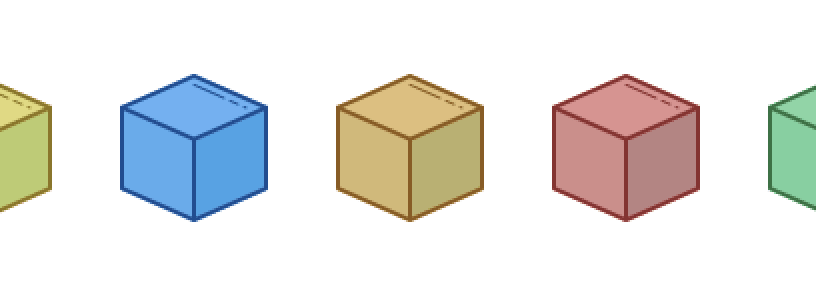
- We have 5 3D cubes of different colours.
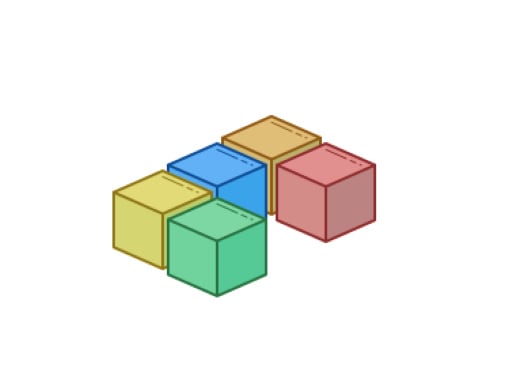
- They are arranged to form a cuboid with space for one cube being empty.
- One by one the cube behind the empty space moves forward.
- There are two scenarios in which two cubes move forward at once.
Build
Let’s start with creating a simple 3d cube. For this, I downloaded a png image of cube and masked it over a colour. Below is the origin image and how it looks after the mask.
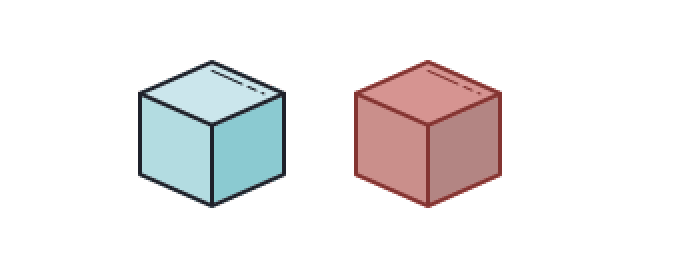
Pretty cool. Now we can create a cube of any colour by just changing the colour of the base view. And if you took about the code it’s only about 10 lines. That’s why you got to love SwiftUI.

Next we need to arrange them to form a cuboid. This is where we use the elementary maths that we all learnt (although we don’t remember most of it 😅). After some trial and error we have the co-ordinates for the 6 positions that our cubes should be in.
(-80,40)
(-40,20)
(0,0)
(40,20)
(0,40)
(-40,60)
Once we have our co-ordinates, we can simply assign them to the cubes using .offset modifier. We use .offset because we only are about relative position between the cubes and it also does not get affected by the actual position of the cubes on the screen.
We also need decide the zindex of the cubes corresponding to each of these co-ordinates. After some elementary maths, we have the final values -
(-80,40) - 5
(-40,20) - 3
(0,0) - 1
(40,20) - 2
(0,40) - 4
(-40,60) - 6
With the zIndex in place, our cubes finally sit nicely together. Look at that!

In the above code section, you get a look into how the code is arranged. We have a enum with 6 elements. Each of these elements define their view. LegoView with a unique colour for 5 elements and a EmptyView for the 6th element.
We create a @State variable to store the co-ordinates and indices we earlier defined. We will talk about the 4th boolean parameter later. We also have a variable called currentIndex which denotes the index of the cube which will move next. The empty space will always be at the position currentIndex+1.
Animation
Now to the part you have been waiting for. How do we animate these cubes. The offset of a cube is derived from the allIndices array. So if we change the allIndices array, the offset of our cube will get changed. So, all we need to do is swap the position of empty space with the position of cube next to empty space. The empty space is indexed 5 (as it’s the last element in the enum).
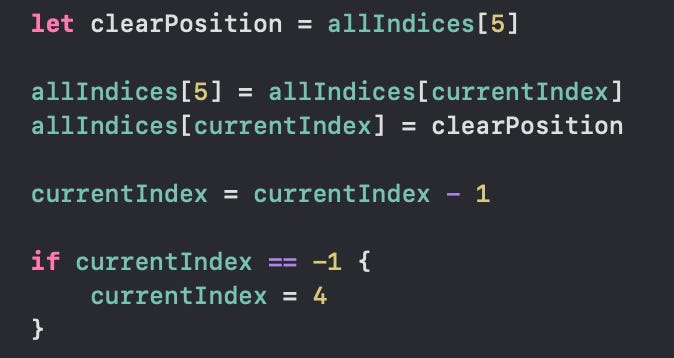
By swapping the offset, we make sure that the cubes move to their new position. TO animate this movement we simply need to perform the swap inside a withAnimation block.

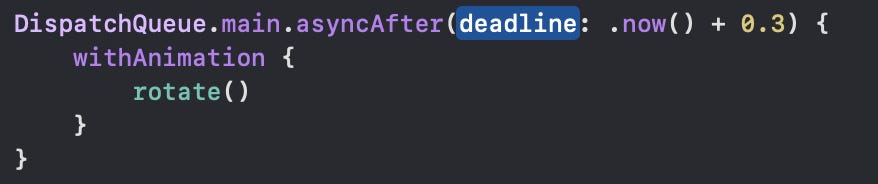
To make sure that this animation continues forever, we call this function recursively. But since, we want some delay between each movement we use DispatchQueue.main.asyncAfter.
We are almost there. According to the 4th point of our breakdown, there are 2 conditions in which 2 cubes move forward at once. These two scenarios are represented by the 4th Bool parameter in allIndices

And that’s a wrap. Look at the cubes go! View the code on Github - https://github.com/vijaywargiya/LegoLoadingAnimation-SwiftUI


Top comments (0)