If you do not want an overview on how to setup a Rails API skip straight to part 2.
Serialization in web development can simply be understood as the process of customizing the response our server sends (i.e. a Rails API) after receiving a request from a client (i.e. Goolge Chrome, Firefox, Safari etc.).
Rails uses a gem/library called 'active_model_serializers' to give you easy, powerful response customization.
For this explanation we will assume that we have a relational database based on SQL setup in our backend and have used some sort of ORM (Object Relationship Mapper) to turn OOP objects into models. Our models each map to a table in our database and each instance of our model is a record in our table.
Part 1: Setting up an API
Skip if you are already comfortable quickly spinning up a Rails API. If you want a walk through we will be creating two resources. Wallets (class Wallet, table wallets) and Bills (class Bill, table bills)
A Wallet has many Bills and a Bill belongs to a Wallet.
1) Create a new Rails app. I named mine lets-learn-serializers used the --api --minimal flags to keep the app light and extraneous features out.
$ rails new lets-learn-serializers --api --minimal
2) In root/Gemfile add gem:
gem "active_model_serializers", "~> 0.10.12"
3) bundle install
$ bundle install
4) Use a Rails generator of your choice. The scaffold generator creates many files for you following good coding practices and REST conventions. The resource generator does a lot of heavy lifting for you but less pre-written code than scaffold. --no-test-framework eliminates test files that Rails will generate for you. We do not need this now
$ rails g scaffold wallet owner brand --no-test-framework
$ rails g scaffold bill value:integer wallet:belongs_to --no-test-framework
5) Add the has_many side of the relationship manually to the Wallet model
# app/models/wallet.rb

class Wallet < ApplicationRecord
    has_many :bills
end
6) Create your instances of Wallets and Bills (i.e. create Mock Data) in your seeds.rb file
example_wallets = [{owner: "Victor", brand: "Gucci"}, {owner: "Kells",brand: "Larry Leather"}, {owner: "Bart", brand: "Vintage Co."}]

example_bills = [{value: 20,wallet_id: 1},{value: 5, wallet_id: 1},{value: 1, wallet_id: 1},{value: 100,wallet_id: 2},{value: 100,wallet_id: 2},{value: 50,wallet_id: 3},{value: 20,wallet_id: 3}]

Wallet.create(example_wallets)
Bill.create(example_bills)
7) Migrate and seed your database
rails db:migrate db:seed
8) If all goes well you should be left with 2 tables:
wallets:

bills:

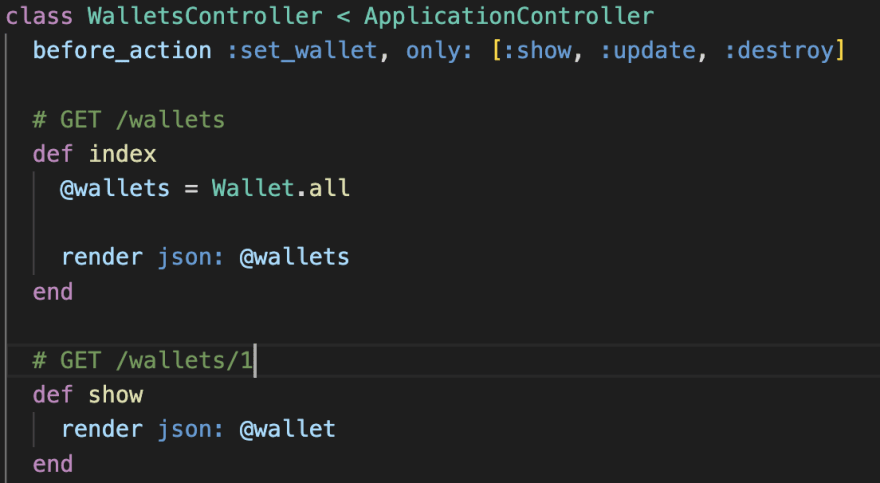
9) Check out your wallet and bills controllers, they should look something like this:
/app/controllers/wallets_controller.rb:
Now we are ready to receive requests for CRUD actions on our /wallets and /bills resources. We can send information about our wallets and bills to a client.
Part 2: Serializing our Response
Brief serializer explanation:
When we use the render json: method in a model controller Rails defaults to sending everything about a given model to the client.
A GET request to /wallets will send back all of our Wallet objects and each object will have the attributes: "owner", "brand", "created_at", "updated_at". Similarly, a GET request to /bills will send back all of our Bills and their: "value", "wallet_id", "created_at", and "updated_at attributes". This is what you will get. No more and no less.
If we want to change this default behavior (i.e. perform some sort of server-side calculation before sending a response back or excluding some information or literally anything other than "send everything back the way it is") the cleanest way to do so is to use a Serializer.
Rails, usually for better, is an extremely opinionated framework. If you've gotten this far you've probably figured out that the way we name the building blocks of our MVC architecture in Rails matters, a lot. Rails does try to make it easy on us though as long as we know and follow the rules. By default, Rails will implcitly look for a serializer who's name matches the name of a model before sending back a response.
Put simply, before our WalletsController sends anything anywhere it will look to see if a WalletSerializer exists. If it does, it will use it. You can also specify what serializer you want to use should you have a need to but custom serializers are for another day.
Putting this in practice:
Let's take a look at our Wallets serializer now. The $ rails g scaffold <model_name_here> command created this serializer for us. If you do not want all of the code scaffold gives you you can create a standalone serializer with $ rails g serializer <singular_lowercase_model_name>
Depending on how you created your serializer your attributes will default to either :id or all of the attributes excluding :created_at and :updated_at.
Using the attributes keyword inside a model's serializer we can specify what we want to include in our JSON response to the client
# app/serializers/wallet_serializer.rb

class WalletSerializer < ActiveModel::Serializer
    attributes :id, :owner, :brand
end
As is, a GET request to /wallets returns this JSON response:
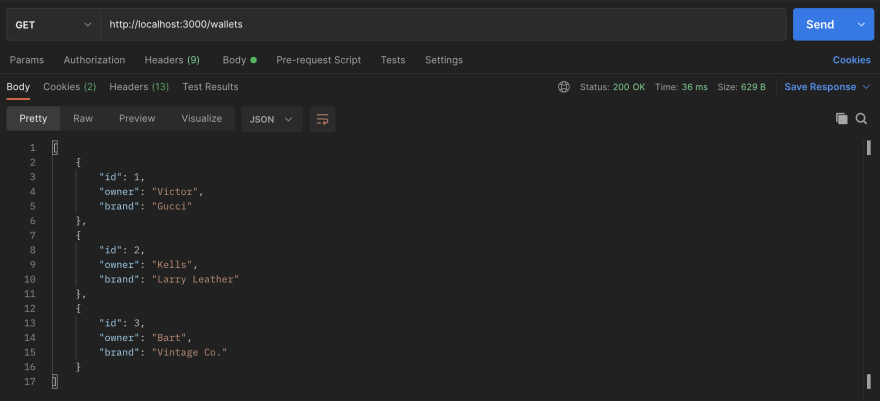 And this makes total sense considering how our serializer for
 Wallets is setup. We got "id", "owner", and "brand" back. But hmmm, our timestamp columns from our wallets table are being excluded. Let's add them back in.
# app/serializers/wallet_serializer.rb
class WalletSerializer < ActiveModel::Serializer
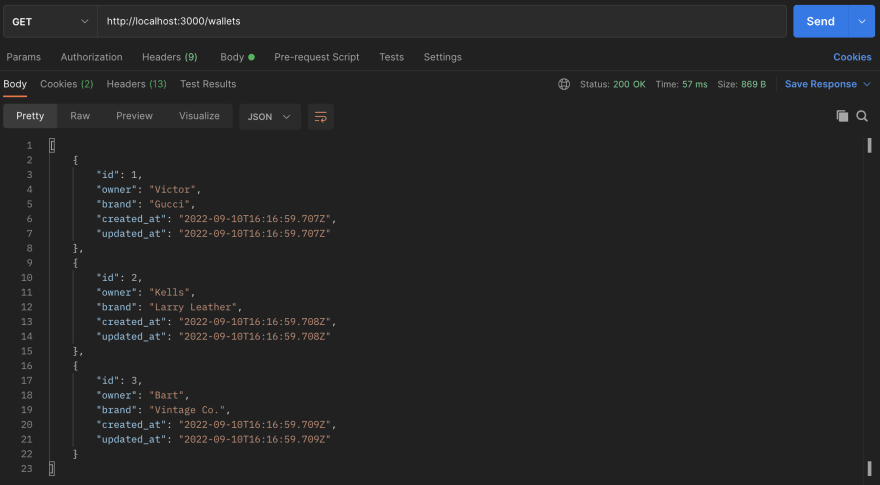
attributes :id, :owner, :brand, :created_at, :updated_at
end
Our response now looks like this. For the rest of the blog I will keep the timestamps out for clarity:
Advanced uses:
In my view, there are two core tasks that serializers help achieve other than just excluding/including information.
1) Making use of the associations between models
With very little effort, because we have the Wallet - has_many :bills and Bill - belongs_to :wallet associations setup in our model we can include the association in our serializer.
class WalletSerializer < ActiveModel::Serializer
  attributes :id, :owner, :brand

  has_many :bills
end
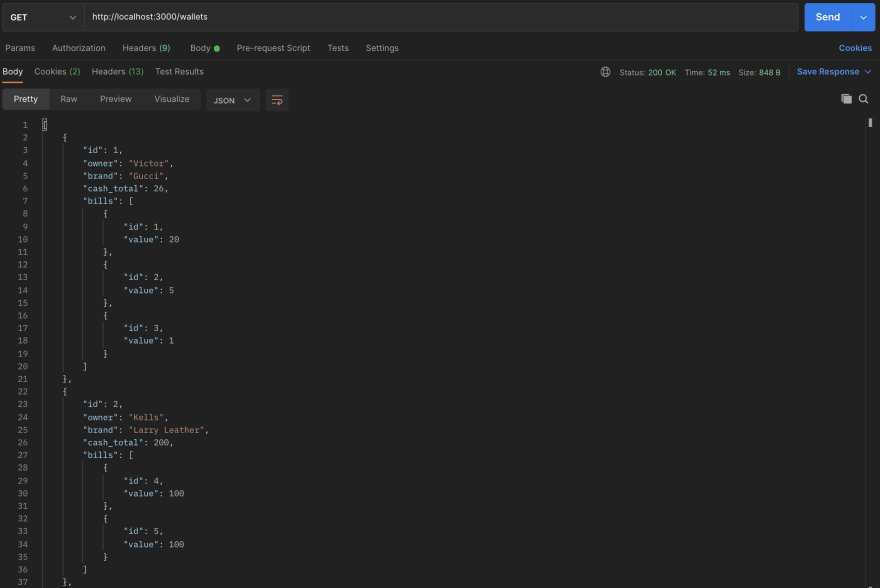
And thanks to Ruby magic:
 We can now see that the wallet with id 1 or Victor's wallet has a $20, $5, and $1 bill. Kells has two $100 bills and etc.
2) Including new, custom, or calculation-based information that is not in our database but needs to be sent to our front end.
What if instead of knowing what kind of bill was inside each wallet we just wanted to know the total amount of money in each wallet? We can easily do that using some vanilla Ruby, ActiveRecord methods, and the functionality our serializer gives us. Let's write a cash_total method to calculate this server-side and include the result in our JSON response
class WalletSerializer < ActiveModel::Serializer
  attributes :id, :owner, :brand, :cash_total

  has_many :bills

  def cash_total
    self.object.bills.pluck(:value).sum
  end

end
And just like that, you can now see that Victor has $26 in his Gucci wallet and Kells has $200 cash in his Larry Leather wallet.
And that is enough information to start serializing your responses in reasonable ways. For continued learning experiment with serializing responses for the Bill model/requests to /bills.
I also recommend checking our the Ruby docs for custom serializers now that you have a strong foundation.
Happy Rubying.


Oldest comments (0)