When you want to preview your SwiftUI view on different devices, you need to use the previewDevice view modifier like so:
MyView()
 .previewDevice(PreviewDevice(rawValue: "iPhone 12 Pro Max"))
 .previewDisplayName("iPhone 12 Pro Max")
If you set the preview device to nil, Xcode will automatically choose the appropriate device based on your current target.
When creating a PreviewDevice manually, you will need to set the rawValue string to the correct device name. Failing to do so will generate an error in the preview window.
A way to avoid having to manually enter the rawValue yourself is to use the Preview UI.

I particular don't like hardcoded values/nor using the ui, so I thought I would create a utility to generate strongly typed values to make my life easier.
Our goal is to be able to do this:
Content().preview(on: .iPhoneSE2ndGeneration)
Creating a Command Line Tool.
Step 1
New > Project > MacOS > Command Line Tool

Step 2: Retrieve a list of the available simulators.
We can achieve this using simctl
xcrun simctl list --json devices available
The nice thing about this command is that you can pass in json so it would make it easier to parse it in swift.
Step 3: Generating our models.
For me the go to place is QuickType. It makes it easier to convert JSON into gorgeous, typesafe code in any language. (As they put it)

Step 4: Executing shell commands from swift.
I'm using ShellOut made by John Sundel. It wraps shell commands into a lovely wrapper that makes it easier and delightful to use it.
let output = try shellOut(to: "xcrun simctl list --json devices available")
Step 5: Parsing
Once we retrieve the json above, we will need to decode into our model.
let deviceTypes = try JSONDecoder().decode(SimCTL.self, from: data)
The current json structure is held in a variable var devices: [String: [Device]], where the key is the runtime value (com.apple.CoreSimulator.SimRuntime.iOS-14-4). We are interested in the flat list of devices here so we can generate the final swift file. So we will parse that our selves during decoding.
public init(from decoder: Decoder) throws {
    let container = try decoder.container(keyedBy: CodingKeys.self)
    devices = try container.decode([String: [Device]].self, forKey: CodingKeys.devices)
    supportedDevices = devices
        .filter({ !$0.value.isEmpty })
        .map({ $0.value })
        .flatMap({ $0 })
}
Step 6: Generating our swift file
Once we retrieve the available devices, parsed them and have our models in place, it's time to generate our final output file. First we need to create a template string and inject the list of devices dynamically.
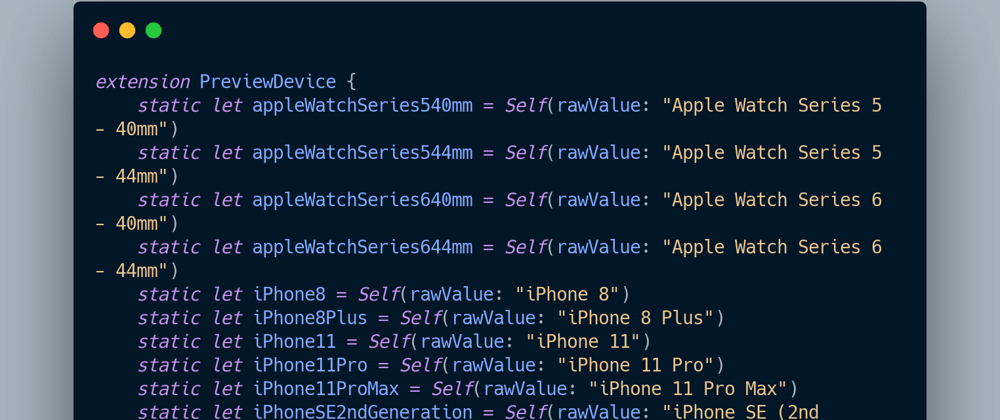
This is what the final file looks like:
let template =
"""extension PreviewDevice {
    {{DYNAMIC CONTENT HERE}}
}

struct PreviewDeviceModifier: ViewModifier {
    let previewDevice: PreviewDevice

    func body(content: Content) -> some View {
        content
            .previewDevice(previewDevice)
            .previewDisplayName(previewDevice.rawValue)
    }
}

public extension View {
    func preview(on previewDevice: PreviewDevice) -> some View {
        self.modifier(
            PreviewDeviceModifier(
                previewDevice: previewDevice
            )
        )
    }
}
"""
Step 7: Injecting the string
let deviceTypes = try JSONDecoder().decode(SimCTL.self, from: data)
let finalOutput = String(format: template, "\(deviceTypes)")
If you are wondering how we've managed to pass the variable deviceTypes and somehow generated static let appleWatchSeries540mm = Self(rawValue: "Apple Watch Series 5 - 40mm"), let me show you.
You can extend String to allow custom interpolation of values. So we can do this:
extension String.StringInterpolation {
    mutating func appendInterpolation(_ value: SimCTL) {
        let devicesString = value
            .supportedDevices
            .map({ "static let \($0.name.camelized) = Self(rawValue: \"\($0.name)\")"  })
            .joined(separator: "\n\t")

        appendLiteral(devicesString)
    }
}
Notice how we've extended the appendInterpolation and added SimCTL for the value parameter. Doing so allow us to control what will be appended to the final string result.
Final Step: Generating the final file
The last piece of the puzzle is to generate that file. I'm using Files, another open source project by John Sundel.
let folder = Folder.current
        let file = try folder.createFile(named: "PreviewDeviceUtils.swift")
        try file.write(finalOutput)
Conclusion
I think I've achieve our initial goal, albeit pointless as you can do all this using the UI. But hopefully we've managed to learn a few things along the way and now we can generate many more utility apps. This could also be done using a MacOS app, which I will probably attempt to develop and see what we can learn from it.


Top comments (0)